


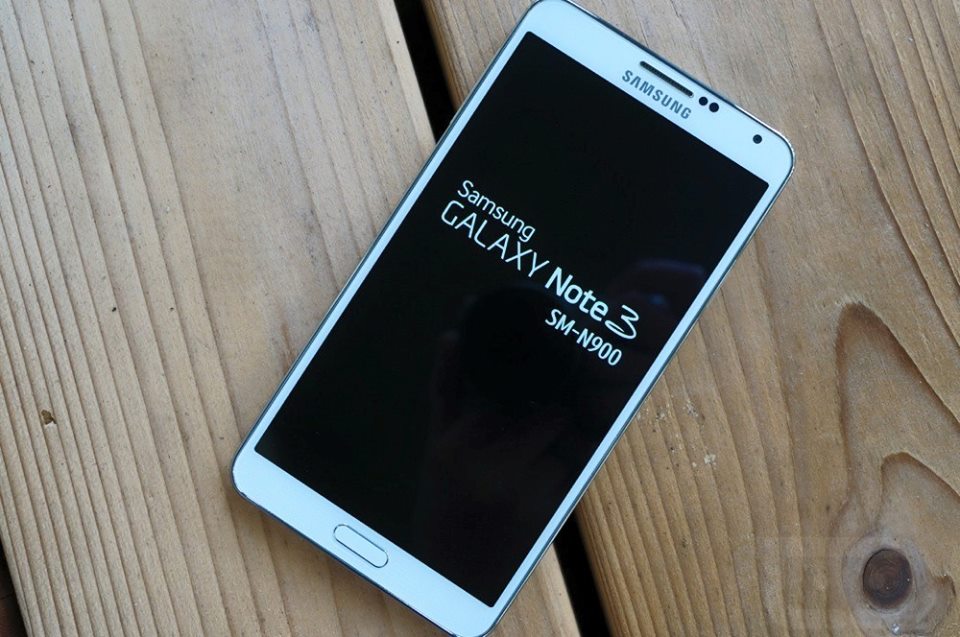
Today I’m going to walk you through a quick tutorial of how to enable USB Debugging Mode on your Android smartphone or tablet.
Note – If you are working with a Xiaomi smartphone or tablet then you’ll want to follow this tutorial instead.
USB Debugging is an important feature that you need to enable in order to execute ADB and Fastboot commands to your smartphone or tablet. Without this feature enabled, we are limited to very simple tasks when our devices are connected to the computer with a USB cable.
With USB Debugging enabled though, we can send much more complex commands to our smartphone or tablet instead of just transferring files.
Some developers use this feature to send and install applications through the USB cable so they can test it on their device without pushing it to the Google Play Store. I could go on and on about USB Debugging as a whole but I would guess that 90% of the readers here have very little interest in developing an Android application. Instead, Android enthusiasts like you and I use USB debugging so that we can execute commands with ADB and Fastboot.
Depending on your level of expertise, it can be a little tricky to enable. However, this is going to be a step by step tutorial to make it incredibly easy for everyone.

Enable USB Debugging Mode
Download and Install Proper USB Drivers
Connect the Phone or Tablet to the PC with a USB Cable
Go Back to the Main Settings Menu
Scroll Down and Tap on Developer Options
Look for the Debugging Section
Tap on the Checkbox to the Right of USB Debugging
Tap on the Always Allow Check Box
Tap on OK in the Dialog Box to Allow Access
Explanation
The first thing that we need to do is to enable the Developer Mode on our smartphone or tablet. I have a detailed tutorial on how to do that link above if you are new to Android or have never done this before. Once you have completed that tutorial then you can come back to this one. After the Developer Mode has been enabled, we can no connect the USB cable to our device. Once this is enabled, you will need to have the proper USB drivers installed.
These are generally downloaded from the manufacturer/seller of the smartphone you are using. For example, if I had a Sony Xperia Z3, then I would go to Google and search for “Sony Xperia USB Drivers Android”, without the quotes. Or, if I had a Nexus 6 then I would go to Google and search for “Google Nexus USB Drivers”, again, without the quotes. You need to have the proper drivers installed in order to issue the ADB and Fastboot commands to your smartphone. If you are having trouble finding the USB drivers for your specific device then leave a comment and the bottom of this article and I will help you find them.
After we have our USB drivers installed then we can connect our device to the PC. From here, we will want to open up the Developer Options menu from within the Settings of Android and then enable the USB Debugging feature. It’s as easy as ticking a checkbox from within this menu and all you have to do is look for the USB Debugging option here. After this feature has been enabled, you should see a dialog box appear. Sometimes I have had trouble making this dialog box appear. Unplugging the USB cable from the bottom of the Android device, and plugging it back in will sometimes trigger this dialog box to appear. Other times I have had to restart my device to make the dialog box appear.
It is advisable to be sure and tick that checkbox to always allow your computer access. This isn’t required but it is nice to always have this enabled unless you are afraid of a friend or family member stealing your device and doing something nefarious on your computer.
As always, if you have any questions here then please do not hesitate to scroll down and leave a comment. As you can see from the other comments here, I try to help anyone I can, even if I have not experienced the same thing you have. With the power of Google, myself or another reader should be able to help figure out any issue that you might come across.


Hi
I cannot find the drivers for the wileyfox swift
I just purchased an LG VOLT 2 (LS751) with Boost Mobile. I am looking to Root this phone if possible for now, as 80% of my purchased apps are for rooted devices only. Before that I had Boost’s flagship Android phone, the Samsung Galaxy Prevail SPH-M820. I spent a lot of time over at androidforums.com learning how to root it and install mods/custom roms etc., and used the phone for years, so I now have that knowledge down.
With this phone it’s all kind of new to me, since there is such a drastic difference. Anyway, with the Volt 2, fairly new, not much out there yet as far as any custom recovery’s or roms, and I found a few articles on rooting it, not much relating to this exact phone though, yet. I managed to enable the “Developer options”, and also enable the “USB Debugging” option, and last the “Enable OEM unlock” option as well.
My next step is to find the correct drivers for the LG Volt 2 / model# LS751.
Not having much luck there. I am (still) using Windows XP Pro sp3, I have Android Studio 1.02 build AI-135.1653844/Android Developer Tools completely installed, and I am ready to go, know what I am doing pretty much, just cannot find the appropriate drivers for the phone.
Cant find them on the LG site, so not sure where to go from here.
Any ideas?
LG VOLT 2 (LS751) for XP
~thanks
Bootloader unlock:
“adb devices”
“fastboot oem unlock”