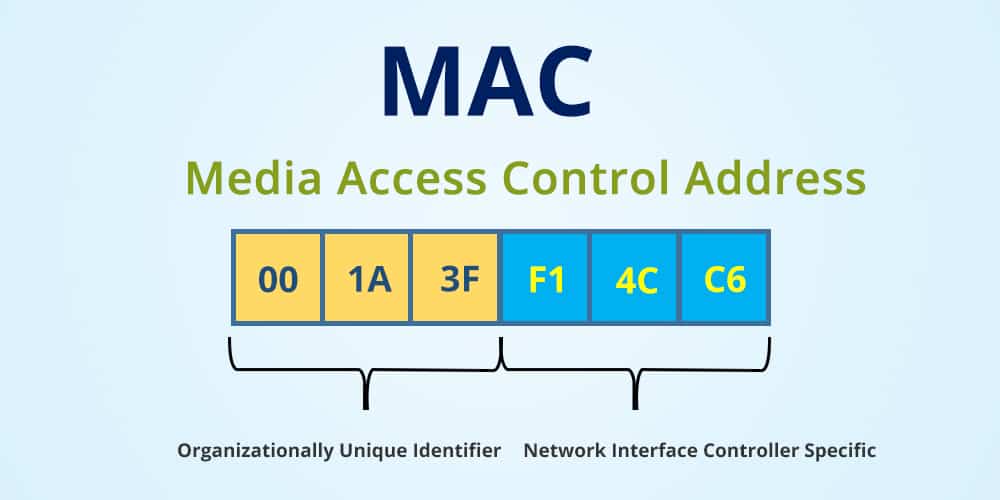
In today’s digital age, privacy and security are paramount. One way to enhance your privacy and security is by changing your MAC address. The MAC address, or Media Access Control address, is a unique identifier assigned to network interfaces. By changing your MAC address, you can protect your identity, avoid tracking, and overcome certain network restrictions. In this comprehensive guide, we will explore how to change the MAC address on different operating systems, including Windows, Mac, and Linux. So let’s dive in and learn how to protect your privacy with this simple yet effective technique.
Why Change Your MAC Address?
Before we dive into the process of changing your MAC address, let’s understand why you might want to do it. Your MAC address plays a crucial role in various network interactions. Here are some key reasons why you might consider changing your MAC address:
- Enhanced Privacy: Changing your MAC address can help protect your privacy by making it more difficult for others to track your online activities and identify your device.
- Bypass Network Restrictions: Some networks may limit access based on MAC addresses. By changing your MAC address, you can circumvent these restrictions and access the network freely.
- Avoid Tracking: When you connect to public Wi-Fi networks, your MAC address is often used to track your movements. Changing it regularly can help prevent this form of tracking.
- Secure Anonymity: By changing your MAC address, you can ensure that your online activities cannot be linked back to your device, providing an extra layer of anonymity and security.
Now that we understand the importance of changing your MAC address, let’s explore the step-by-step process for different operating systems.
Changing MAC Address on Windows
Windows offers several methods to change your MAC address. The easiest way is through the Device Manager. Here’s how you can do it:
- Open the Device Manager on your Windows computer. You can do this by pressing the Windows key on your keyboard, typing “Device Manager,” and selecting it from the search results.
- In the Device Manager window, locate and expand the Network adapters category.
- Right-click on the network adapter you want to modify and select Properties from the context menu.
- In the Properties window, navigate to the Advanced tab.
- Look for the Network Address or Locally Administered Address option and select it.
- Check the Value or New MAC Address option and enter the new MAC address you want to assign to the network adapter. Make sure to remove any dashes, colons, or other separators.
- Click OK to save the changes.
- Restart your computer for the new MAC address to take effect.
It’s important to note that not all network drivers support changing the MAC address through the Device Manager. If you don’t see the option, you can try alternative methods, such as using third-party software or editing the registry.
Changing MAC Address on Mac
On macOS, changing your MAC address requires using the Terminal application. Follow these steps to change your MAC address on a Mac:
- Open the Terminal application on your Mac. You can do this by pressing Command + Space, typing “Terminal,” and hitting Enter.
- In the Terminal window, type the following command, replacing
en0with the appropriate network interface name andxx:xx:xx:xx:xx:xxwith the desired MAC address:
sudo ifconfig en0 xx:xx:xx:xx:xx:xx
- After entering the command, press Enter. The MAC address for the specified network interface should now be changed.
- Keep in mind that the change is temporary and will be reset to the default MAC address upon restarting your device. If you want to make the change permanent, you’ll need to modify specific configuration files.
Changing MAC Address on Linux
In Linux, the process of changing your MAC address can vary depending on the distribution you are using. Here are two common methods you can try:
Method 1: Using Network Manager (for Ubuntu and other distributions with a graphical interface)
- Click on the network icon in the top panel of your Linux desktop.
- Select Edit Connections from the dropdown menu.
- Choose the network connection you want to modify and click Edit.
- In the Ethernet tab, locate the Cloned MAC address field.
- Enter the new MAC address in the input bar and save your changes.
Method 2: Using Terminal Commands
- Open the Terminal application on your Linux system.
- Type the following commands, replacing
eth0with the name of your network interface andxx:xx:xx:xx:xx:xxwith the desired MAC address:
sudo ifconfig eth0 down
sudo ifconfig eth0 hw ether xx:xx:xx:xx:xx:xx
sudo ifconfig eth0 up
- Make sure to enter the commands accurately and press Enter after each one.
- After executing the commands, your MAC address should be changed. However, keep in mind that this change is temporary and will be reset when you restart your Linux system.
It’s worth noting that the exact steps may vary depending on your Linux distribution and network configuration. If you encounter any issues, refer to your distribution’s documentation or online resources for specific instructions.
Conclusion
Changing your MAC address is a simple yet effective way to enhance your privacy and security while using network interfaces. Whether you’re using Windows, Mac, or Linux, the process can be easily accomplished following the steps outlined in this guide. By changing your MAC address, you can protect your identity, bypass network restrictions, and avoid tracking. Remember to exercise caution and use this technique responsibly. Stay safe and enjoy a more private online experience!
Remember, your privacy matters, and taking steps to protect it is essential. By changing your MAC address, you can reclaim control over your online identity and reduce the chances of being tracked or monitored. Implement the strategies outlined in this guide to enhance your privacy and enjoy a safer online experience.