The release of Pie, we saw a new navigation system added to the core AOSP version of Android. Google is trying something different with Android Q beta 3 by adding a new, gesture navigation option. However, this feature changes how to activate Google Assistant. So let me show you how to trigger it with the new navigation gestures enabled.
Overall, people had mixed feelings about the new gesture navigation bar that was added to Android 9 Pie. Most felt that removing the recents/overview button wasn’t needed in the first place. This became even more apparent when you consider there’s still a navigation bar that eats into the screen of your apps.
New Navigation Gestures in Android Q Beta 3
This week Google is holding their developer conference in Mountain View, California. During this event, the company announced a new beta for Android Q and then released it to the public later that day. Since its release, people have been scouring through the new features and changes included in this update.
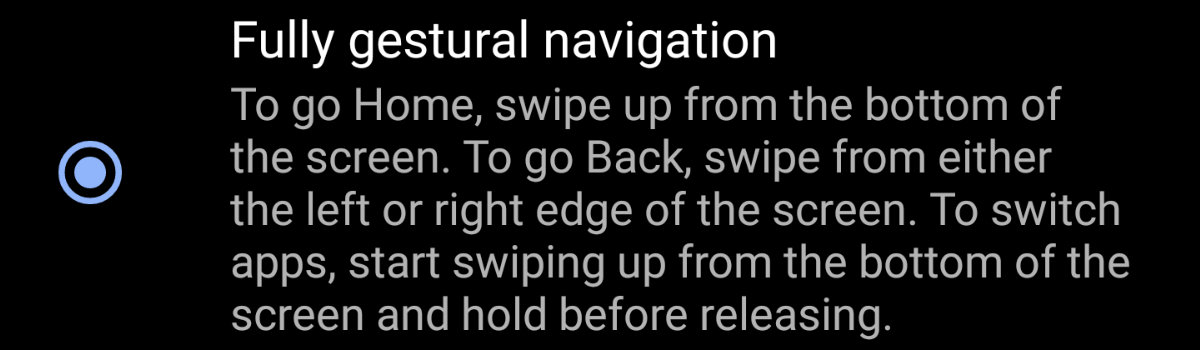
A popular feature that has been talked about a lot is what Google is currently calling “Fully Gestural Navigation.”
Now, I do want to point out that this is merely a beta and some (if not many) of the new changes and features could be removed before the official version of Android 10 is released. This includes, and is not limited to, the whole point of this tutorial where I show you how to activate Google Assistant.
Google could very well change the way its virtual assistant is activated before Android 10 is released.
But, this can vital information for those who are currently using the beta as their daily driver (like myself). So let me show you the new, easy way to trigger Google Assistant (or whatever your default assistant is) in Android Q Beta 3 with the full navigation gesture feature turned on.
Time needed: 5 minutes.
How to Trigger Google Assistant in Android Q Beta 3 with Fully Gestural Navigation Enabled
- Firstly, you will need to have the Fully Gestural Navigation option enabled
You can do this by going into Settings -> System -> Gestures -> System Navigation -> Fully Gestural Navigation
- With that enabled, you can then trigger Google Assistant via the new method
- To do this, swipe diagonally inward from any of the bottom two corners
Be careful not to swipe too fast or too far
- Once you swipe to that right spot (1-2 inches in) hold your finger/thumb there for a second
After that short wait time the Google Assistant voice prompt will appear

So, by now you know that I prefer breaking down my tutorials into the smallest steps I can think of. I feel this is something that a lot of people get wrong when they create tutorials. I could just have easily said ‘swipe diagonally inward from one of the bottom corners’ and have been done with this guide.
But again, I want to break things down so that everyone understands how something works. As I mentioned in the video, doing a simple swipe can actually trigger the App Drawer in some situations (or take you back to the Home Screen). But in its current iteration, I found the sweet spot for triggering the Google Assistant.
If you are still stuck getting this to work then watch the video as it can be easier to learn when you can see it in action.
This is also something that you will have to get used to if you choose to use the full navigation gesture feature all the time. I have switched to it on my Pixel 2 XL (from Pie controls) and I have to say that it isn’t bad. I would still much rather see Google go the MIUI route and remove the bottom UI line altogether.
But I think this is a great step in the right direction as I was not a fan of Android 9 Pie’s gesture navigation style at all.