There are some elements of the Android UI that can be customized with 3rd-party applications (such as the Home Screen). Although, there are some elements that require a bit more control over the OS and today I want to show you how to customize the battery icon with Xposed Framework.
It’s curious to learn which things about Android can be customized with regular 3rd-party applications from the Play Store. Major changes such as the Home Screen, notifications, application themes and more can be customized on Android without needing to have root access or modify any system files.
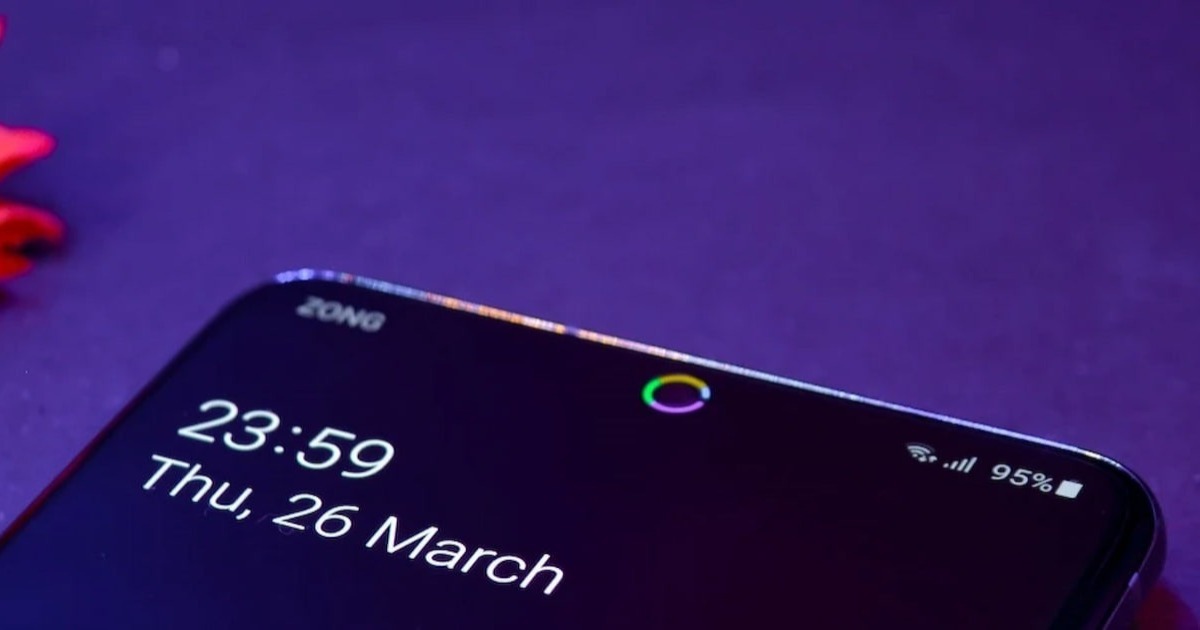
However, there are some things that are off limits the the style of the icons you see in the top right of the Status Bar is one of those restricted UI elements.
Thankfully though, these icons are just simple images and they can be easily changed with some popular Android modifications. To change the battery icon in the Status Bar, we will first need to have root access to the device so that Xposed Framework can be installed. Once that is done, you will then need to install the GravityBox module and activate it. I cover how to do this with some of the more popular devices here on Android Explained, but the process is pretty much the same on all supported devices now.
With all of that done, let me show you how to customize the battery icon and what we can change it to.
How to Change the Stock Battery Icon
- Open up the GravityBox application
- Tap on the Statusbar Tweaks option
- Tap the Battery Settings option
- Then tap the Battery Indicator Style option and pick which one you like the most
- Optionally, you can also add a battery bar to the top of bottom of the screen
Explanation
Google, and the other Android OEMs like to keep a similar style across multiple devices. There are some cases when an OEM will support a device theme that will also change the look of the battery icon in the Status Bar. This is rare though as it’s one of those features that companies don’t want people to get confused over. Being able to glance at a familiar icon to quickly see what your battery is currently at is an important user experience feature.
But then there are some of us who want to be able to customize these UI elements a bit more. Some of us want more information than a vague battery icon and there are some OEMs that will also let you choose to add the percentage number in the Status Bar as well. With GravityBox though, we can add more style to this simple UI element while also making it more functional than the stock version. So let’s dive into what we have available here.
After launching the GravityBox application we will want to tap on the Statusbar Tweaks option and then tap on the Battery Settings menu option. From here, we have a few customization options pertaining to the battery icon that we can change. Be sure to check the images (or embedded video) above for examples of what we can do with the battery icon. This includes the ability to replace the standard icon with a solid circle or a dashed circle while also having the option of adding the battery percentage in the middle.
GravityBox has another feature called the Battery Bar that will add a colored bar (you can pick the color if you’d like) to the top or bottom of the screen. The more this bar stretches across the left and right of the display the more juice is in our battery. The smaller this bar is the less battery life we have left. This feature, paired with the ability to remove the battery icon from the Status Bar entirely, can result in an interesting user experience that doesn’t result in multiple icons being stuffed in the Status Bar.