Since the release of the LG G3, a lot of people have complained about an over sharpening effect that LG has decided to use. After months of testing the issue can now be fixed with a simple custom kernel and I will show you how.
Thanks to a dedicated community developer on XDA by the name of Skin1980, we can now get rid of the annoying over sharpening effect that people have noticed on the LG G3. When you’re looking at black text on a gray background on the LG G3 then you might have noticed this issue. I will include before and after photos below but you can look for yourself too.
If you head on over to Best Buy’s website and scroll down to the very bottom you can see this black text on a gray background. On the LG G3, there is a white ‘halo’ or white ‘outline’ around this black text.


LG G3 Over Sharpening
The issue doesn’t bother everyone and unless you’re looking for it then you might not even be aware of what it actually is. This issue is caused by how LG has calibrated the display on the LG G3. They have decided to add a lot of sharpening to the display for some reason or another. Oddly enough, it doesn’t have an adverse effect on photos, just text. LG has never talked about this issue so we honestly don’t know why they did it this way. Some have speculated that LG might believe the over sharpening can lead people to think the display is more crisp than it actually is. Either way, it has annoyed a lot of people but now this can be fixed.
Requirements
So, now that you know what it is, let’s fix it for you. This custom kernel will only work on the D855, D851, D850, LS990, F400, VS985 and D852 variants of the LG G3. I’m not sure if this works for all variants, but for me, if I take off the back cover of the LG G3 and look at the top left of the back I see the model number of my specific device. This number(for me) is located about half of an inch to the left of the laser auto focus(again, after I have taken the back cover off). Your LG G3 will need to be rooted in order for you to flash this custom kernel. You can follow my guide on how to root the LG G3 if you haven’t done this yet. You don’t need to have a custom recovery installed but if you want to flash the custom kernel this way, then you can follow my guide on how to install a custom recovery on the LG G3.
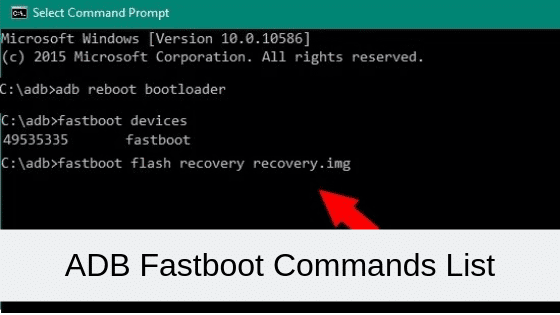
I will cover the two different ways that you can install this custom kernel onto your LG G3. This is simply a modified version of the stock kernel so you will technically still be using the stock kernel. The display calibration part of the kernel has just been tweaked a little. I will be including the link to the source thread at the very bottom of this article. You will need to visit this source thread in order to download the custom kernel for your particular LG G3 variant. I would love to link them here but I’m afraid they will change when the developer updates them in the future. I also think some of you might feel safer knowing that you are downloading the kernel directly from the source.
Flash in TWRP
- Download the Custom Kernel
- Reboot into TWRP
- Tap on Install
- Browse to the Custom Kernel Directory(aka Downloads)
- Select the Zip File and then Swipe to Flash
- Reboot Back into Android
Flash with Flashify
- Install the Flashify App
- Download the Custom Kernel
- Launch Flashify
- Tap on Boot Image
- Tap on Choose a File
- Locate the Custom Kernel
- Let Flashify Install and Reboot for You
Now, once you have the custom kernel installed, you will have to do a little trick in order to ‘trigger’ this effect. This is very common for display calibration tweaks in my experience too. When I used Franco Kernel on the Nexus 5, after you changed the color profile you needed to turn the display off and then back on for it to apply the profile. The same thing is happening here. So, every time you reboot your LG G3, remember to turn the display off and then turn it back on. You can even do this before you unlock the device for the first time. You will not have to do this anymore until you reboot the LG G3 again.
Do we have any readers that have tested this custom kernel? The difference is night and day for me and I am so happy that someone has been able to fix it for us. I mean it when I say the developer community behind Android is the reason why it is my mobile operating system of choice. If you have found this custom kernel useful then please consider going to the XDA thread(linked at the bottom of this article) and donating to Skin1980. Even if it’s just one dollar, it all adds up and it will help to encourage him to continue his work. Or, at the very least, you can visit his thread and click that ‘Thanks’ button at the bottom right of the original post.
Also, if anyone has any questions about this tutorial. Please leave a comment at the bottom of this article. As always, I will do my best to help anyone and everyone that runs into an issue.
[Source: XDA]