

So far I have covered a number of troubleshooting steps to help you figure out what is causing a particular issue with your Samsung Galaxy S10, Galaxy S10+, Galaxy S10 Lite, or Galaxy S10e. Once you figure out which app is causing the issue then one way to fix it is by clearing the application’s cache as well as its data.
So, let’s say you have noticed something is going wrong with your new Samsung Galaxy S10 series smartphone. You have booted it into Safe Mode and then noticed the issue is gone. This tells you that one of the 3rd-party applications (or games) that’s installed on your smartphone is causing the issue.
Then you used an application such as BetterBatteryStats to find out which application is causing the issue. There are other ways of figuring this out (such as uninstalling or disabling apps one at a time) but an app like BetterBatteryStats is usually the best choice. So the next question is how do you fix the issue that the app is causing.
I would first suggest uninstalling the application (if you can) and then installing it again from the Google Play Store. This will usually resolve any issues you may have with the app but you can also choose to clear the app’s cache and data too. This can be done after reinstalling it or done first, the choice is up to you.
Either way, it should help to wipe out any data that is causing an issue with your device. However, you should know that doing the following steps will erase the data you have stored in your app (so perform a backup of your smartphone before you proceed).
Time needed: 5 minutes
How to Clear a Galaxy S10 Application’s Cache and Data
- Open up the Settings application
- Then scroll down and tap on the Apps menu option

- Scroll through this list to find the app (or game) you’re having trouble with
If you can’t find it then try tapping the 3-dot menu icon at the top right and then choosing the Show System Apps option

- Now you can tap on the Storage option

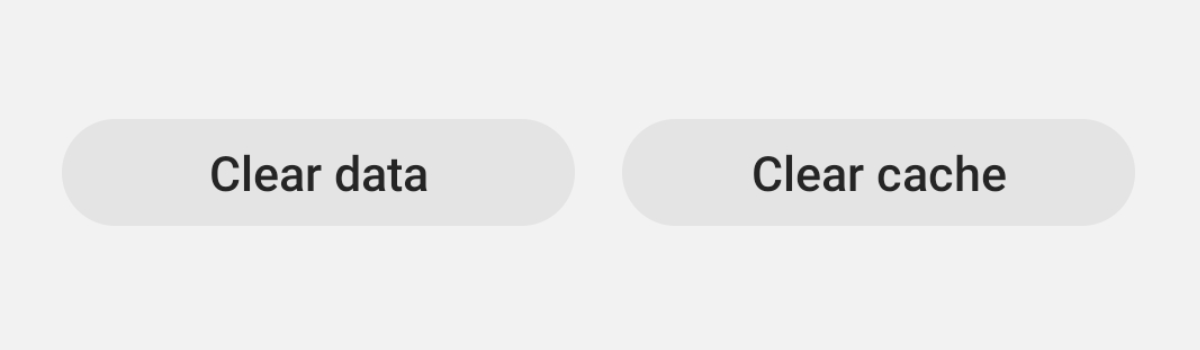
- And then tap on the Clear Cache button before tapping on the Clear Data button
Clear the cache first, and then clear the data

- You can tap the OK button when you see the prompt after tapping the Clear Data button

This tutorial can actually help you troubleshoot a number of issues that you may be experiencing with a particular application. The go-to examples of issues that you could experience include poor battery life, overheating, sluggish performance and even force closes as well.
But, what has triggered an application to have this type of issue is anyone’s guess. It could be the latest application update that you received. It could be a hiccup that caused corrupted data that the application (or even the Android OS) created. Data corruption can happen to hardware that is going bad too (so keep an eye out for failing hardware).
There are so many reasons why someone would want to clear an app’s cache and data that I can’t sit here and list them all.
I can say that this troubleshooting step is much less invasive than performing a factory data reset on the Samsung Galaxy S10 though. You may have to log back into your accounts, restore data from a backup, or recreate said data (depending on the app and how it’s set up).
But it’s a much better option than doing a factory reset (because only one app gets reset, not the whole device).
The end results will likely be the same (assuming it’s the app that is causing the issue, and not Android itself) so I am much quicker to recommend this solution than to simply say ‘go factory reset your smartphone’. I know it can still be a hassle to set up particular apps again, but a factory reset will take up more of your time.
This is the same process that we go through when fixing Galaxy S10 Bluetooth issues. So if you have done that in the past (as I have shown you), then you will be familiar with the process. The steps are virtually the same since it’s an application that controls Bluetooth.