Are you a proud owner of a Chromebook and excited to experience the latest features of Android 11? Well, you’re in luck! After a long wait, Google has finally released the Android 11 update for Chromebooks. This update brings a new approach to running Android apps on Chrome OS, promising an enhanced performance and a host of exciting features. In this comprehensive guide, we will walk you through the process of updating your Chromebook to Android 11, step by step.
Moving directly from Android 9 to Android 11, Google has introduced a new approach called ARCVM (Android Runtime for Chrome OS Virtual Machine) to run Android apps on Chrome OS. Unlike its predecessor ARC++ (Android Runtime for Chrome), ARCVM utilizes a virtual machine, similar to Linux on Chrome OS. This virtual machine, known as the ARCVM, will be independent and will have its own Linux kernel. While this new approach sounds promising on paper, its actual performance impact is yet to be fully determined. Nevertheless, if you’re eager to test it out, you can install the Android 11 update on your Chromebook right away.
Check If Your Chromebook is Eligible for the Android 11 Update
Before proceeding with the update, you need to ensure that your Chromebook is eligible to receive the Android 11 update. Google has provided a list of supported Chrome OS devices that will receive the update over time. However, if your Chromebook has the ‘Hatch’ baseboard, you will be among the first to receive the Android 11 update. To check if your Chromebook is based on the ‘Hatch’ baseboard, refer to the list below:
Chromebooks with ‘Hatch’ Baseboard (First to Get the Update)
- IdeaPad Flex 5i Chromebook
- HP Chromebook x360 14c
- HP Pro c640 Chromebook
- ASUS Chromebook Flip C436FA
- HP Elite c1030 Chromebook
- HP Chromebook x360 13c
- Acer Chromebook 712 [C871]
- Acer Chromebook Spin 713 (CP713-2W)
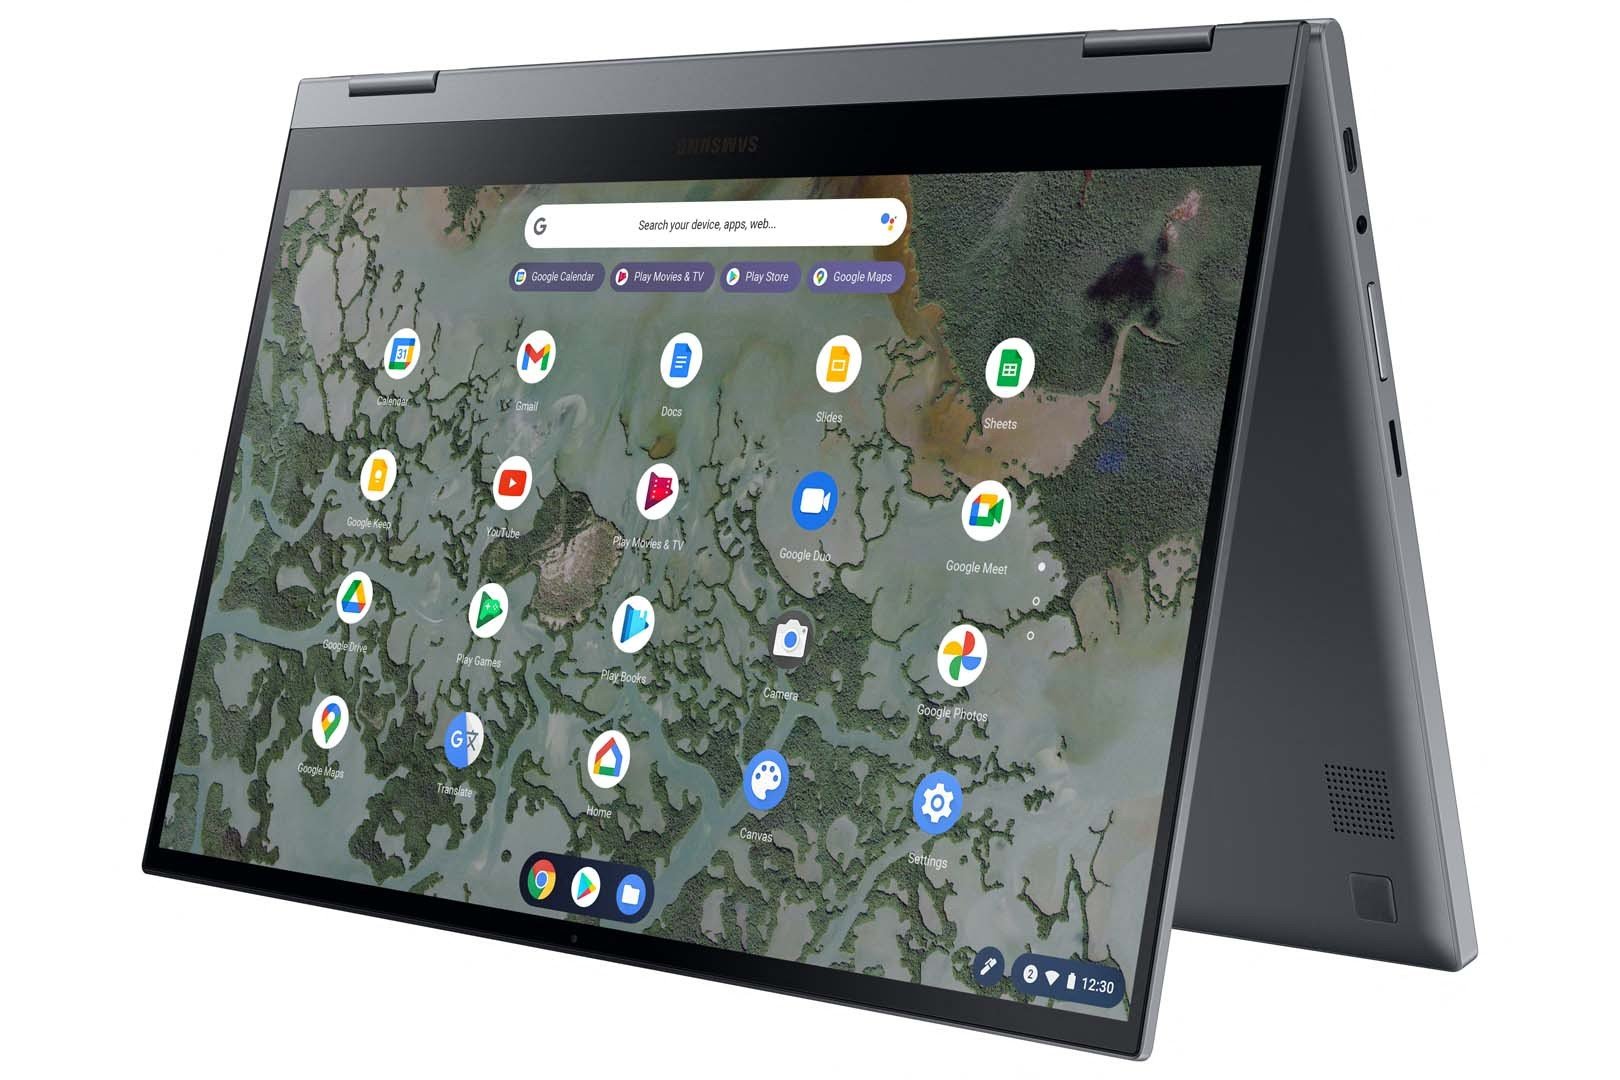
- Samsung Galaxy Chromebook
- Samsung Galaxy Chromebook 2
If your Chromebook is not on this list, don’t worry. You will still receive the Android 11 update, but it may take some time.
Step-by-Step Guide to Install Android 11 Update on Your Chromebook
Now that you know your Chromebook is eligible for the update, let’s dive into the step-by-step process of installing the Android 11 update on your Chrome OS device. Follow the instructions below carefully:
Step 1: Switch to the Beta Channel
- Click on the Quick Settings panel located at the bottom right corner of your Chromebook screen.
- Select ‘Settings’ from the menu that appears.
- In the ‘Settings’ menu, click on ‘About Chrome OS’.
- Next, click on ‘Additional Details’.
Step 2: Change to the Beta Channel
- On the ‘About Chrome OS’ page, click on the ‘Change channel’ button.
- Select “Beta” from the available options.
- Confirm your selection.
Step 3: Check for Updates
- Return to the ‘About Chrome OS’ page.
- Click on ‘Check for updates’.
- Wait for your Chromebook to download the latest Chrome OS beta build.
- Once the update is downloaded, restart your Chromebook to complete the installation.
Please note that switching to the Beta channel will not delete your Chromebook data. However, if you decide to move back to the stable channel, your Chromebook will be completely erased.
Step 4: Manage Android Preferences
- After your Chromebook restarts, open the ‘Settings’ page.
- Scroll down and click on ‘Apps’.
- Locate and click on ‘Manage Android preferences’.
Step 5: Check the Android Version
- In the ‘Manage Android preferences’ section, go to ‘System’ and click on ‘About Device’.
- Here, you will find the current Android version of your Chromebook.
- If your Chromebook is based on the ‘Hatch’ baseboard, you should see the Android 11 version.
If your Chromebook is based on the ‘Hatch’ baseboard and you don’t see the Android 11 update, you may need to remove the existing Android setup and reinstall it. Follow the steps below:
Step 6: Remove and Reinstall Android Setup (For ‘Hatch’ Baseboard Chromebooks)
- Open the ‘Settings’ page.
- Go to ‘Apps’.
- Locate ‘Play Store’ and click on ‘Remove’.
- After removing the Play Store, turn it back on in the ‘Apps’ section.
Please note that reinstalling Android setup will remove all your Android apps from your Chromebook.
Enjoy Android 11 on Your Chromebook
Congratulations! You have successfully updated your Chromebook to Android 11. Now you can enjoy all the new features and improvements that come with this update. Android 11 brings enhanced app scaling, dark mode for Android apps, and other exciting enhancements. However, keep in mind that some users have reported higher RAM usage with this update. Despite that, the overall Android experience on Chrome OS is expected to be optimized.
If you’re looking to further enhance your Chromebook experience, you can also explore the new Phone Hub feature on Chrome OS and check out our Chrome OS tips and tricks for more productivity and customization options.
If you have any questions or need further assistance, feel free to leave a comment below. Our team of tech-savvy experts is here to help you make the most out of your Chromebook and ensure a smooth tech journey.
Experiencing difficulties with your Device, check out our “How To” page on how to resolve some of these issues.