Are you a proud owner of the Sony Xperia 1 and want to experience the latest Android 13 custom ROM? Look no further! In this comprehensive guide, we will walk you through the process of installing the unofficial Android 13 Custom ROM on your Sony Xperia 1. By following these instructions, you’ll be able to enjoy the vanilla version of Android 13 on your device. So, let’s get started!
Sony Xperia 1 Overview
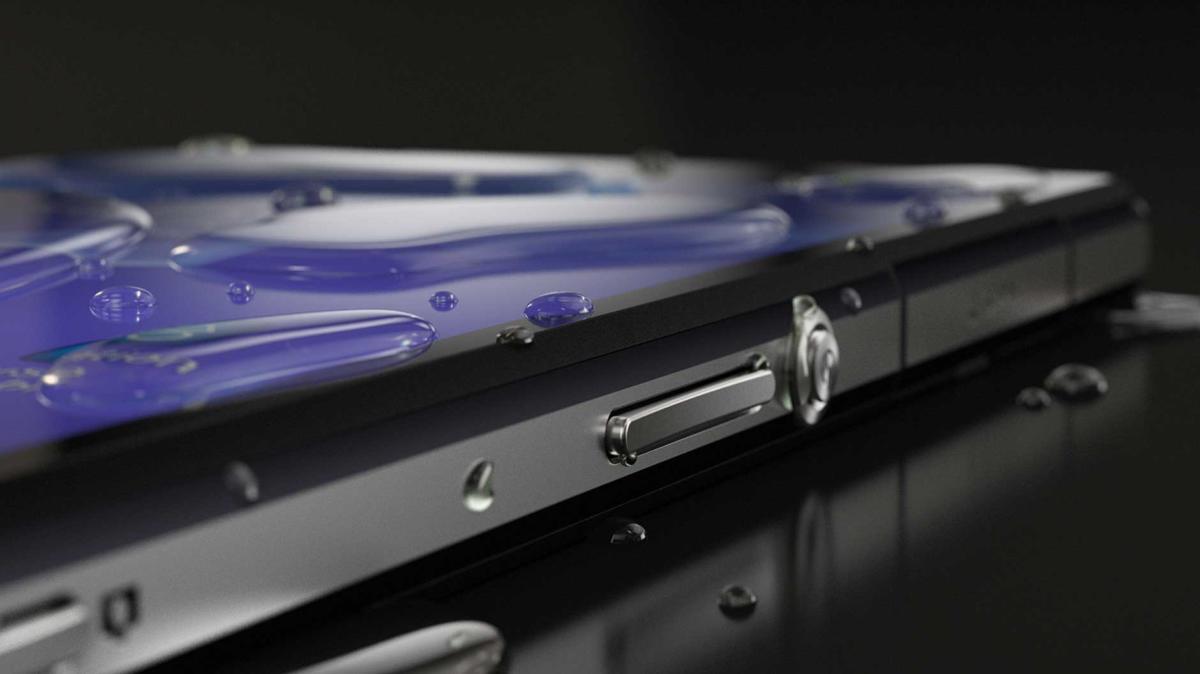
Before we dive into the installation process, let’s take a moment to familiarize ourselves with the Sony Xperia 1. Released in February 2019, the Xperia 1 is powered by a Qualcomm Snapdragon 855 chipset and features 6GB of RAM and 64/128GB of internal storage. It also supports expandable storage of up to 1TB, allowing you to store all your favorite apps, games, and media files.
The device comes with a 12MP + 12MP + 12MP triple-camera setup on the rear and an 8MP selfie camera, ensuring that you can capture stunning photos and videos. In terms of connectivity, the Xperia 1 offers 4G-VoLTE, GPS, Glonass, Bluetooth, and more. It even features a side fingerprint sensor for added security.
Android 13 and Its Features
Android 13 is the latest version of Google’s mobile operating system, and it brings a host of exciting features and improvements. While the official update is currently only available for Google Pixel devices, you can still enjoy Android 13 on your Sony Xperia 1 by installing a custom ROM.
Some of the standout features of Android 13 include:
- Enhanced User Interface: Android 13 introduces a new design language called “Material You,” which offers a more visually appealing and customizable user interface. With rounded corners, improved pop-ups, and a minimalistic look, Android 13 elevates the overall user experience.
- Improved Privacy and Security: Android 13 puts a greater emphasis on privacy and security. It offers better app permissions to send notifications, per-app basis language preferences, and enhanced privacy settings. You can have more control over your data and ensure that your personal information is secure.
- Optimized One-Handed UI Mode: Android 13 includes an optimized one-handed UI mode, making it easier for users to navigate and interact with their devices using just one hand. This feature is particularly useful for larger devices like the Xperia 1.
- Updated App Notifications: Android 13 brings improvements to app notifications, making them more informative and actionable. You can easily manage and prioritize notifications from your favorite apps, ensuring that you never miss out on important updates.
- Intuitive QR Scanner Support: With Android 13, you’ll have a built-in QR scanner that allows you to quickly scan QR codes without the need for third-party apps. This feature comes in handy for tasks like scanning QR codes for payments or accessing website links.
These are just a few of the many features that Android 13 has to offer. Now, let’s proceed to the installation process and get Android 13 up and running on your Sony Xperia 1.
How to Install AOSP Android 13 on Sony Xperia 1 (griffin)
To install the AOSP Android 13 custom ROM on your Sony Xperia 1, you’ll need to follow a series of steps. We have divided the process into several sections to make it easier for you to navigate. Before we begin, please ensure that you have backed up all your important data to prevent any loss during the installation process. Now, let’s dive in!
Pre-Requisites
Before we begin with the installation, there are a few pre-requisites that you need to fulfill. Let’s go through them one by one.
Charge Your Phone
It is essential to ensure that your Sony Xperia 1 has sufficient battery charge before proceeding with the installation. We recommend keeping your device charged to at least 50% or higher to avoid any interruptions during the process.
Download ADB and Fastboot Binaries
To proceed with the installation, you’ll need to download the ADB and Fastboot binaries. These tools will allow you to boot your device into the bootloader mode and perform various operations. If you already have TWRP Recovery installed on your Xperia 1, you can skip this step.
To download the ADB and Fastboot binaries, follow these steps:
- Visit the Platform-Tools download page.
- Download the ADB and Fastboot ZIP file for your operating system (Windows, macOS, or Linux).
- Extract the contents of the ZIP file to a convenient location on your computer.
Download Sony USB Drivers
To establish a successful connection between your Sony Xperia 1 and your computer, you’ll need to install the Sony USB Drivers. These drivers allow for seamless file transfer and other operations.
Unlock Bootloader on Your Phone
Before you can install any custom ROM on your Sony Xperia 1, you’ll need to unlock the bootloader. Unlocking the bootloader allows you to modify the device’s firmware and install custom software.
Install TWRP Recovery
To install the AOSP Android 13 custom ROM, you’ll need to have TWRP Recovery installed on your Sony Xperia 1. TWRP Recovery is a custom recovery that provides additional functionalities and allows you to flash custom ROMs.
Download Android 13 ROM and Gapps
Now that you have unlocked the bootloader and installed TWRP Recovery, it’s time to download the Android 13 ROM and Gapps package for your Sony Xperia 1.
To download the Android 13 ROM and Gapps, follow these steps:
- Visit the Android 13 ROM download page on the XDA Developers forum.
- Download the Android 13 ROM package specific to your Sony Xperia 1 variant.
- Similarly, download the Android 13 Gapps package.
Instructions to Install
Now that you have completed all the necessary pre-requisites, it’s time to install the AOSP Android 13 custom ROM on your Sony Xperia 1. Follow these step-by-step instructions carefully:
- Connect your Sony Xperia 1 to your computer using a USB cable.
- Enable USB Debugging on your device. To do this, go to Settings > About Phone > tap on Build Number seven times to enable Developer Options. Then, go to Developer Options and enable USB Debugging.
- Open the platform-tools folder on your computer where you extracted the ADB and Fastboot files.
- In the address bar of the folder, type “CMD” and hit Enter to launch the Command Prompt.
- In the Command Prompt window, execute the following command to reboot your device into TWRP Recovery:
adb reboot recovery- Once your device boots into TWRP Recovery, navigate to the Install section.
- Select the downloaded Android 13 ROM file and swipe right to flash it onto your device. This process may take a few minutes, so be patient.
- If you wish to install the Google Apps package as well, go back to the Install section and select the downloaded Gapps ZIP file. Swipe right to flash the Gapps package.
- Once the installation is complete, go back to the main menu and select the Reboot option.
- From the Reboot menu, select System to restart your device.
Congratulations! You have successfully installed the AOSP Android 13 custom ROM on your Sony Xperia 1. The first boot may take some time, so don’t worry if it takes a little longer than usual. Once the device boots up, you can set up your Xperia 1 from scratch and enjoy all the features and improvements that Android 13 has to offer.
Conclusion
Flashing the AOSP Android 13 custom ROM on your Sony Xperia 1 allows you to experience the latest version of Android and enjoy additional features and customization options. While the Xperia 1 may not receive the official Android 13 update from the manufacturer, installing a custom ROM is a great way to stay up-to-date with the latest software.
In this guide, we’ve provided you with detailed instructions on how to install the AOSP Android 13 custom ROM on your Xperia 1. We hope that you found this guide helpful and that you’re now able to enjoy all the benefits of Android 13 on your device.
If you encounter any issues or have any questions, feel free to comment below. We’ll be more than happy to assist you. Happy flashing!