Are you a proud owner of the Xiaomi Redmi Note 12 5G and eager to experience the latest Android 14 update? You’re in luck! Xiaomi has recently rolled out the HyperOS, a successor to MIUI that offers better performance, based on Android 14 for the Redmi Note 12 5G. In this comprehensive guide, we will walk you through the step-by-step process of downloading and installing the HyperOS ROM on your device.
Xiaomi Redmi Note 12 5G Device Overview
Let’s start by taking a closer look at the Xiaomi Redmi Note 12 5G. This device boasts a 6.67-inch AMOLED panel with a 120Hz refresh rate, offering a stunning visual experience. With an FHD+ resolution of 1080 x 2400 pixels and an aspect ratio of 20:9, the screen delivers sharp and vibrant colors. The peak brightness of 1200 nits ensures excellent visibility even in bright outdoor conditions.
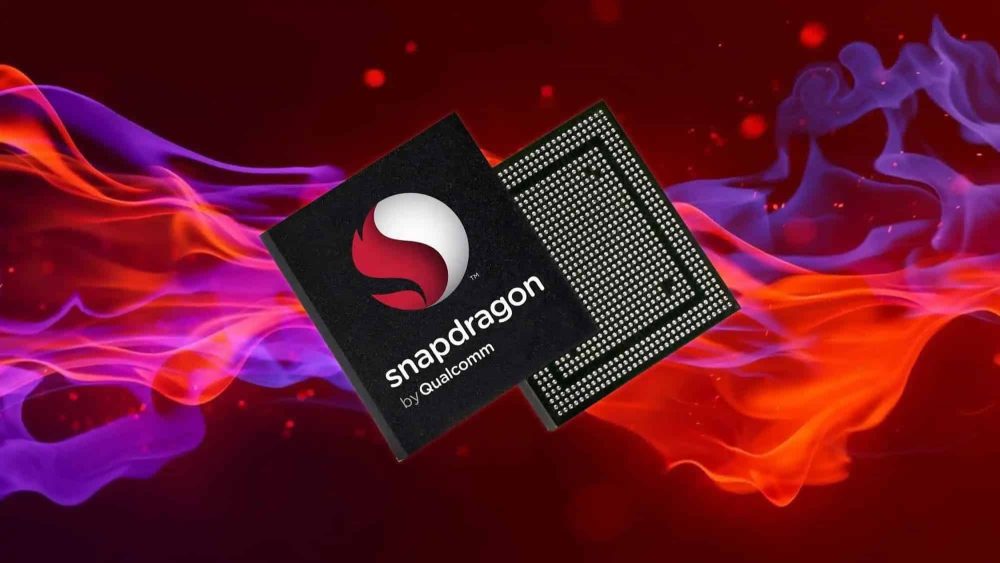
Under the hood, the Redmi Note 12 5G is powered by the Qualcomm Snapdragon 4 Gen 1 processor, built on a 6nm manufacturing process. This octa-core processor features two Cortex-A78 cores clocked at 2.0 GHz and six Cortex-A55 cores clocked at 1.8 GHz. The Adreno 619 GPU handles graphics-intensive tasks, providing smooth and lag-free performance. The device comes with Android 12 out of the box, with MIUI 13 skin on top, offering a clean and user-friendly interface.
In terms of camera capabilities, the Redmi Note 12 5G sports a dual-camera setup at the rear. The primary sensor is 48MP with an f/1.9 lens, while the secondary sensor is a 2MP depth sensor with an f/2.4 lens. This setup allows for high-quality photography, capturing stunning details and depth-of-field effects. For selfies, there is an 8MP wide sensor at the front. The rear camera supports 1080p video recording at 60fps, while the front camera is limited to 1080p video recording at 30fps.
The device offers multiple storage options, including 128GB internal storage with 4GB, 6GB, or 8GB of RAM, as well as a 256GB internal storage variant with 8GB of RAM. However, there is no dedicated microSD slot for storage expansion. In terms of connectivity, the Redmi Note 12 5G supports Wi-Fi 802.11 a/b/g/n/ac, Bluetooth 5.1, GPS, Infrared Port, and Type-C 2.0. It also features a side-mounted fingerprint sensor for quick and secure unlocking, along with other essential sensors such as accelerometer, gyro, compass, and proximity. Powering the device is a massive 5000mAh battery with support for 33W quick charging, ensuring long-lasting usage throughout the day.
Flash HyperOS on Redmi Note 12 5G using Fastboot
If you’re excited to try out the HyperOS ROM on your Redmi Note 12 5G, you can follow the fastboot method to flash the firmware. However, it’s important to note that this process will wipe all data from your device. Therefore, it is highly recommended to take a complete backup of your data before proceeding.
Requirements:
Before we dive into the installation process, make sure you have the following requirements:
- Ensure that your handset is sufficiently charged to avoid any interruptions during the flashing process.
- You will need a computer and a stock USB data cable for connecting your device.
- Take a full backup of the data from your phone to prevent any data loss.
- Install ADB and Fastboot Tools on your computer. If you haven’t installed them yet, you can follow our guide on how to install ADB and Fastboot on Windows.
Step 1: Enable USB Debugging and OEM Unlocking
To begin, you need to enable USB Debugging and OEM Unlocking on your Xiaomi Redmi Note 12 5G. Follow the steps below:
- Open the “Settings” app on your Redmi Note 12 5G.
- Scroll down and tap on “About Phone”.
- Tap on the “MIUI version” 7 times to enable Developer Options.
- Go back to the main Settings menu and search for “Developer Options”.
- Open “Developer Options” and enable the “USB Debugging” option.
- Turn on the “OEM Unlock” toggle and hit “Enable” to confirm.
By enabling USB Debugging and OEM Unlocking, your device will be recognized by the computer, allowing you to proceed with the fastboot method.
Step 2: Unlock Bootloader
Before flashing the HyperOS firmware, you need to unlock the bootloader of your Redmi Note 12 5G. Please note that unlocking the bootloader can void the manufacturer’s warranty and may lead to potential security risks.
To unlock the bootloader, follow these steps:
- Download the Mi Unlock Tool from the official Xiaomi website and extract the zip file on your computer.
- Run the Mi Unlock Tool application and sign in with your Mi Account. If you don’t have a Mi Account, you can create a new one.
- Power off your Redmi Note 12 5G and press and hold the Volume Down + Power buttons simultaneously to enter Fastboot mode.
- Connect your smartphone to the computer using a USB cable.
- Once the Mi Unlock Tool detects your connected handset, it will notify you.
- Click on “Unlock” and wait for the unlocking process to complete. This process will wipe all data on your device, so ensure you have taken a backup.
- Once the process is complete, you will receive a message stating “Unlocked successfully”.
- Click on the “Reboot phone” button to restart your device.
Congratulations! You have successfully unlocked the bootloader of your Redmi Note 12 5G.
Step 3: Download HyperOS ROM
Now it’s time to download the HyperOS ROM for your Redmi Note 12 5G. You can find the download links for the HyperOS firmware below:
Choose the appropriate ROM version based on your location and preference. Make sure to download the correct ROM for your device model.
Step 4: Boot to Fastboot Mode
To proceed with the firmware flashing, you need to boot your Redmi Note 12 5G into Fastboot mode. Follow the steps below:
- Connect your device to the computer using a USB cable.
- Ensure that USB Debugging is already enabled on your device.
- Go to the folder where you have installed the ADB and Fastboot Tools on your computer.
- In the address bar of the file explorer, type “CMD” and hit Enter to launch Command Prompt in the current directory.
- In the Command Prompt window, enter the following command to boot your device into Fastboot mode:
adb reboot bootloader- Once your device is in Fastboot mode, run the following command to check the fastboot connectivity and get the Device ID:
fastboot devicesIf you see your device’s Device ID listed, it means that your device is connected successfully. If you don’t see the Device ID, make sure you have installed the necessary USB drivers on your computer.
Step 5: Flash HyperOS ROM via Fastboot
Now that you have successfully booted your Redmi Note 12 5G into Fastboot mode, you can proceed with flashing the HyperOS ROM. Follow the steps below:
- Make sure you have downloaded the HyperOS ROM file on your computer.
- Double-click on the “windowsfastbootfirstinstallwithdataformat.bat” file to launch it.
- The firmware flashing process will begin. Please wait for it to complete. Do not disconnect your device or interrupt the process.
- Once the flashing process is complete, your Redmi Note 12 5G will automatically boot into the HyperOS ROM.
- The first boot may take some time, so be patient.
- Go through the initial setup process and enjoy the HyperOS experience on your Redmi Note 12 5G.
Congratulations! You have successfully flashed the HyperOS ROM on your Xiaomi Redmi Note 12 5G using the fastboot method. Explore the new features and enhancements offered by the HyperOS ROM and make the most out of your device.
Flash HyperOS on Redmi Note 12 5G using Recovery
If you prefer to use the recovery method to install the HyperOS ROM on your Redmi Note 12 5G, follow the steps below. Please note that the main firmware flashing process will be different from the fastboot method, but the initial requirements and steps remain the same.
Step 1: Requirements
Before proceeding with the recovery method, ensure that you have met the following requirements:
- Install Android SDK Platform Tools on your computer.
- Charge your device to at least 50% to avoid any interruptions during the installation process.
- Take a full backup of your data to prevent any data loss.
- Ensure you have a computer and a stock USB data cable ready.
Step 2: Allow USB Debugging and OEM Unlocking
Enable USB Debugging and OEM Unlocking on your Redmi Note 12 5G using the steps provided earlier in this guide.
Step 3: Unlock Bootloader
Unlock the bootloader of your Redmi Note 12 5G using the Mi Unlock Tool, following the steps mentioned earlier in this guide.
Step 4: Download HyperOS ROM
Download the HyperOS ROM for your Redmi Note 12 5G from the links mentioned earlier in this guide. Make sure to choose the appropriate ROM version based on your location and preference.
Step 5: Boot to Fastboot Mode
Boot your Redmi Note 12 5G into Fastboot mode as described earlier in this guide.
Step 6: Flash HyperOS ROM via Recovery
To install the HyperOS ROM using the recovery method, you need to install a custom recovery like TWRP on your device. Follow the steps below:
- Visit the official TWRP website and download the TWRP build for your device model.
- Use the fastboot method to flash TWRP (.img or .zip) on your device.
- Boot into the TWRP recovery menu and tap on the “Wipe” button.
- Choose “Factory reset” and slide the “Swipe to Factory Reset” option.
- Once the factory reset is complete, go back to the main menu and tap on the “Install” button.
- Navigate to the downloaded HyperOS ROM file in your device storage and select it.
- Slide the “Swipe to confirm Flash” option to begin the installation process.
- Wait for the installation to complete and then tap on the “Reboot” button.
- Your device will reboot automatically into the HyperOS ROM.
- The first boot may take a few minutes, so be patient.
- Go through the initial setup process and enjoy the HyperOS experience on your Redmi Note 12 5G.
Congratulations! You have successfully installed the HyperOS ROM on your Xiaomi Redmi Note 12 5G using the recovery method. Explore the new features and optimizations offered by the HyperOS ROM and enhance your overall user experience.
Conclusion
In conclusion, this guide has provided you with a comprehensive walkthrough of the steps to download and install the HyperOS ROM on your Xiaomi Redmi Note 12 5G. Whether you choose the fastboot method or the recovery method, make sure to follow the instructions carefully and take necessary precautions to avoid any data loss or potential risks. Enjoy the latest Android 14 features and optimizations on your Redmi Note 12 5G with the HyperOS ROM.