Are you tired of the small size and discomfort of the Nintendo Switch Joy-Cons? Do you want to use a more familiar and comfortable controller like the PS4 DualShock controller? Well, you’re in luck! In this comprehensive guide, we’ll walk you through the easy steps to use a PS4 controller on your Nintendo Switch. With just a few simple steps, you’ll be able to enjoy your favorite Switch games with the comfort of a PS4 controller.
Why Use a PS4 Controller on Nintendo Switch?
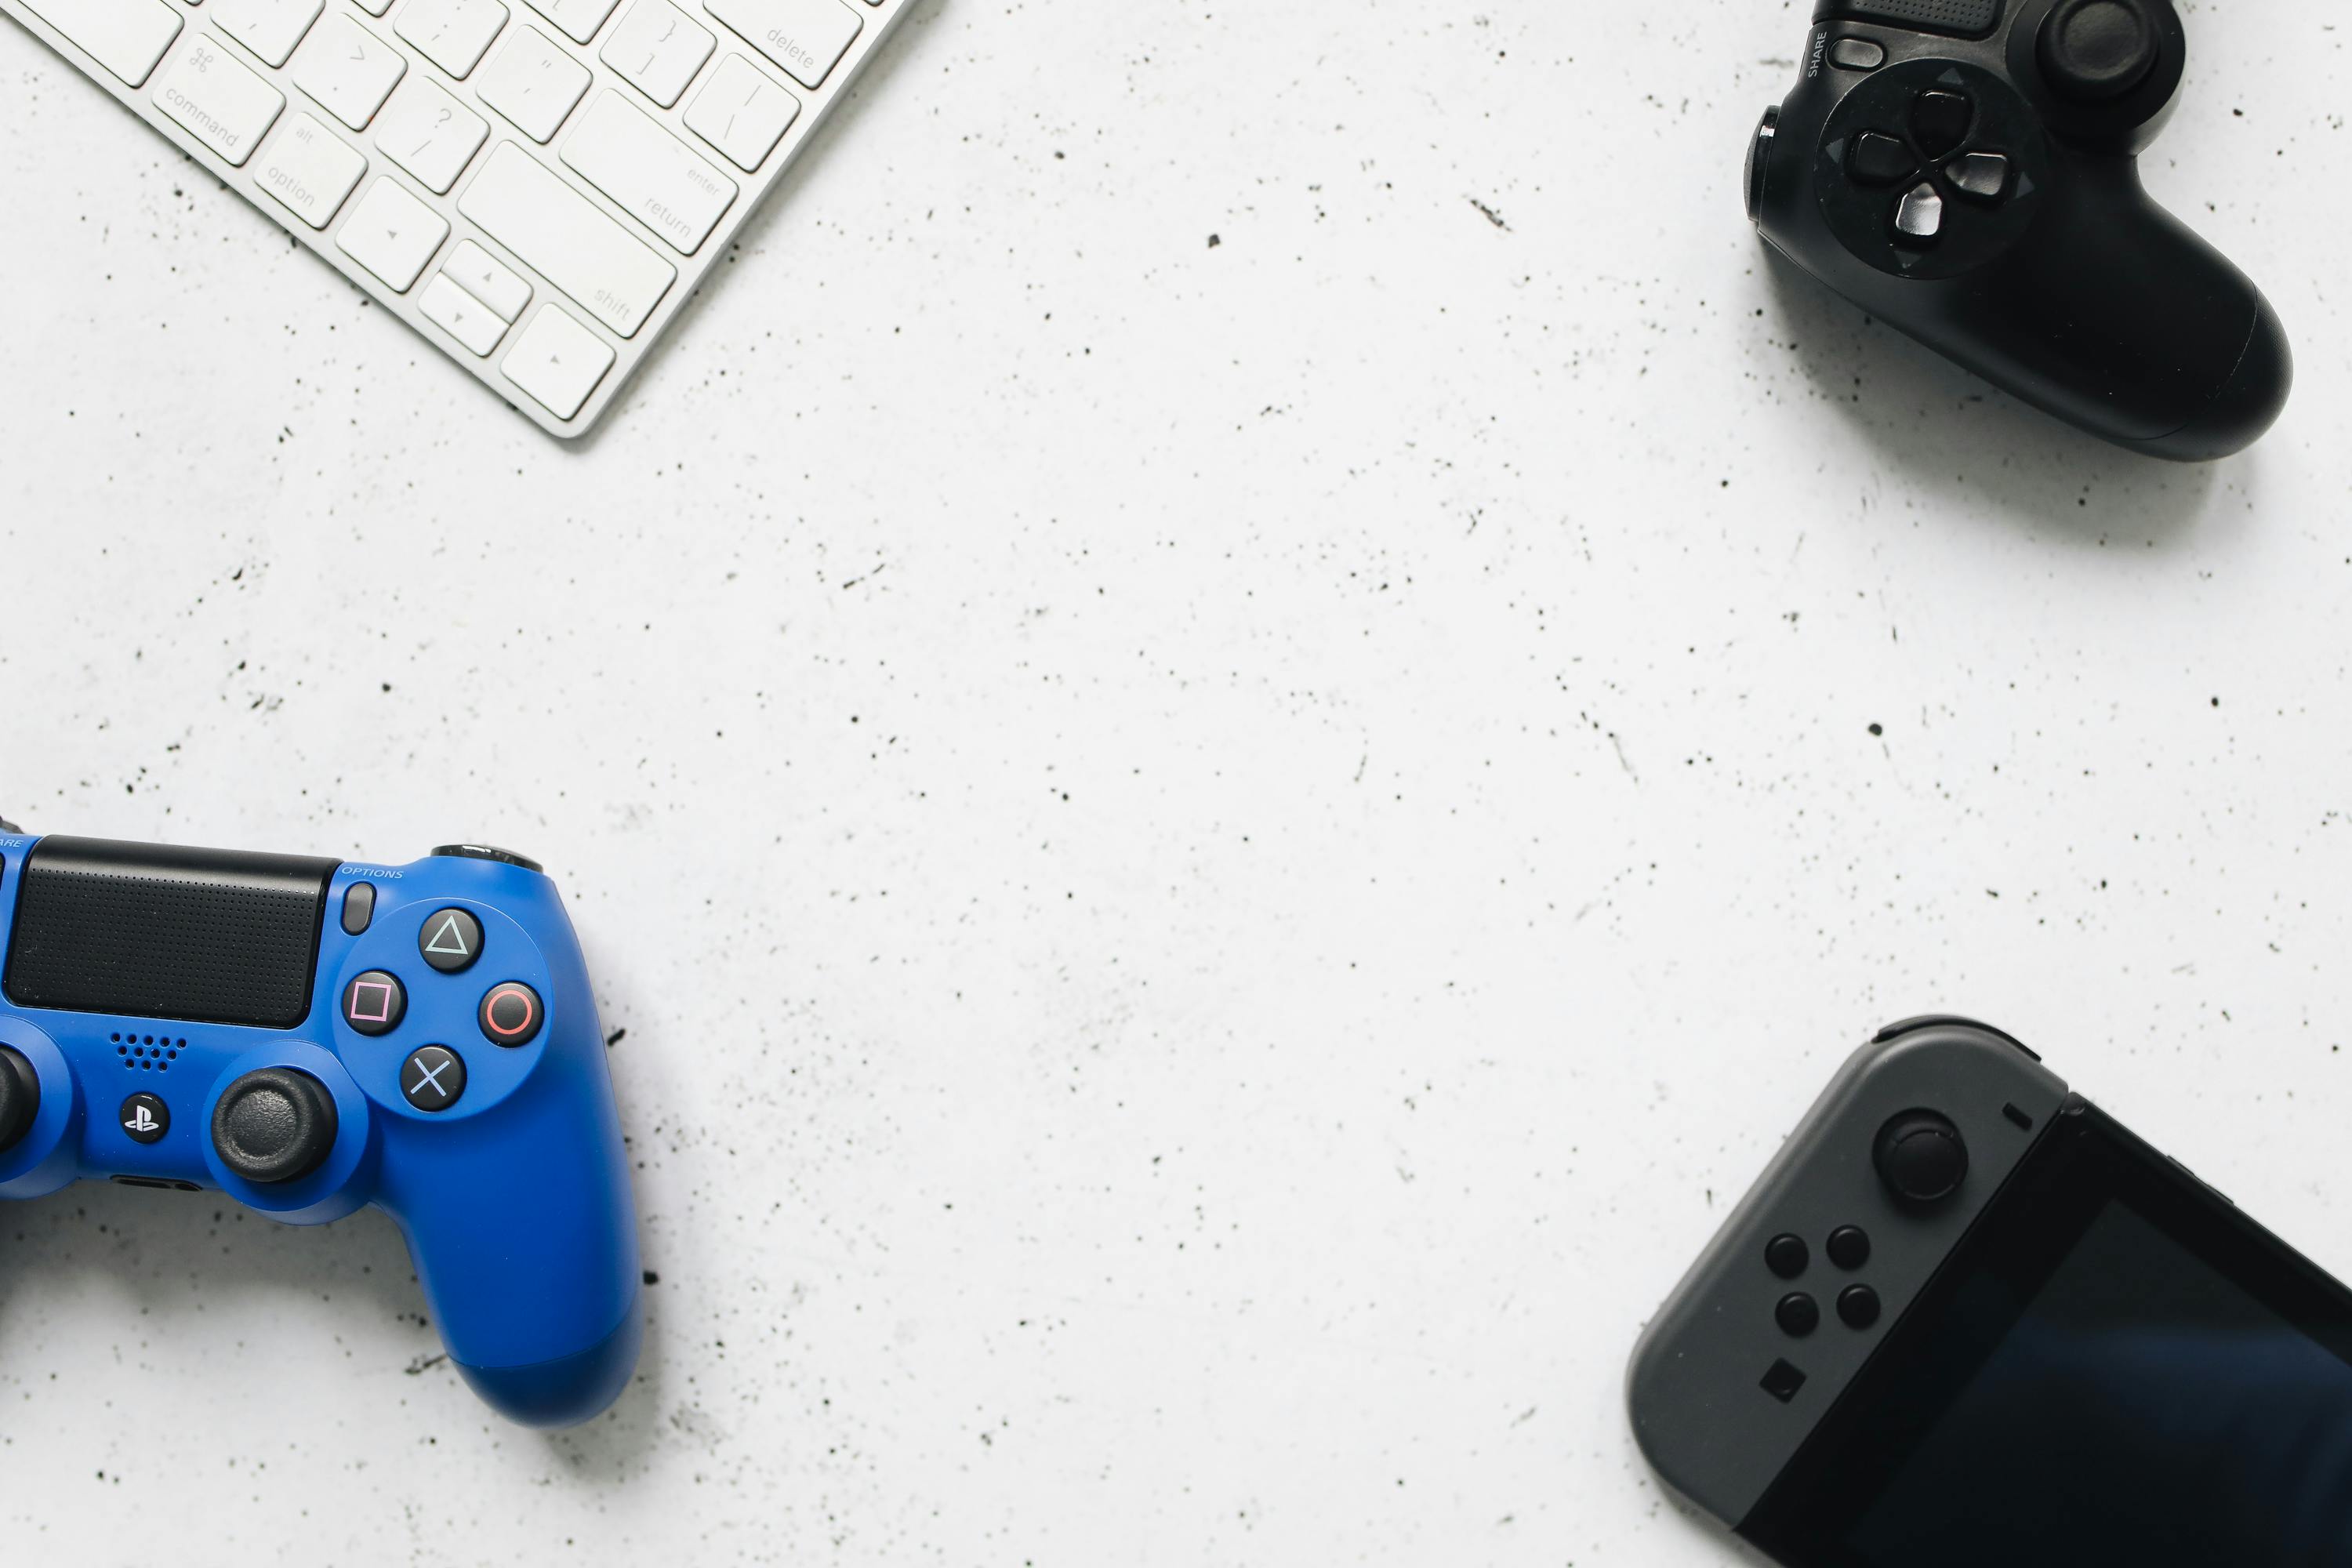
The Nintendo Switch’s Joy-Cons are undoubtedly clever devices with impressive haptic feedback and motion controls. However, their small size can quickly become uncomfortable during long gaming sessions. While you do have the option to purchase the Nintendo Switch Pro Controller, it can be quite expensive. But if you already have a PS4 controller lying around, you can easily connect it to your Nintendo Switch and enjoy a more comfortable gaming experience without breaking the bank.
What You’ll Need
Before we get into the steps, let’s go over what you’ll need to connect your PS4 controller to your Nintendo Switch:
- Wireless Adapter: To connect your PS4 controller wirelessly to your Switch, you’ll need a wireless adapter. There are various options available, but some popular choices include the 8Bitdo Wireless USB Adapter, Mayflash Wireless Adapter, and Skywin Wireless Controller Adapter. These adapters allow you to connect your PS4 controller to your Switch seamlessly.
- USB-C to USB Cable: If you want to use the wireless adapter in tabletop mode, you’ll need to purchase a separate USB-C to USB cable. This cable will allow you to connect the adapter directly to the USB-C port on your Switch.
- Nintendo Switch Dock: The wireless adapter only works in TV mode while the Switch is connected to the dock. So make sure you have your Switch docked and connected to your TV.
Now that you have all the necessary equipment, let’s dive into the steps to connect your PS4 controller to your Nintendo Switch.
Step 1: Plug the Wireless Adapter into the Switch Dock
The first step is to plug the wireless adapter into one of the USB ports on the side of the Switch dock. This adapter will serve as the bridge between your PS4 controller and the Switch.
Step 2: Access the System Settings on Your Switch
Next, turn on your Switch and go to the System Settings. You can access the System Settings by selecting the gear icon on the home screen.
Scroll down in the System Settings menu and select “Controllers and Sensors.” This menu houses all the settings related to your controllers and other input devices.
Step 4: Enable Pro Controller Wired Communication
In the Controllers and Sensors menu, look for the option called “Pro Controller Wired Communication” and select it to turn it on. This setting allows your Switch to recognize and communicate with the PS4 controller connected through the wireless adapter.
Step 5: Put the Wireless Adapter in Pairing Mode
With your Switch docked and awake, it’s time to put the wireless adapter in pairing mode. This mode allows your PS4 controller to establish a connection with the adapter. Refer to the instructions specific to your wireless adapter on how to activate pairing mode.
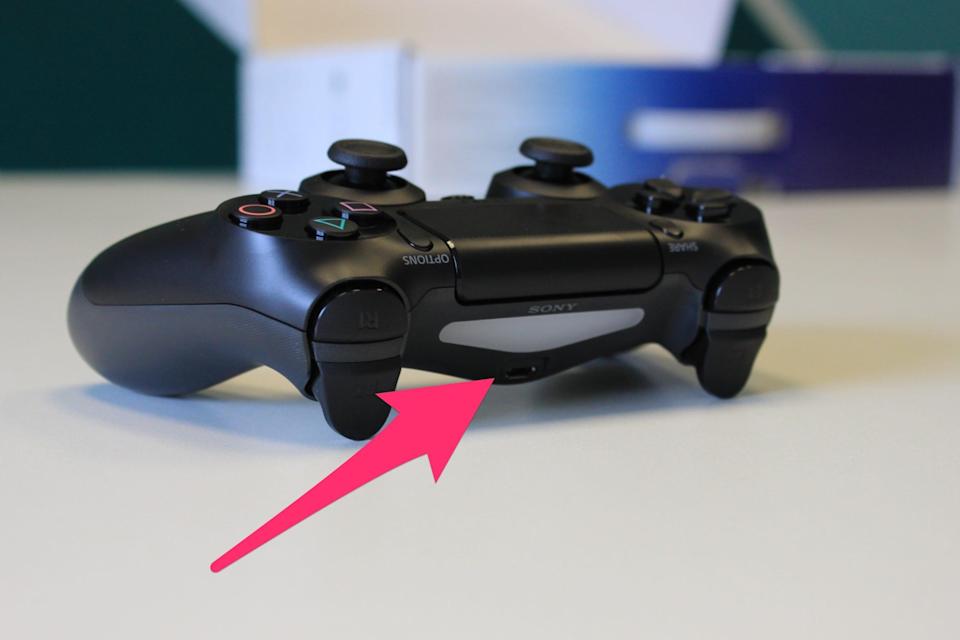
Step 6: Put the PS4 DualShock Controller in Pairing Mode
Now it’s time to put your PS4 DualShock controller in pairing mode. To do this, hold down the PS button and the Share button simultaneously on the controller. The indicator light on the controller will blink white to indicate it is in pairing mode.
Step 7: Wait for Pairing Confirmation
Keep an eye on the indicator light on the PS4 DualShock controller. Once the blinking white light turns solid blue, it means that the controller has been successfully paired with the wireless adapter. If the pairing is not successful, go back to Step 5 and repeat the process.
Step 8: Enjoy Gaming with Your PS4 Controller
Congratulations! You have successfully connected your PS4 controller to your Nintendo Switch. Now you can enjoy all your favorite Switch games with the comfort and familiarity of the PS4 controller. Whether it’s Mario Kart, Super Smash Bros., or The Legend of Zelda, you’ll have a more enjoyable gaming experience with the PS4 controller.
Alternative Wireless Adapter Options
While the wireless adapters mentioned earlier are popular choices, there are other options available as well. Some alternative wireless adapter options you might consider include:
- Mayflash Wireless Adapter: This adapter allows you to connect your Xbox One or PS4 controller to your Switch. It features a USB port on the other side, so you can plug in your controller to pair it. Once paired, you can unplug the wired connection.
- Skywin Wireless Controller Adapter: The Skywin Wireless Controller Adapter offers the flexibility to connect both wired and wireless controllers. It features a USB port on the other side and a convenient button to switch between modes.
- Nintendo Switch Pro Controller: If you prefer not to use an adapter, you can opt for the Nintendo Switch Pro Controller. This controller offers an ergonomic design that is more in line with traditional gamepads. It was specifically designed for the Switch and provides a seamless gaming experience.
Pros and Cons of Using a PS4 Controller on Nintendo Switch
Using a PS4 controller on your Nintendo Switch comes with its own set of advantages and limitations. Let’s take a look at the pros and cons:
Pros:
- Comfort: The PS4 controller is larger and more comfortable to hold for extended gaming sessions compared to the Joy-Cons.
- Cost-Effective: If you already have a PS4 controller, using it with your Switch eliminates the need to purchase an additional controller.
- Familiarity: If you’re accustomed to the layout and feel of the PS4 controller, using it on the Switch will provide a more familiar gaming experience.
Cons:
- Limited Button Mapping: The physical arrangement of buttons on the PS4 controller differs from the Switch Pro Controller. This may result in differences in button mapping for certain games, requiring adjustment and getting used to.
- Wake-Up Functionality: Unlike the Joy-Con controllers, the PS4 controller cannot wake up the Switch from sleep mode. You will still need to use the Joy-Cons for this functionality.
- Intermittent Connectivity: Some users have reported occasional connectivity issues, where the Switch fails to recognize the PS4 controller. Undocking the Switch and reconnecting it can often resolve this issue.
Other Compatible Controllers for Nintendo Switch
In addition to the Joy-Cons and the PS4 controller, the Nintendo Switch supports several other controllers. Here are some alternatives you might consider:
- Nintendo Switch Pro Controller: The official Pro Controller offers a more traditional gamepad experience with an ergonomic design. It’s one of the most popular choices for Switch users.
- Wii U Pro Controller: If you have a Wii U Pro Controller, it can also be used with the Nintendo Switch. However, you will need the Wii U Pro Controller Adapter to connect it.
- GameCube Controller: The GameCube controller, known for its iconic design, can be used with the Nintendo Switch if you have the GameCube Controller Adapter for Wii U.
- Third-Party Controllers: There are numerous third-party controllers available for the Nintendo Switch. These controllers often offer unique designs, additional features, and competitive pricing.
Conclusion
Using a PS4 controller on your Nintendo Switch is a great way to enhance your gaming experience and enjoy the comfort of a familiar controller. With the help of a wireless adapter, you can easily connect your PS4 controller to your Switch and play all your favorite games with ease. Whether you’re a casual gamer or a hardcore enthusiast, this guide has provided you with the easy steps to set up your PS4 controller on your Nintendo Switch. So grab your controller, follow the steps, and start gaming in comfort!