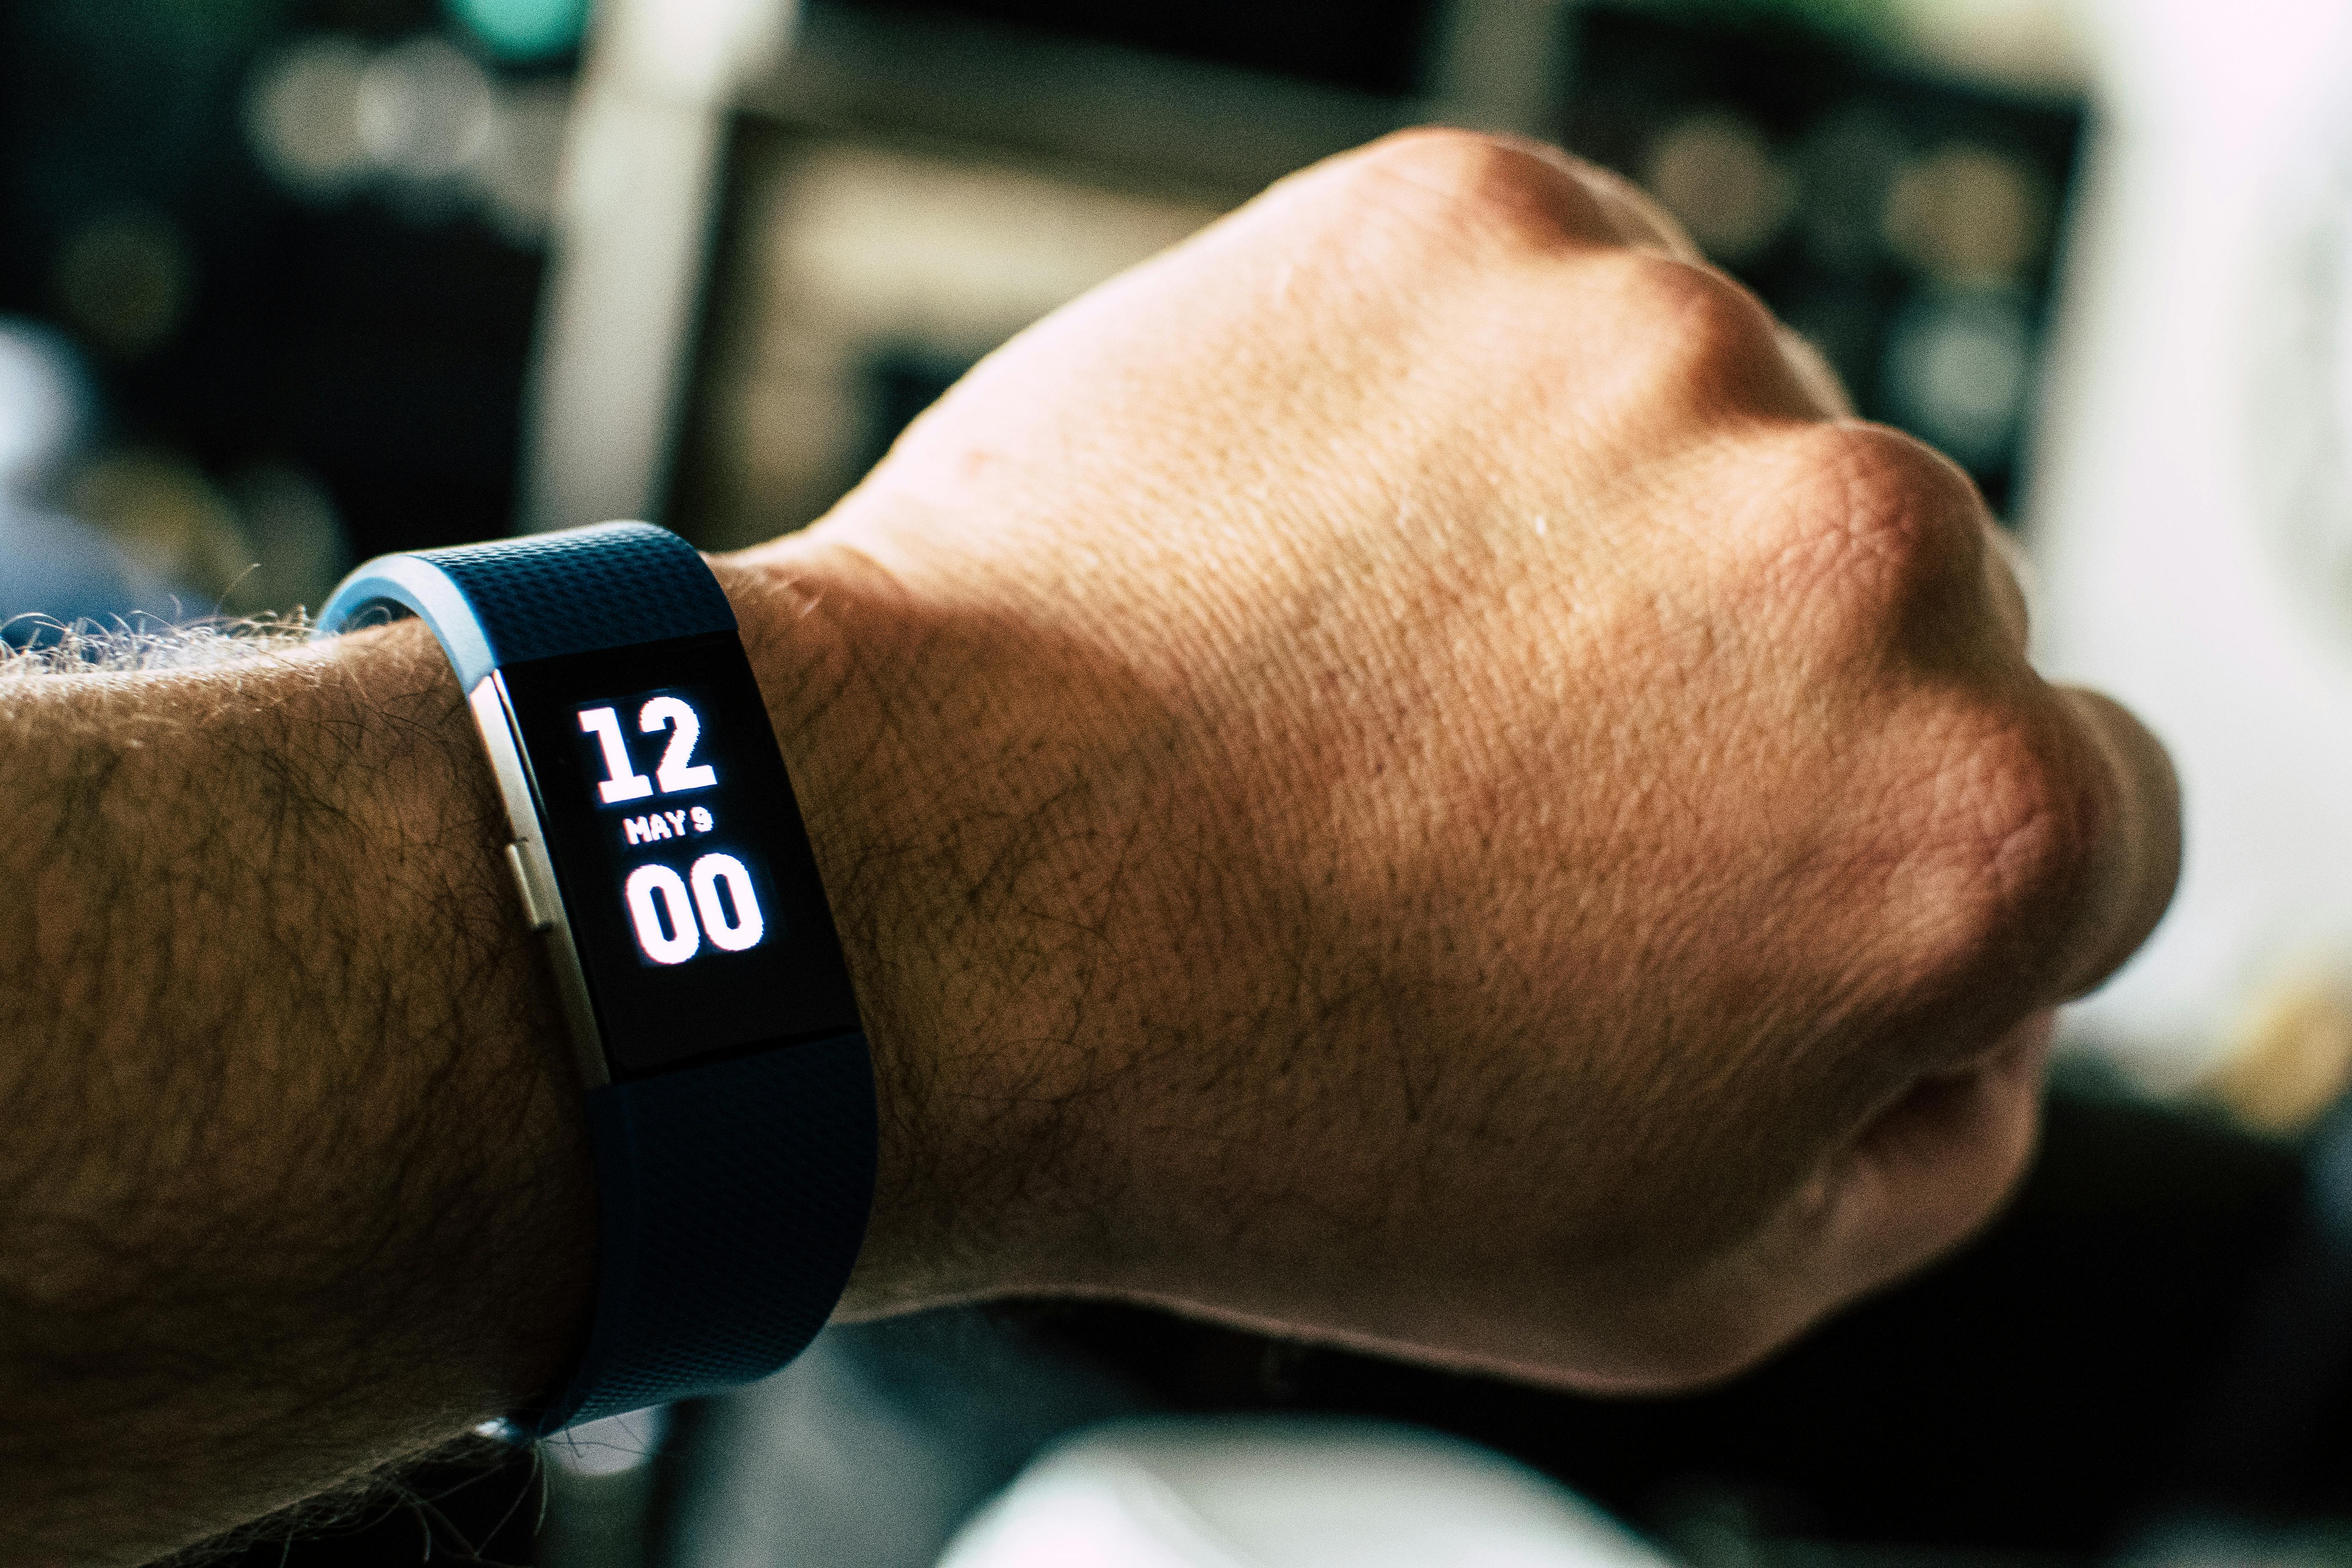
 Are you tired of missing important calls while at work or on the move? The Fitbit Charge HR is not just for tracking your steps; it also allows you to receive important call notifications. With Caller ID functionality, your Fitbit Charge HR can display the caller’s name and vibrate on your wrist, so you can decide whether to answer the call or get back to the caller later. In this guide, we will outline the steps to enable Caller ID on your Fitbit Charge HR and iPhone.
Compatibility Check
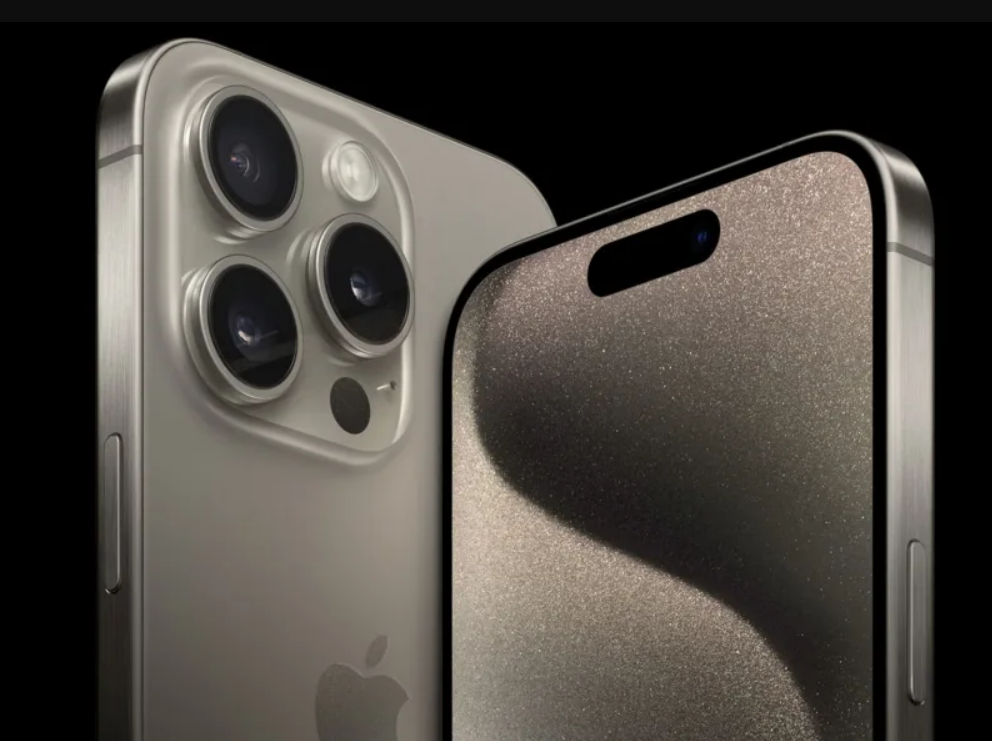
Before getting started, it’s important to ensure that your iPhone is compatible with Fitbit supported devices. Visit the official Fitbit website and check if your phone is listed as a compatible device for Caller ID functionality. Please note that Caller ID only works with approved iPhone devices.
Step 1: Turn on Bluetooth
To establish a connection between your Fitbit Charge HR and iPhone, you need to turn on Bluetooth on your iPhone. Follow these steps:
- Open the Settings icon on your iPhone.
- Tap on “Bluetooth”.
- Toggle the Bluetooth switch button to turn it on.
Alternatively, you can swipe up at the bottom of your home screen to access the quick pull-up menu and select the Bluetooth symbol to turn it on.
Step 2: Enable Phone Call Notifications
Next, you need to enable phone call notifications on your iPhone. Here’s how:
- Open the Settings icon on your iPhone.
- Tap on “Notifications”.
- Scroll down and select “Phone”.
- Toggle the “Allow Notifications” button to turn it on.
Step 3: Download and Install the Fitbit App
If you haven’t already done so, download and install the Fitbit app on your iPhone. Follow these steps:
- Open the App Store on your iPhone.
- Search for “Fitbit” in the search bar.
- Tap on the Fitbit app.
- Tap on “Get” and then “Install” to download and install the app.
If you already have the Fitbit app installed, make sure it’s up to date.
Step 4: Link Your Fitbit Charge HR to Your iPhone
Now that you have the Fitbit app installed on your iPhone, it’s time to link your Fitbit Charge HR to your phone. Follow these steps:
- Open the Fitbit app on your iPhone.
- Tap on the “Charge HR” device pictured at the top of the app dashboard.
- Select “Notifications” from the menu.
- Toggle the “Call Notifications” button to turn it on.
When your iPhone initially connects to your Fitbit Charge HR, follow the on-screen instructions to complete the setup. Ensure that you are within the specified distance of 20 feet (6 meters) from your iPhone to receive Caller ID notifications.
Step 5: Test Caller ID Functionality
You should now be able to see Caller ID on your Fitbit Charge HR display and feel a vibration alert on your wrist. To test the functionality, you can do a test call to your iPhone. If everything is set up correctly, the caller’s name should scroll across the Fitbit display, and your device will vibrate.
Re-establishing the Connection
Once the initial connection and link between your Fitbit and iPhone are established, re-establishing the connection in the future is simple. Just turn on Bluetooth on your mobile phone, and your Fitbit Charge HR will automatically connect to your iPhone.
Conclusion
With the Caller ID feature enabled on your Fitbit Charge HR, you can stay informed about important calls even when your phone is on silent or out of reach. By following the steps outlined in this guide, you can easily set up and enjoy the convenience of receiving call notifications on your Fitbit device. Keep an eye out for future posts as we provide more insights on how to make the most out of your Fitbit Charge HR and iPhone.


