Fallout 4, a popular action role-playing video game developed by Bethesda Game Studios, has gained a massive following since its release in 2015. However, like many games, Fallout 4 is not exempt from technical issues. One common problem reported by players is audio not working or sound cutting out during gameplay. If you’re experiencing these issues, don’t worry! In this comprehensive troubleshooting guide, we’ll provide you with step-by-step solutions to fix the Fallout 4 audio problems and ensure you have an immersive gaming experience.
Repair Game Files
One of the first steps to resolve audio issues in Fallout 4 is to repair the game files. Corrupted or missing game files can often cause audio problems. Follow these steps to repair the game files:
- Open the Steam client and go to your Library.
- Right-click on the Fallout 4 game and select Properties.
- Go to the Local Files tab.
- Click on “Verify Integrity of Game Files…”
- The verification process will start and may take some time to complete.
- Once done, close the Steam client and restart your computer to apply the changes.
Disable Nahimic Audio Driver
Nahimic is an audio driver that is designed to optimize and tune the audio performance on your computer. However, it can sometimes interfere with the audio in Fallout 4. To disable the Nahimic audio driver, follow these steps:
- Open the Task Manager by pressing Ctrl+Shift+Esc.
- Go to the Startup tab.
- Find the Nahimic audio driver in the list and disable it.
- Restart your computer to check if the audio issue has been resolved.
Update Audio Drivers
Outdated or incompatible audio drivers can also cause audio problems in Fallout 4. Updating your audio drivers can often fix these issues. Here’s how you can update your audio drivers:
- Press the Windows + X keys to open the Quick Link Menu.
- Click on Device Manager to open it.
- Double-click on Sound, video, and game controllers.
- Right-click on the active or problematic audio device and select Update driver.
- Choose the option to search automatically for drivers.
- Wait for the process to complete. If an update is available, it will be installed automatically.
- Restart your computer to apply the changes.
Reinstall Audio Drivers
If updating the audio drivers didn’t resolve the audio issues, it may be necessary to reinstall them. Follow these steps to reinstall the audio drivers:
- Press the Windows + X keys to open the Quick Link Menu.
- Click on Device Manager to open it.
- Double-click on Sound, video, and game controllers.
- Right-click on the active or problematic audio device and select Uninstall device.
- Click on Uninstall again to confirm the task.
- Wait for the process to be completed.
- Restart your computer. The Windows system will automatically reinstall the missing audio driver or audio device, if connected.
- If the driver doesn’t get installed automatically, visit the official manufacturer’s website, and download the latest audio driver for your computer model.
Remove Fallout 4 Config
Sometimes, the Fallout 4 config file can cause audio issues. Removing this file can help resolve the problem. Follow these steps to remove the Fallout 4 config file:
- Open the File Explorer and go to the C: drive where you’ve installed the game.
- Navigate to the directory: usernamedocumentsFallout 4settings.
- Delete the Fallout 4 config file.
- Reboot your PC to apply the changes.
Check Wires of Audio Output
Before diving into more technical troubleshooting, it’s essential to ensure that the audio output device and wires are properly connected and plugged into the correct port. Check all the connections to make sure there are no loose cables or faulty wires.
Disconnect Other Peripherals
Sometimes, other peripherals connected to your computer can interfere with the audio in Fallout 4. Disconnect any unnecessary external USB devices and test the audio again to identify if any of the peripherals were causing the issue.
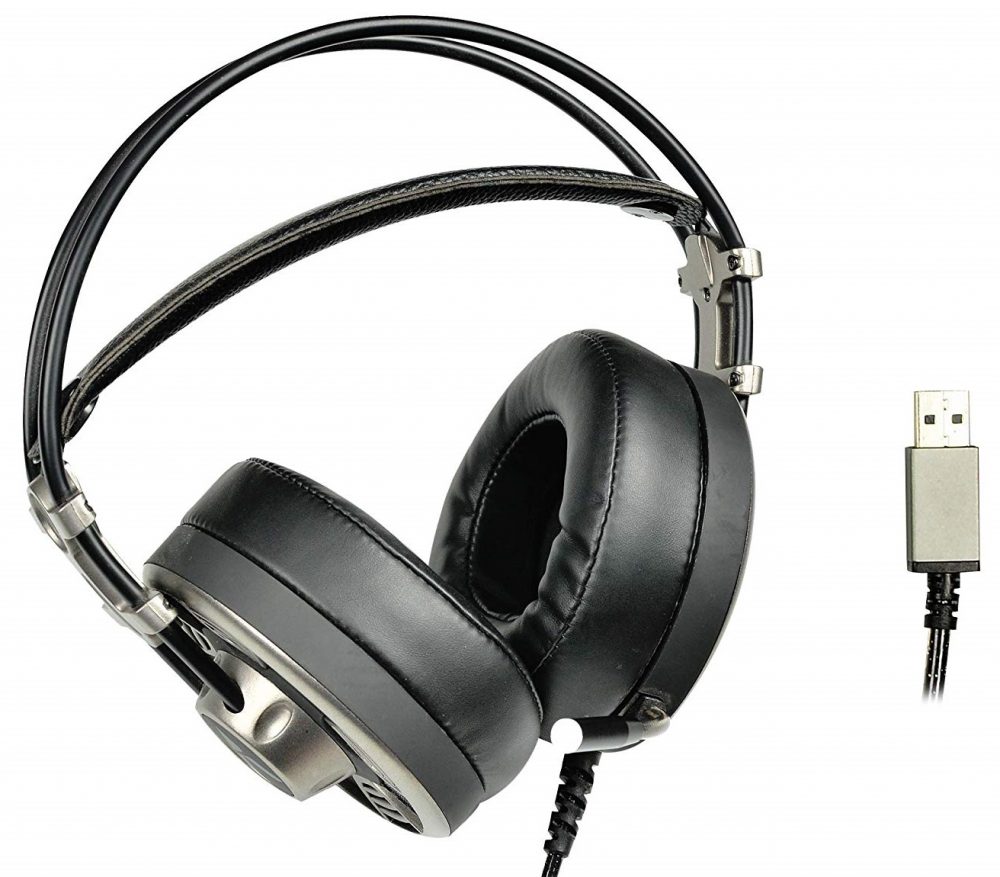
Test Out Other Speakers or Headsets
To determine if the audio problem is specific to your existing speakers or headset, try using different speakers or headsets with your computer while playing Fallout 4. If the audio works fine with other devices, it may indicate a problem with your current speakers or headset.
Power Cycle your PC
Power cycling your PC can often resolve various software and hardware issues, including audio problems. Follow these steps to power cycle your PC:
- Power off your PC and unplug the power cable from the power source.
- Wait for approximately a minute.
- Plug the power cable back in and power on your computer.
- Check if the audio issue persists.
Turn Off Windows Sonic or Spatial Sound
If your desktop or laptop has the Windows Sonic or Spatial Sound feature enabled, it may be causing audio issues in Fallout 4. Disable this feature by following these steps:
- Click on the Start menu and go to Settings.
- Click on System.
- Select Sound.
- Choose “Related settings.”
- Go to Sound Control Panel and select a playback device.
- Click on Properties.
- Select the Spatial sound tab.
- In the Spatial Sound format, choose “Off” or select a different option.
- Click Apply and restart your PC to apply the changes.
Reset BIOS
If none of the previous solutions have resolved the audio issues in Fallout 4, you can try resetting the BIOS/UEFI menu. Resetting the BIOS settings can help resolve hardware-related conflicts. Here’s how you can reset the BIOS:
- Restart your computer and enter the BIOS/UEFI menu. The key to access this menu varies depending on your computer manufacturer (common keys include F2, Del, or Esc).
- In the BIOS/UEFI menu, look for an option to reset the BIOS settings or load default settings.
- Select the reset or default option and confirm your choice.
- Save the changes and exit the BIOS/UEFI menu.
- Restart your PC and check if the audio problem is resolved.
Update BIOS
Updating the BIOS can sometimes fix crashes or errors that affect the audio in Fallout 4. However, updating the BIOS requires careful consideration and knowledge. It’s highly recommended to follow in-depth tutorials specific to your motherboard brand to update the BIOS safely and correctly.
Conclusion
By following these troubleshooting steps, you should be able to fix the audio issues in Fallout 4 and enjoy a seamless gaming experience. If you encounter any further problems or have additional questions, feel free to comment below. Happy gaming!