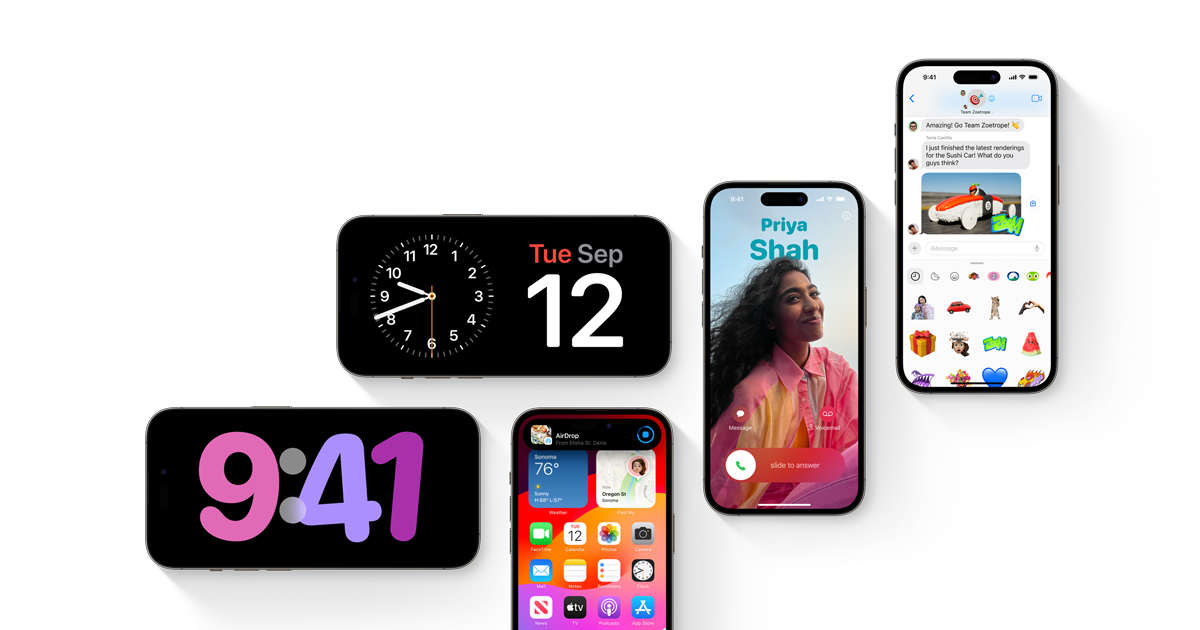
Are you eagerly awaiting the latest iOS 17 update for your iPhone or iPad, only to find yourself stuck on the dreaded “Update Requested” screen? Don’t panic! This common issue can be easily resolved with a few simple steps. In this comprehensive guide, we will walk you through proven solutions to get your iOS 17 update back on track. Whether it’s a poor internet connection, low storage space, or a software-related problem, we’ve got you covered.
Understanding the iOS 17 Update Requested Error
Before diving into the solutions, let’s first understand why your device might be stuck on the “Update Requested” screen. The primary cause of this error is often a poor or unstable internet connection. When your device requests the update from Apple’s servers, a weak connection can hinder the download process, resulting in the update getting stuck. Additionally, if the Apple servers are overloaded due to high demand, the update can remain in the “Requested” state for an extended period.
Another factor that can contribute to the iOS 17 update being stuck is low storage space on your device. The update requires a significant amount of storage to complete successfully. If your device’s storage is nearly full, the update may encounter errors and fail to progress. Lastly, software-related issues can also be responsible for the update getting stuck on the “Update Requested” screen.
How Long Does the Update Requested Process Take?
The duration of the “Update Requested” process can vary depending on several factors, such as your internet connection speed and the amount of available storage on your device. Under optimal conditions, the update request should typically take less than 5 minutes to complete. If you find that the process has been prolonged beyond this timeframe, it is likely that you are experiencing the “iPhone update requested iOS 17” error.
Now, let’s explore the various solutions to address the iOS 17 update stuck on the “Update Requested” screen:
Solution 1: Force Restart Your iPhone
A force restart can often resolve minor software glitches and kickstart the update process. The steps to force restart your device may vary depending on the model:
- For iPhone 8, iPhone X, or newer models:
- Press the “Volume Up” button quickly and release it.
- Press the “Volume Down” button quickly and release it.
- Press and hold the “Power” button until the Apple logo appears on the screen.
- For iPhone 7 or 7 Plus:
- Hold both the “Power” and “Volume Down” buttons simultaneously.
- Release the buttons when the Apple logo appears on the screen.
- For iPhone 6s/6s Plus or earlier:
- Press and hold the “Sleep/Wake” button and the “Home” button simultaneously.
- Continue holding the buttons until you see a slider on your screen.
Solution 2: Check Your Network Connection or Restart the Router
A stable internet connection is crucial for a successful iOS 17 update. To ensure that your network connectivity is not causing the issue, follow these steps:
- Go to the “Settings” app on your device.
- Tap on “Wi-Fi” and connect to an available Wi-Fi network. If you are using mobile data, check if it is turned on and the network strength is sufficient.
- If you are using a router, try restarting it to resolve any connectivity issues.
Solution 3: Free Up Your iPhone Storage
Insufficient storage space on your iPhone can prevent the iOS 17 update from being installed. To check your device’s storage status and free up space if needed, follow these steps:
- Open the “Settings” app on your device.
- Navigate to “General” and tap on “iPhone Storage”.
- Wait for the device to calculate the storage space and display the size of each category.
- Delete unnecessary files such as videos, pictures, and apps that you don’t use to create more storage space.
Solution 4: Delete Update and Try Again
If the iOS 17 update is still stuck after attempting the previous solutions, deleting the update and trying again can often resolve the issue. Follow these steps:
- Go to “Settings” > “General” > “iPhone Storage”.
- Look for the iOS update under the storage section and tap on it.
- Tap “Delete Update” to remove the pending update from your device.
- Navigate back to “Settings” > “General” > “Software Update” and attempt to update to iOS 17 again.
Solution 5: Use iTunes to Update
If you’re still facing the “Update Requested” error, using iTunes to update your device can provide a workaround. Here’s how you can update to iOS 17 using iTunes:
- Launch the iTunes program on your Mac or Windows PC.
- Connect your iPhone to the computer using a USB cable.
- Look for your connected iPhone in the left column of iTunes.
- Click on “Check for Updates,” and iTunes will search for any available updates.
- If an update is found, click on the “Update” button to begin the iOS 17 installation process.
If the above solutions fail to resolve the issue and you suspect a software-related problem, Tenorshare ReiBoot is a reliable tool that can help you update your iPhone to iOS 17 without data loss. Follow these steps to utilize Tenorshare ReiBoot:
- Download and install Tenorshare ReiBoot on your Mac or Windows PC.
- Connect your iPhone to the computer using a USB cable.
- Launch Tenorshare ReiBoot and wait for it to recognize your device.
- Click on “Start” and then “Standard Repair.”
- Follow the on-screen instructions and click on “Standard Repair” to proceed.
- Tap on “Download” to initiate the download of the latest firmware file. Note that the download may take some time due to the large file size (around 5GB).
- Once the firmware file is downloaded, click on “Start Standard Repair,” and Tenorshare ReiBoot will automatically repair your iPhone.
- After the repair process is complete, your iPhone should no longer be stuck on the “Update Requested” screen.
Solution 7: Reset Network Settings or Reset All Settings
If none of the previous solutions have resolved the issue, you can try resetting your network settings or resetting all settings on your device. Here are the steps to follow:
- Open the “Settings” app on your iPhone.
- Tap on “General” and scroll down to find “Reset.”
- Depending on your preference, you can either choose “Reset Network Settings” or “Reset All Settings.”
- Confirm your selection and allow your device to reset.
- After the reset is complete, attempt to update to iOS 17 again.
Solution 8: Update Using a Computer
If all else fails, updating to iOS 17 using a computer can often provide a reliable solution. Follow these steps to update your iPhone using a computer:
- Connect your iPhone to your Mac or PC using a USB cable.
- If you have an older Mac or Windows PC, open iTunes. For macOS Catalina and later, use Finder.
- Locate your iPhone in iTunes or Finder.
- Follow the instructions specific to your computer’s software to check for and install the iOS 17 update.
Conclusion
In conclusion, getting stuck on the “Update Requested” screen while attempting to update to iOS 17 can be frustrating. However, with the solutions provided in this comprehensive guide, you can easily overcome this issue and enjoy the latest features and improvements offered by iOS 17. Whether it’s force restarting your iPhone, checking your network connection, freeing up storage space, or using third-party tools like Tenorshare ReiBoot, there are multiple options to resolve the issue and get your iOS update back on track.
Remember, each solution has its own set of steps, so make sure to follow them carefully. If one solution doesn’t work, don’t lose hope—try another until you find the one that works for you. With patience and persistence, you’ll soon be enjoying the benefits of iOS 17 on your iPhone or iPad.


