Underneath We’ll Get Into A Portion Of The Arrangements On Fix Samsung Galaxy S8 Not Recognized by Windows PC.
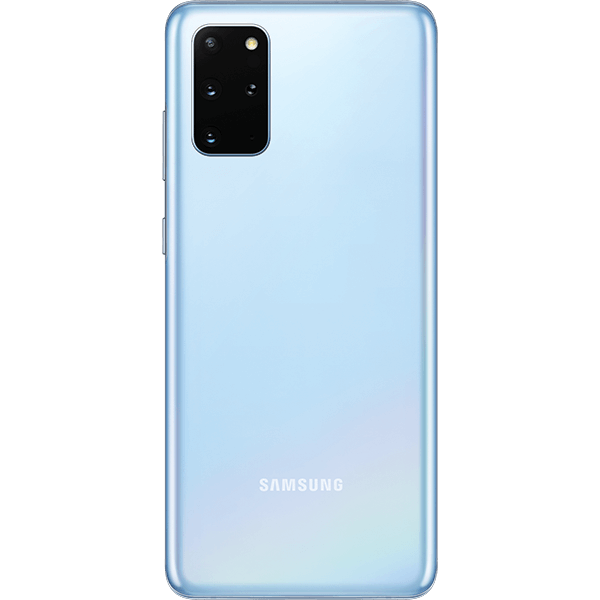
The Samsung Galaxy S8 smartphone was propelled in March 2017. The phone accompanies a 5.80-inch touchscreen with a display resolution of 1440 pixels by 2960 pixels at a PPI of 570 pixels for each inch.
The Samsung Galaxy S8 runs on a 1.9GHz octa-center Samsung Exynos 8895 processor and it accompanies 4GB of RAM. The smartphone packs 64GB of internal storage that can be extended up to 256GB by means of a microSD card. Where camera specs are concerned, the Samsung Galaxy S8 packs a 12-megapixel rear camera (primary) and on the front a 8-megapixel front shooter for selfies.
The Samsung Galaxy S8 runs Android 7.0 which can also be upgraded to the latest available running Android OS and runs on a 3000mAh non removable battery. It’s metrics are 148.90 x 68.10 x 8.00 (tallness x width x thickness) and weighs roughly about 155.00 grams.
The Samsung Galaxy S8 is a single SIM operable smartphone (GSM). Connection alternatives incorporate Wi-Fi, GPS, Bluetooth, NFC, 3G and 4G. Sensors on the smartphone incorporate Compass Magnetometer, Proximity sensor, Accelerometer, Ambient light sensor and Gyroscope.
Fix Samsung Galaxy S8 Not Recognized by Windows PC:
At times when you are trying to connect your Galaxy S8 to your PC via a USB data cable sometimes your Windows PC is unable to connect with your smart device. This error usual happens when there are no Samsung drivers for Windows installed on your Laptop or PC. There will be a notice or an error in the bottom right corner of your PC screen “USB device not recognized – one of the devices attached to this computer has malfunctioned and windows does not recognize it”.
Here are a few suggestions on how you can resolve this issue:
The most common issue is the Samsung drivers for Windows PC has not been installed on the PC. This causes the Samsung Galaxy S8 to not be recognized on The Windows PC.
Just go to this link, download Samsung USB drivers for Windows and install them on your PC.
Once the installation has been completed, go ahead and remove the USB data cable from your PC and re-connect it again.
Please make sure that you are utilizing the original USB data cable to connect your Samsung Galaxy S8 or Galaxy S8+ to your PC.
The issue may also be with your USB port of the PC. Attempt connecting to some other USB port on the machine.
It can also be that the USB data cable is not working properly. Attempt trying some other data cable to connect your smart device to your PC. If it is that the cable may be malfunctioning then you can go try this: while your device is connected to the PC with the designated data cable, hold your smartphone and move the cable in different angles and positions. There will be a notification sound on your PC when a connection has been established between the Samsung Galaxy S8 and your PC.
Have you also tried resetting your device? Try rebooting your smartphone and see if this resolves the issue.
Upon connecting the Galaxy S8 you should see a notification in the notification panel. Drag the panel down and change the connection type to MTP to allow for data transfer to take place.
At times it may also be a firewall or Antivirus software that is blocking the connection with an external smart device. Attempt turning off your Antivirus software and try again.
If the above suggestions aren’t working then these below:
If you have exhausted all the above suggestions and still no avail in establishing a connection between your Samsung Galaxy S8 with your computer then we suggest clearing cache of your Samsung Galaxy S8 or S8+.
Wipe Cache Partition to Fix Galaxy S8 not recognized by PC issues:
Please note that wiping the cache partition will not delete any of your data. It just deletes the cache that loads your applications fast. If the cache becomes corrupted some of your smartphone’s applications or features will perform inefficiently.
In order to Wipe Cache Partition of The Samsung Galaxy S8, please follow the steps below:
These are the instructions on how to wipe cache on your Samsung Galaxy S8 or Samsung Galaxy S8 Plus:
Firstly, Power off the gadget.
Press and hold the Volume Up button and the Bixby button, then press and hold the Power button.
When the green Android logo displays, release all buttons. Note: Installing system update’ will show for about 30 – 60 seconds before displaying the Android system recovery menu options.
Press the Volume down button several times in order to select and choose “Wipe cache partition.”
Press the Power button to choose.
Press the Volume down button to highlight “Yes” and press the Power button to select.
After the wipe cache partition is complete, “Reboot system now” is highlighted.
Press the Power button to restart the device.
At the point when it’s done, the Galaxy S8 or Galaxy S8 Plus will reboot with wiped cache.
Afterwards your Samsung Galaxy S8 will reboot. Now attempt connecting your smartphone to your PC with the original USB cable. At this point we are hoping that you will not get the Galaxy S8 not recognized by computer issue.
Experiencing difficulties with your Android Device, check out our “How To” page on how to resolve some of these issues.
Other Android Technical Reviews:- Android