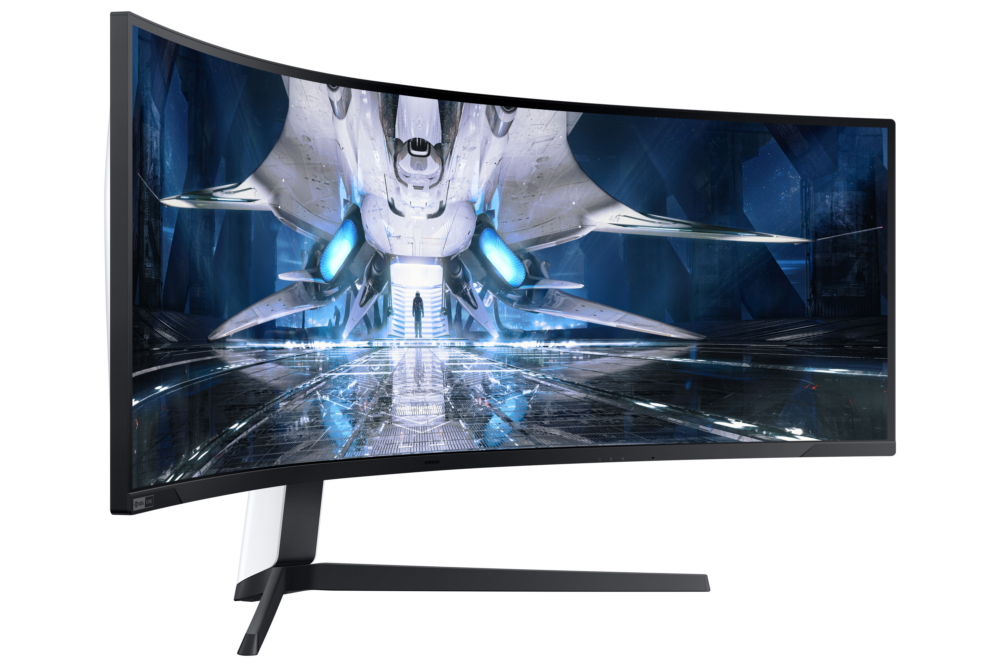
Samsung has garnered a stellar reputation for its premium line of display monitors, which includes gaming monitors like the Odyssey series. These monitors are renowned for their quality, precision, and immersive gaming experiences. However, as is the case with any electronic device, users may encounter issues, particularly related to display and HDMI signal connectivity. One recurring and vexing problem reported by many users is the “Samsung Odyssey Monitor No Signal HDMI” issue. If you’re among those facing this issue, don’t worry—this comprehensive troubleshooting guide is here to help.
The Samsung Odyssey monitors have been widely praised for their performance, sleek design, and gaming prowess. However, even the best of monitors can experience hiccups, especially when it comes to HDMI connectivity. Whether you’ve just unboxed your monitor or you’ve been enjoying it for a while, HDMI-related problems can occur out of the blue. This issue isn’t unique to Samsung; monitors from various brands can encounter similar problems. In this guide, we will delve into this HDMI connection problem, discuss its possible causes, and provide a comprehensive set of troubleshooting steps to help you resolve it.
1. Restart the Monitor and PC
Let’s start with a fundamental step that often works wonders in resolving minor connectivity issues. Manually reboot both your Samsung Odyssey monitor and your computer. Doing so helps clear temporary glitches and cache conflicts that may be causing the HDMI signal problem.
2. Check the HDMI Cable Connectivity
A loose or improperly connected HDMI cable can be the source of your woes. Take a moment to inspect the HDMI cable connections between your PC and the Samsung Odyssey monitor. Ensure they are snugly and securely plugged in on both ends. Even a slightly wobbly connection can lead to the dreaded “No Signal” HDMI warning on your screen.
3. Ensure the HDMI Cable Isn’t Physically Damaged
Inspect the HDMI cable itself for physical damage. Cables that are frayed, bent, or have exposed wires can be a common culprit for HDMI signal problems. If you discover any physical damage, it’s crucial to either repair or replace the cable. A damaged cable will continue to hinder your monitor’s performance.
4. Check the Correct HDMI Port
Sometimes, it’s the small details that matter most. Ensure that you’re using the correct HDMI port on both the Samsung Odyssey monitor and your computer. It’s possible to mistakenly connect the cable to the wrong port, resulting in display problems. Make sure the HDMI cable is correctly plugged in at both ends, and verify that you’re using the intended HDMI input on your monitor.
5. Try Using Another HDMI Cable
If you have access to an alternative HDMI cable, consider using it to troubleshoot the issue further. Cables can deteriorate over time or develop faults, leading to unreliable connections. Swapping out the HDMI cable for a new or known-working one can help you rule out cable-related problems.
6. Reset the HDMI Connection to the Monitor
Resetting the HDMI connection to your monitor can sometimes work wonders. Here’s how to do it:
- Turn off your Samsung Odyssey monitor.
- Unplug the HDMI cable from the monitor.
- Press and hold the Power button on the Samsung Odyssey Monitor for approximately 15 to 30 seconds.
- Reconnect the HDMI cable securely.
- Power on the monitor and make sure you’ve selected the correct input source.
This straightforward procedure can refresh the HDMI connection and eliminate issues causing the “No Signal” problem.
7. Set the Correct Input
Double-check that you’ve selected the appropriate input source on both your computer and the Samsung Odyssey monitor. Incorrect input settings can lead to connectivity problems. Ensure that the input source matches the HDMI port to which your PC is connected.
8. Update the Graphics Driver
Outdated graphics drivers on your Windows computer can contribute to display glitches and HDMI connectivity conflicts. Keeping your graphics driver up to date is essential. Here’s how:
- Press the Win+X keys to open the Quick Link Menu.
- Select “Device Manager.”
- Double-click on “Display Adapters” to expand the list.
- Right-click on your dedicated graphics card and choose “Update driver.”
- Opt for “Search automatically for drivers” to let Windows find and install the latest driver.
After updating the driver, remember to restart your computer to apply the changes. Alternatively, you can manually download the latest graphics driver from the official website of your graphics card manufacturer. Whether you have an Nvidia, AMD, or Intel graphics card, their respective websites provide the necessary drivers.
9. Adjust the Monitor Resolution Settings
Display resolution and scaling settings on your computer should match your Samsung Odyssey monitor’s specifications. Incorrect configuration can result in display problems. Follow these steps to ensure the settings are correct:
- Press the Win+I keys to open Windows Settings.
- Click on “System” from the left pane.
- Navigate to “Display.”
- Adjust the “Scale” setting to 100% (Recommended).
- Choose the correct display resolution for your Samsung Odyssey monitor.
- Ensure that the refresh rate is set to the default 60Hz from the “Advanced Display” settings.
These settings not only enhance the display quality but also help in preventing display-related glitches.
10. Change the Display Monitor
Sometimes, your Windows system may fail to detect an external display device automatically. In such cases, you may need to manually select the connected display. Here’s how:
- Press the Win+I keys to open Windows Settings.
- Click on “System” from the left pane.
- Select “Display.”
- Under “Advanced Display,” use the dropdown menu to choose the specific display device.
Manually selecting the display device ensures that Windows recognizes and communicates with your Samsung Odyssey monitor correctly.
11. Ensure the HDMI Cable Is Connected to the Graphics Card
A common oversight is connecting the HDMI cable to the motherboard’s HDMI port instead of the dedicated graphics card. If your processor lacks integrated graphics, using the motherboard’s HDMI port will lead to the “No Signal” issue. Make sure you connect the HDMI cable to the compatible HDMI port on your graphics card. This is a simple yet crucial step that first-time users might overlook.
12. Try Reinserting the RAM Sticks
Sometimes, seemingly unrelated hardware components can affect your monitor’s performance. It’s advisable to unplug the RAM sticks from the motherboard and then gently clean and reinsert them. Follow these steps carefully:
- Properly shut down your computer and unplug the power cable to ensure safety.
- Carefully remove the RAM sticks from their slots.
- Use a soft cloth or brush to clean the RAM sticks and slots gently.
- Reinsert the RAM sticks firmly and securely.
This procedure helps eliminate any potential issues stemming from faulty RAM connections.
13. Reset CMOS or BIOS on the Motherboard
For more advanced users, manually resetting the CMOS battery or BIOS on your motherboard may be necessary. This step can resolve motherboard-related glitches that affect your monitor’s performance. To reset the CMOS or BIOS, consult your motherboard’s user manual or contact the manufacturer’s support for guidance specific to your motherboard model.
14. Request for Repair or Replacement Service
In rare cases where none of the above methods prove effective, it may be time to seek professional assistance. If your Samsung Odyssey monitor is still under warranty, visiting the Samsung Support Center is a recommended course of action. Professionals can thoroughly inspect your monitor and provide either repair services or a replacement, depending on the circumstances.
Conclusion
This comprehensive troubleshooting guide offers a robust set of solutions to help you resolve the “Samsung Odyssey Monitor No Signal HDMI” issue. By following these steps carefully, you can diagnose and address the problem, ultimately restoring your Samsung Odyssey monitor to full functionality. Should you have any further questions or concerns, please feel free to leave a comment below. Your monitor’s performance is essential, and with these troubleshooting tips, you can get back to enjoying a seamless and immersive gaming experience.


