If you’ve ever noticed an application doesn’t work the way it used to then it might be due to the application’s data. In these cases we can always go into settings of the Galaxy S9 and clear either the application cache or the application data, or both in an attempt to fix it.
When dealing with computer products there comes a time when starting over from scratch is the easiest and best solution to a problem. We see this all the time on Windows PCs where the OS just slows down to a crawl after a certain amount of time/usage and doing a reinstall of Windows is the best solution.
Android has this as well with its factory data reset option as it will just wipe out everything and make you register Android again with your Google/Samsung account to start things fresh.
However, this can also be done on an application or game specific level as well. These applications and games all store and use bits of data on your device and there are times in which this data jumbles up. This can happen with data that is stored in an application’s cache area or even the stuff that gets stored for long periods of time. Some people will recommend that you uninstall the application or game and while that may help there’s also another troubleshooting solution that could solve the issue you’re having.
This guide will walk you through how to clear the application cache as well as the application data on the Galaxy S9 and the Galaxy S9+.
Galaxy S9 Clear App Cache & Data Tutorial
- Open up the Settings application
- Tap on the Apps option
- Scroll through the list and tap on the app or game you’re having trouble with
- Then tap on the Storage option
- And first test by tapping the Clear Cache button
- Before tapping the Home button and going back to the Home Screen to test the app
- If that works, great, but if not then do Steps 1-4 again
- This time, tap the Clear Cache button followed by the Clear Data button
- Confirm you want to clear the application data
- Then go back to the Home Screen and test the application
Explanation
The applications and games we have installed on our device are used to speed things up when we’re using them. For example, it makes sense to keep all of your stored notes and tasks on the device instead of only storing that data in the cloud. Sure, pulling the data from the cloud prevents it from being lost but that means the application has to connect to the server, download and write the data to your device, make note of any changes, and then save it before sending it back up to the cloud for storage.
It makes more sense to keep certain bits of data stored on your device so it can skip most of these steps. The same can be said about the cache of an application. If that particular data is accessed a lot then it’s better to store it as cache to make that information constantly available to the user rather than making the app dig through 128GB of storage to find it. This works very well for the most part but it can cause some issues when the application we’re loading is corrupt or missing entirely.

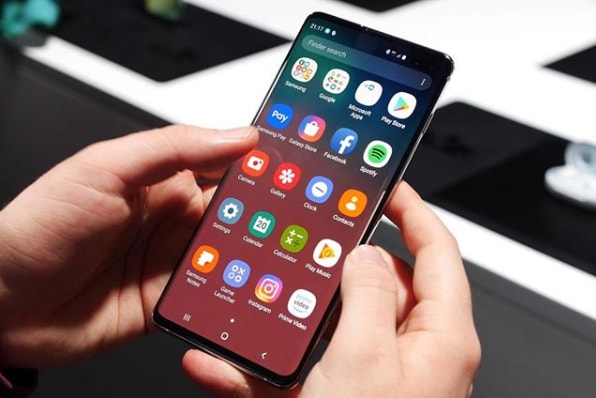
This is where clearing the application cache and application data of the Galaxy S9 and Galaxy S9+ comes into play. The goal here is to wipe out that data so the application doesn’t error out or freeze or lag up when it tries to access this bad data. To start this, we need to open up the Settings application and then tap the Apps option. This displays a list of all the applications we have installed on our device. From here you can start scrolling until you find the application or game you’re having trouble with and tap it.
We have a lot of things we can do here but we just want to tap on the Storage option here so we can be taken to the App Cache and App Data buttons. I always recommend that you first try and clear the application cache and then testing the application. If that works, then great but if it doesn’t work then we’ll want to go through all of these steps again except this time we will be tapping the Clear Data button right after tapping the Clear Cache button. This should wipe things out pretty clean.
This guide will even work on certain parts of the hardware that is controlled by software. For instance, if you’re having trouble with Bluetooth then you can show ‘system apps’ when viewing the Apps page of the Settings. There, you will see an application called Bluetooth and we can clear the application cache and data of the Bluetooth application to fix any random issues your Bluetooth connected devices are experiencing.
Experiencing difficulties with your Device, check out our “How To” page on how to resolve some of these issues.


