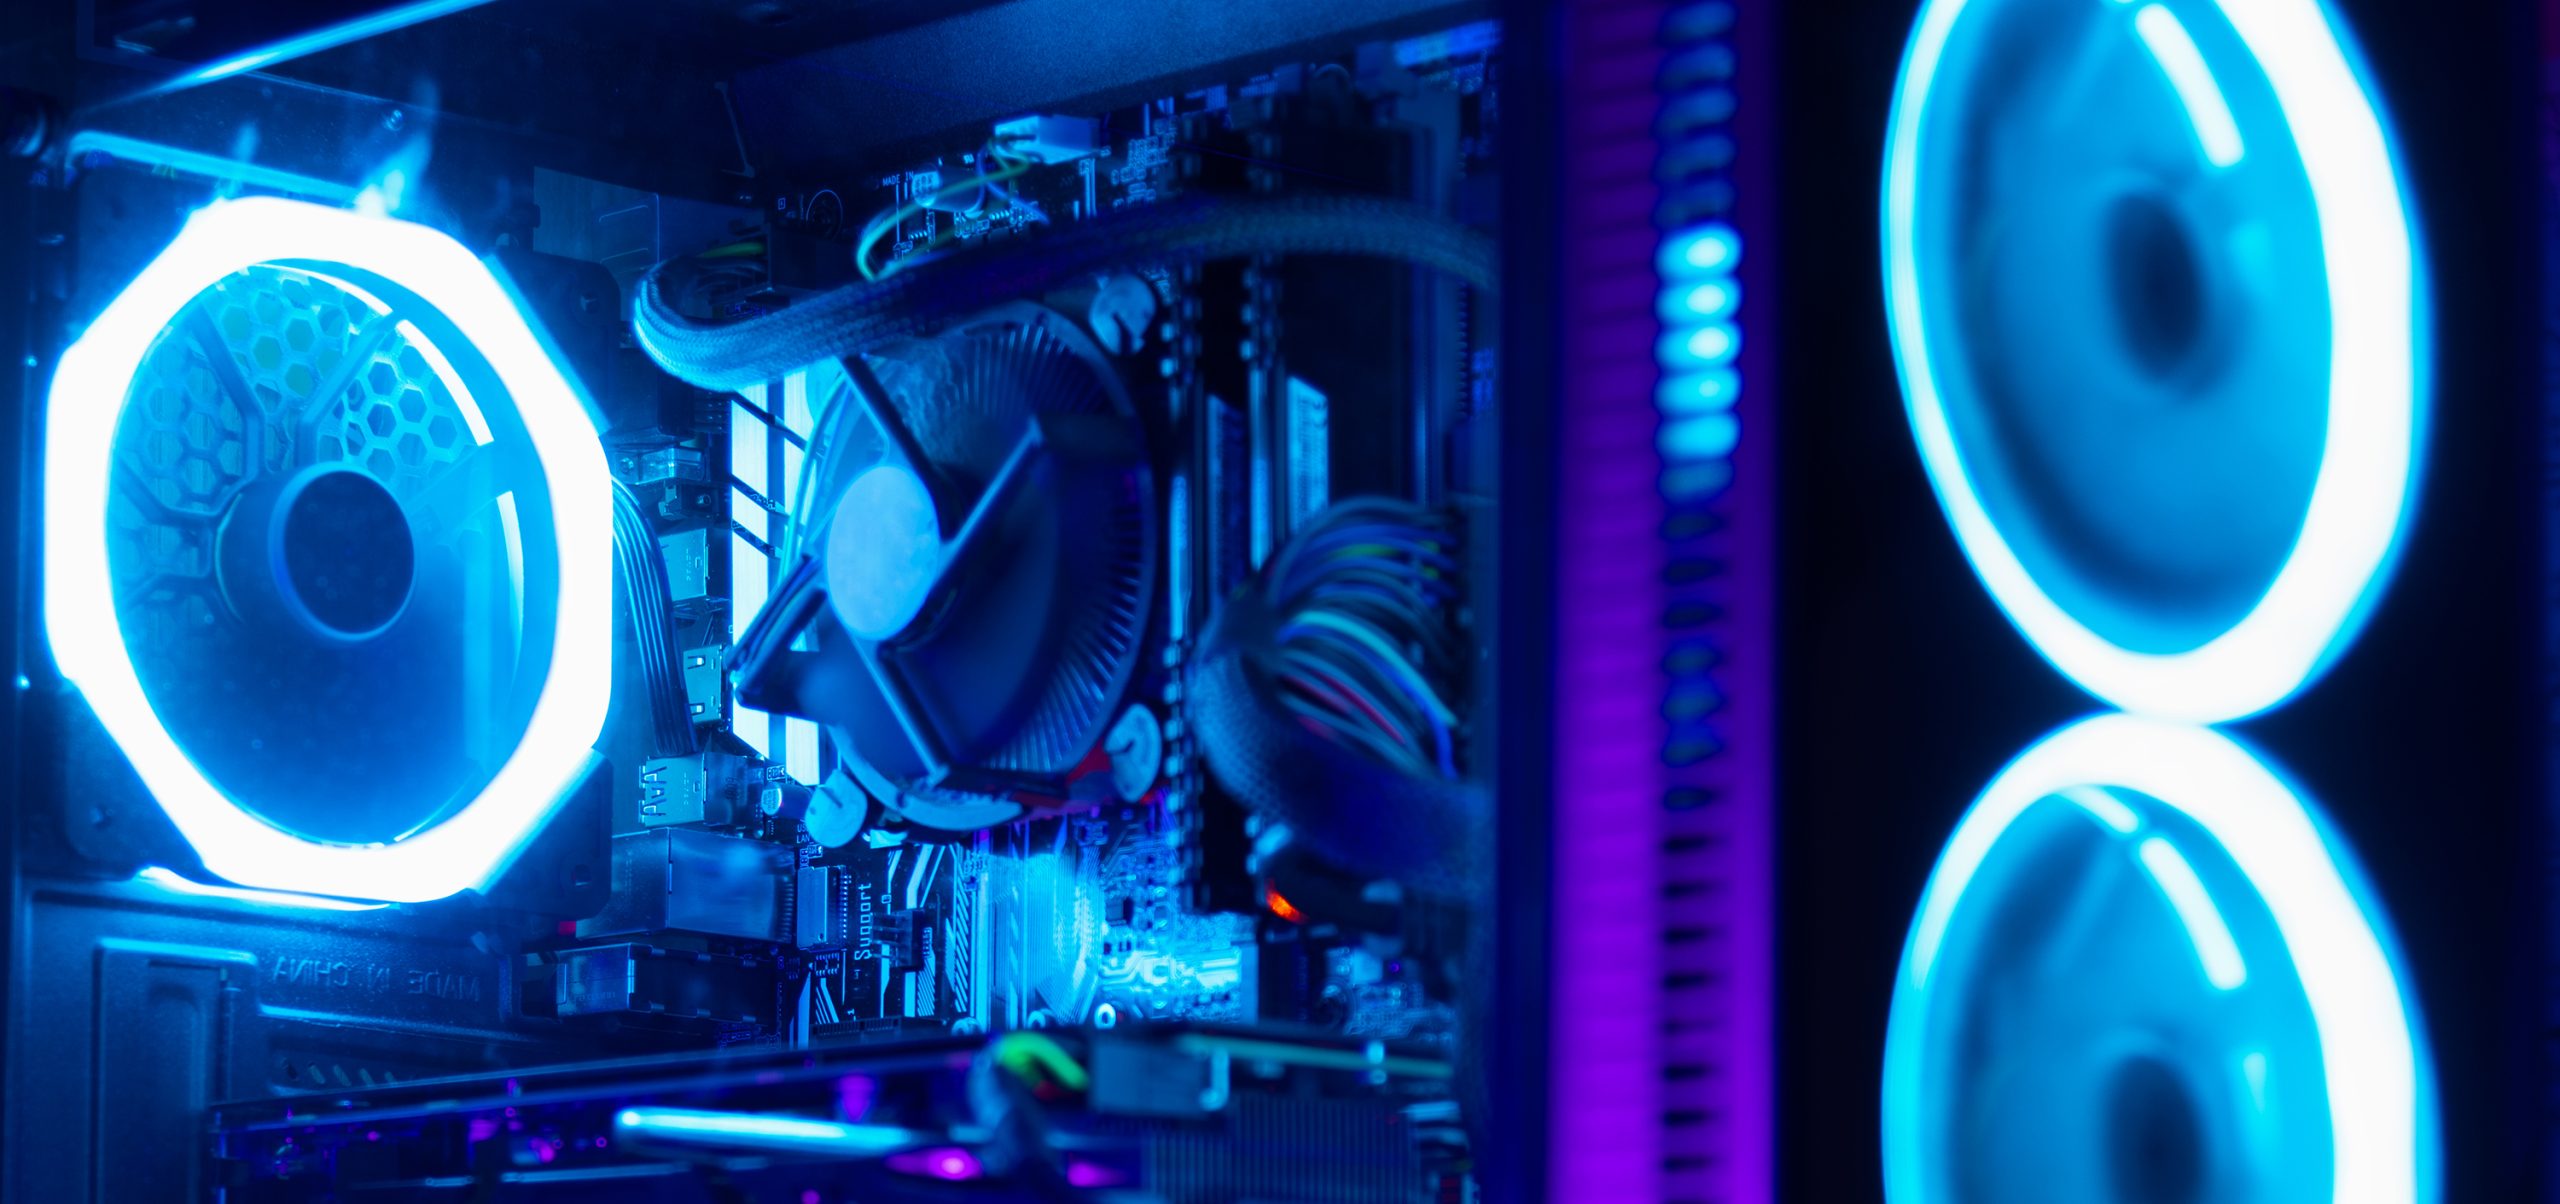
RGB lighting has become a staple in modern gaming setups, transforming PCs from mere machines into vibrant, immersive centers of entertainment. These lights not only add a cool visual flair but also enhance your gaming sessions and elevate your overall computing experience.
Adding RGB lighting to your PC case is easier than you might think. In this step-by-step guide, we’ll walk you through the process and help you unleash the power of RGB on your PC.
Step 1: Preparing Your RGB Setup
Before diving into the installation, consider the kind of RGB setup you desire. Are you planning to install a few LED strips or create a mesmerizing RGB tapestry that covers your entire PC case?
If you intend to use just a couple of LED strips, check if your motherboard features an RGB or ARGB header. The difference is crucial:
- A 4-pin RGB header powers static LED strips that operate at +12V, offering limited customization.
- A 3-pin ARGB header is for addressable LED strips, which run at +5V and allow for complete lighting customization.
Consult your motherboard’s manual to confirm the availability of these headers. If your motherboard has them, you won’t need a separate RGB controller. However, there are benefits to using one, as we’ll discuss.
For this project, gather your RGB strips, a controller, extension adapters, a screwdriver and some zip ties.
Step 2: Preparing Your PC Case
- Power down your PC and unplug the power cable from the PSU.
- Ground yourself to prevent Electrostatic Discharge(ESD). You can use an anti-static wrist wrap or touch a grounded metal object.
- Remove the side panels of your PC case by unscrewing them.
- If necessary, temporarily remove your GPU to simplify the RGB installation.
Step 3: Installing RGB LED Strips
Now, let’s tackle the installation process. The choice is yours on how to arrange the strips, but a clean setup is often preferred. Here’s how:
Peel off the tape on the back of each LED strip and carefully attach them to the chassis. If you have magnetic strips, they’ll stick directly to the case. Some cases even come with clips to secure the strips.
If you have multiple LED strips, use extension adapters to connect them. Ensure that the arrow sign or labels on both strips match during the connection to prevent damage.
Connect the LED strips to the RGB controller. Most controllers, like the HUE+ from NZXT, have multiple ports for this purpose.
Attach the power cable to the controller.
Connect the other end of the power cable to either a Molex or SATA connector, depending on the connector type.
Carefully route the power cable to avoid interference with other components.
Plug the USB cable into the RGB controller and connect it’s other end to a USB header on the motherboard.
Securely mount the controller inside your PC case. The 3.5″ drive bays often work well for this purpose.
If you have excess LED strip length, you can cut it at designated locations marked with a “scissors symbol”. Alternatively, use a zip tie to bundle and hide the extra strip inside the PC case for a clean look.
Re-insert your GPU if you had removed it earlier.
Step 4: Finalizing Installation
Now that you’ve successfully added RGB lighting to your PC case, it’s time to test and finalize the installation:
Double-check all connections to ensure cables are correctly plugged in and your cable management is neat.
Power on your PC and verify that the RGB lights up correctly.
If everything is working as expected, shut down your PC, close the side panels and restart it.
If the RGB lighting fails to function, power down your PC, recheck the connections and look for any faulty LEDs. If issues persist, reach out to your seller for support.
Step 5: Customizing RGB Lighting
Customizing your RGB lighting is where the fun truly begins. Whether you’ve connected the RGB strips to your motherboard or a dedicated controller, manufacturers often provide proprietary software to personalize lighting effects. Here are some examples:
- MSI users can use the Mystic Light application.
- Corsair enthusiasts can try iCUE.
- Gigabyte offers RGB Fusion.
- ASUS owners have AURA SYNC.
- ASRock users can explore RGB SYNC.
- NZXT devices work with NZXT CAM.
However, some of these apps may have limitations, such as failing to detect their own RGB controllers or lacking comprehensive customization options.
In such cases, consider using OpenRGB, a reliable alternative that offers robust control and compatibility with various RGB setups.
With your RGB lighting customized to your liking, your PC case will be a dazzling centerpiece of your gaming setup, making every gaming session a visual delight.
Embrace the vibrant world of RGB lighting and elevate your gaming experience today!
Experiencing difficulties with your Device, check out our “How To” page on how to resolve some of these issues.