If you’re looking to customize your Xbox experience, one aspect you might want to personalize is your profile picture(PFP). While the Xbox App has limited options for changing your PFP directly within the app, there are alternative methods that involve using the console. In this guide, we will walk you through the process of changing your PFP on the Xbox App, ensuring that you have all the necessary information to accomplish this task.
Before we dive into the steps, it’s important to note a few prerequisites:
- Ensure that you have the latest version of the Xbox App installed.
- You must be at least 18 years old to change your PFP.
- The profile picture you choose must have a minimum resolution of 1080×1080 pixels.
- Supported file formats for the PFP are .jpg, .png, or .bmp.
- Make sure to read and agree to the Terms of Use for Xbox, Microsoft Service Agreement, and the Code of Conduct. Microsoft reserves the right to remove inappropriate images and may even ban your account if necessary.
Now, let’s explore the various methods to change your PFP on the Xbox App:
Method 1: Using Built-in Profile Pictures
The Xbox App provides a selection of preset avatars that you can use as your profile picture. Although the app currently does not offer the option to upload an image from your gallery, you can still choose from these built-in pictures.
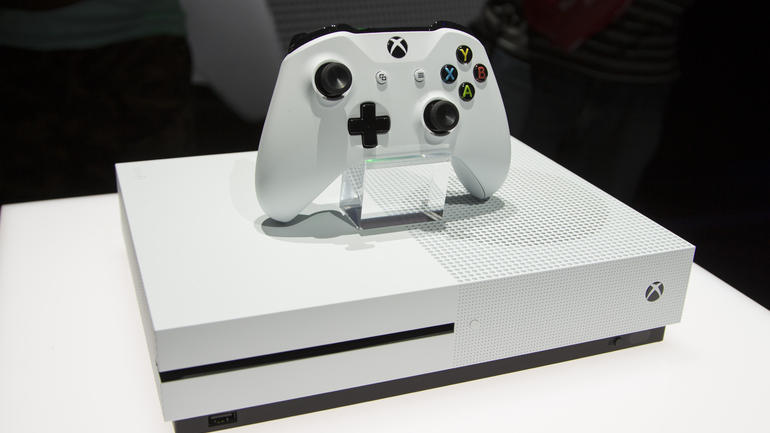
Method 2: Custom Gamer tag with Console
To have a custom PFP, you need to use the Xbox console. This method allows you to upload an image using a USB drive or find an image using the Edge browser or Bing. While there were previously more ways to customize your Xbox PFP, these are the currently reliable methods.
It’s worth noting that the Gamerpic you select will represent your account across Xbox Live services, including apps, consoles, in-game profiles, and the Xbox app.
Method 3: Customize Your Gamertag through the Xbox App
To change your Gamertag using the app, follow these steps:
- Open the Xbox App on your PC.
- Click on your profile picture at the top left corner.
- Select “View Profile” from the drop-down menu.
- Hover your mouse over your current avatar until a pencil icon appears.
- Click the pencil icon to change your profile picture.
- A pop-up window will appear with a selection of avatars. Choose a new avatar and click “Save”.
Method 4: Select a Custom Avatar
Through the Xbox Console If you want a custom avatar, you’ll need to use the Xbox console and the Edge browser. Follow these steps:
- Press the Xbox button on your controller to open the guide.
- Navigate to “My games & apps” using the left-most icon.
- Open the Microsoft Edge browser.
- Search for an image using the browser.
- Once you find an image you like, press the Menu button on your controller.
- Select “Save Picture as”.
- Choose “Customize profile” and then “Change gamerpic”.
- Adjust the picture as needed.
- Save the settings, and the changes will be reflected in the Xbox App.
Method 5: Upload a Custom Image to the Xbox
This method involves a few more steps, including browsing for an image on your PC, saving it to a USB drive, and then using the drive to upload the picture to your console. Here’s how:
- Plug a USB drive into your console.
- Find an image you like on your PC’s browser.
- Save the image to the USB drive. Make sure it is in a supported file format.
- Insert the USB drive into the console.
- Turn on the console and press the Xbox button on your controller to open the guide.
- Use the LB button on your controller to scroll left to the Sign-in page.
- Select your profile, then choose “My profile” and “Customize profile”.
- Click on “Change gamerpic” and select “Upload a custom image”.
- On the new interface, locate the USB drive icon on the left side. If you have previously uploaded images to the console using a smartphone, choose the console icon just above the flash drive icon.
- Select the image from your USB drive.
- Adjust the image as needed, then click “Upload”.
The changes you make using this method will also be reflected in the Xbox App. However, please note that the Xbox may fail to upload the image if it does not meet the required resolution of 1080×1080 pixels.
Method 6: Change to a Preset Avatar on Xbox
Finally, you can choose a preset avatar directly on the Xbox console, similar to selecting one on the app. Here’s how:
- Press the Xbox button on your controller.
- Go to “Profile & system”.
- Select “My profile” and then “Customize profile”.
- Click on “Change gamerpic”.
- Choose a gamerpic from the selection provided. Alternatively, you can select “Take a picture of my avatar”.
By following these methods, you can easily change your PFP on the Xbox App and customize your Xbox experience to better reflect your personality and preferences. Enjoy personalizing your gaming space!
Experiencing difficulties with your Device, check out our “How To” page on how to resolve some of these issues.