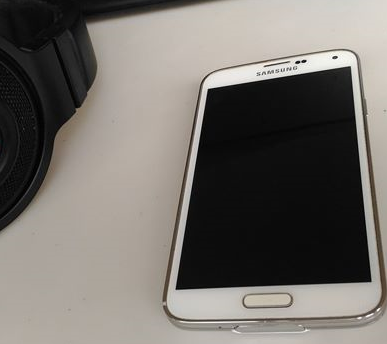
The Samsung Galaxy S5 is a powerful smartphone that can occasionally encounter software issues and bugs. Thankfully, there are two troubleshooting solutions that can quickly resolve these problems: a factory reset and a cache wipe. In this guide, we will explore how to clear the cache on your Galaxy S5, providing you with step-by-step instructions and helpful tips to optimize your device’s performance.
Understanding the Cache: What is it and Why Clear it?
Before we dive into the process of clearing the cache on your Galaxy S5, let’s first understand what cache is and why it’s important to clear it. The Samsung Galaxy S5 has two types of cache: app cache and system cache.
App Cache: Each app installed on your Galaxy S5 has its own cache. This cache stores temporary data that helps improve app performance when switching between different applications.
System Cache: The system cache on your Galaxy S5 serves a similar purpose, but for the Android software as a whole, rather than individual apps. Clearing the system cache can help resolve issues such as app crashes, freezes, and delays.
Now that we have a clear understanding of cache, let’s proceed with clearing it to optimize your Galaxy S5’s performance.
Clearing the App Cache on the Galaxy S5
If you’re experiencing issues with a specific app, it’s best to start by clearing the app cache. Follow these simple steps:
- Turn on your Galaxy S5.
- Go to Settings >App Manager.
- Select the app for which you want to clear the cache.
- On the app info screen, tap on Clear Cache.
If you want to clear the app cache for all apps simultaneously, follow these steps instead:
- Go to Settings >Storage.
- Select Cached Data.
- Confirm your action by tapping on OK.
It’s important to note that selecting the option to Clear Data will remove all information stored by the app, including usernames, passwords, game progress, and preferences. Exercise caution when selecting this option.
Next Steps: When Clearing the App Cache Doesn’t Help
If you have cleared the cache of individual apps, but the problem on your Galaxy S5 persists, the next recommended step is to uninstall the app and reboot your device. Before proceeding with a reboot, ensure that you have backed up all essential data to prevent any loss during the process.
After rebooting your Galaxy S5, if the problem still persists, it’s time to perform a system cache wipe, also known as clearing the cache partition. Follow the steps below to clear the system cache:
Turn off your Galaxy S5.
Press and hold the Volume Up,Power, and Home buttons simultaneously until the Android logo appears and the phone vibrates.
Release the Power button while continuing to hold the other buttons.
Use the volume buttons to scroll down and highlight Wipe Cache Partition.
Press the Power button to confirm your selection.
Scroll down to Yes and press the Power button to proceed.
Finally, select Reboot System Now and press the Power button.
Your Galaxy S5 will reboot with a cleared system cache.
If the problems persist even after clearing the system cache, the final step is to perform a factory reset on your Galaxy S5. However, it’s crucial to note that a factory reset will erase all data on your device, so make sure to back up any important information beforehand.
Conclusion
Clearing the cache on your Samsung Galaxy S5 can help resolve various software-related issues, such as app crashes, freezes, and delays. By following the steps outlined in this guide, you can easily clear the app cache and perform a system cache wipe, ensuring optimal performance for your Galaxy S5.
Remember, if clearing the cache doesn’t resolve the problem, uninstalling the app and rebooting the device might be necessary. And in extreme cases, a factory reset can be performed, although it should be considered as a last resort due to the loss of data.
By keeping your Galaxy S5’s cache clean, you can ensure a smooth and efficient user experience, allowing you to make the most of your powerful smartphone.


