Are you looking to enhance the performance and customization options of your Xiaomi Redmi Note 10? Installing a custom ROM can be a great way to unlock the full potential of your device. One popular custom ROM for Xiaomi devices is the Pixel Experience ROM, which brings a stock Android experience with added features and optimizations. In this comprehensive guide, we will walk you through the step-by-step process of downloading and installing the Pixel Experience Custom ROM on your Xiaomi Redmi Note 10. So, let’s get started!
The Xiaomi Redmi Note 10 is a powerful and feature-packed smartphone, but if you’re looking to customize your device beyond what the stock MIUI offers, installing a custom ROM like Pixel Experience can be a game-changer. Pixel Experience is known for providing a clean and minimalistic user interface, similar to what you would find on Google Pixel devices, along with a range of additional features and optimizations. By following the steps outlined in this guide, you can enjoy a near-stock Android experience on your Xiaomi Redmi Note 10.
Preparing Your Device
Before diving into the installation process, there are a few important steps you need to take to ensure a smooth and successful installation. These steps include unlocking the bootloader of your device and downloading the required files.
Unlocking the Bootloader
To install a custom ROM on your Xiaomi Redmi Note 10, you’ll need to unlock the bootloader. Unlocking the bootloader allows you to make system-level changes, such as flashing custom recoveries and ROMs. However, please note that unlocking the bootloader will wipe all data on your device, so make sure to backup any important files before proceeding. Here’s how you can unlock the bootloader:
- Go to the Settings app on your Xiaomi Redmi Note 10.
- Scroll down and tap on About phone.
- Locate the MIUI version and tap on it seven times to enable developer options.
- Go back to the main Settings menu and tap on Additional settings.
- Scroll down and tap on Developer options.
- Find the OEM unlocking option and enable it.
- Scroll down further and enable USB debugging.
Once you have enabled USB debugging and OEM unlocking, you can proceed with unlocking the bootloader. Keep in mind that the process of unlocking the bootloader may vary slightly depending on your device model and MIUI version. It’s always a good idea to refer to the official Xiaomi documentation for detailed instructions specific to your device.
Downloading Required Files
Now that you have unlocked the bootloader, it’s time to download the necessary files for installing the Pixel Experience Custom ROM. Here’s what you will need:
- The latest version of the Pixel Experience ROM for your Xiaomi Redmi Note 10. You can find the official download links and instructions on the official Pixel Experience website or XDA Developers forum.
- The Recovery Image for your Xiaomi Redmi Note 10. We recommend using a custom recovery like TWRP (Team Win Recovery Project), which allows you to flash custom ROMs and perform various system-level tasks. You can download the latest version of TWRP for your device from the official TWRP website or XDA Developers forum.
- Make sure you have the ADB and Fastboot tools installed on your computer. These tools are essential for communicating with your device and flashing the necessary files. You can download the ADB and Fastboot tools from the official Android Developer website or various third-party sources.
Once you have downloaded the required files, make sure to place them in a separate folder on your computer for easy access during the installation process.
Flashing the Recovery Image
Before installing the Pixel Experience Custom ROM, you need to flash a custom recovery image like TWRP on your Xiaomi Redmi Note 10. The custom recovery will allow you to make system-level changes and flash the ROM file. Here’s how you can flash the recovery image:
- Connect your Xiaomi Redmi Note 10 to your computer using a USB cable.
- Open a command prompt or terminal window on your computer.
- Navigate to the folder where you have placed the ADB and Fastboot tools.
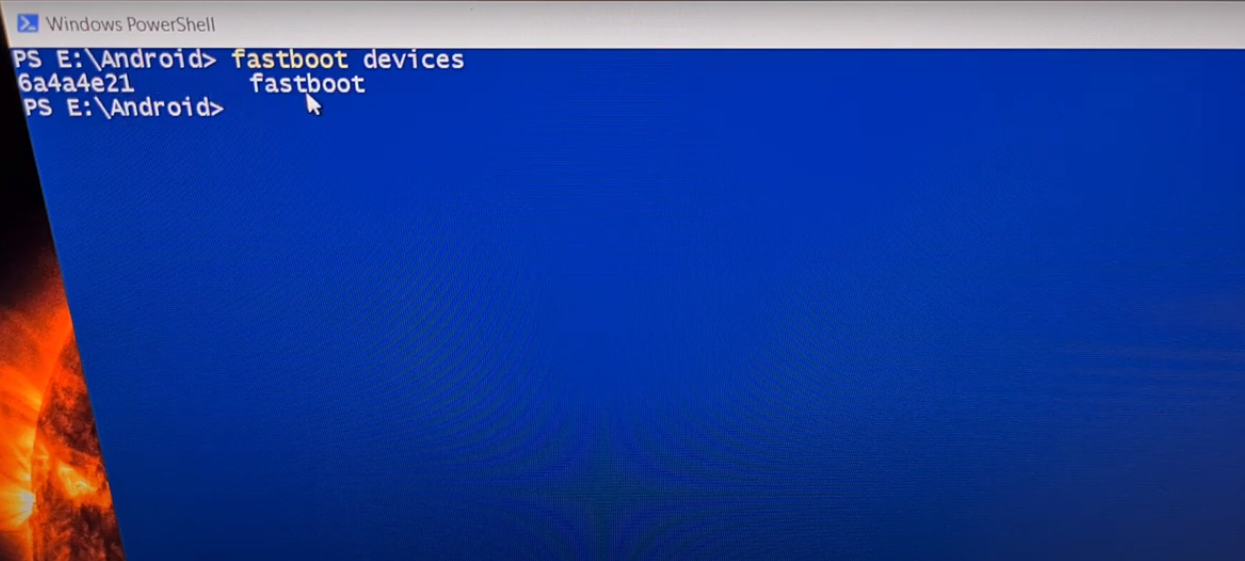
- In the command prompt or terminal window, enter the following command to boot your device into fastboot mode:
adb reboot bootloader
This command will restart your device and boot it into fastboot mode, which is necessary for flashing the recovery image.
- Once your device is in fastboot mode, enter the following command to flash the recovery image:
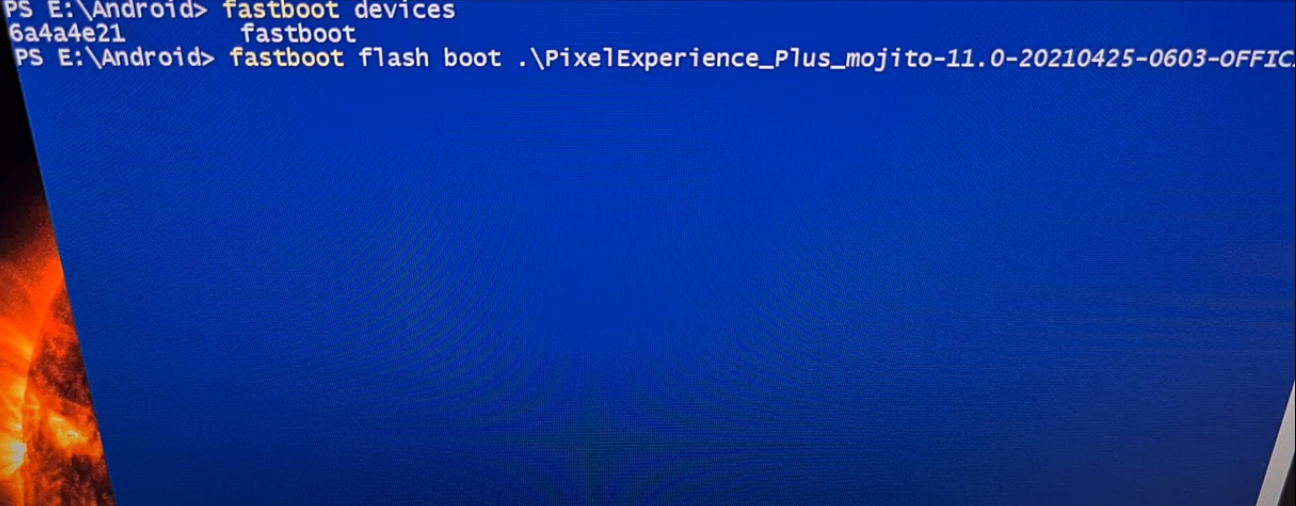
fastboot flash recovery <recovery_image_file_name.img>
Replace
<recovery_image_file_name.img>with the actual name of the recovery image file you downloaded.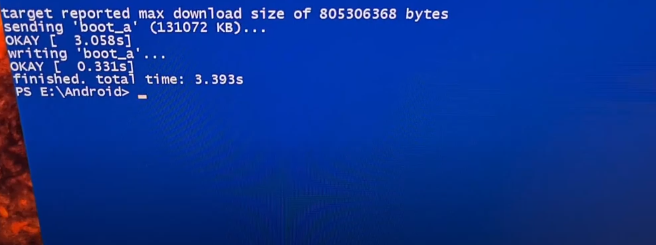
- Wait for the flashing process to complete. Once done, enter the following command to reboot your device:
fastboot rebootYour Xiaomi Redmi Note 10 will now reboot with the newly flashed custom recovery image.
Congratulations! You have successfully flashed the custom recovery image on your Xiaomi Redmi Note 10. Now, let’s proceed to the next step and boot your device into recovery mode.
Booting into Recovery Mode
To install the Pixel Experience Custom ROM on your Xiaomi Redmi Note 10, you need to boot your device into recovery mode. Recovery mode allows you to perform various system-level tasks, including installing custom ROMs. Here’s how you can boot into recovery mode:
- Power off your Xiaomi Redmi Note 10.
- Press and hold the Volume Up button and the Power button simultaneously.
- Continue holding both buttons until you see the Xiaomi logo and the fastboot screen appears.
- Once the fastboot screen appears, release both buttons.
Your Xiaomi Redmi Note 10 will now boot into recovery mode. In the next section, we will perform a factory data reset to ensure a clean installation of the Pixel Experience Custom ROM.
Performing a Factory Data Reset
Before installing the Pixel Experience Custom ROM, it’s recommended to perform a factory data reset. This step will wipe all data on your device, including apps, settings, and files. Performing a factory data reset ensures a clean installation and minimizes the chances of any compatibility issues. Here’s how you can perform a factory data reset:
- In the recovery mode menu, use the volume buttons to navigate and the power button to select options.
- Select the Wipe data/factory reset option.
- Confirm your selection by selecting Yes.
Note: Performing a factory data reset will erase all data on your device. Make sure to backup any important files and data before proceeding.
Once the factory data reset is complete, you can proceed to the next section and install the Pixel Experience Custom ROM on your Xiaomi Redmi Note 10.
Installing the Pixel Experience Custom ROM
Now that you have prepared your device and performed a factory data reset, it’s time to install the Pixel Experience Custom ROM on your Xiaomi Redmi Note 10. Follow the steps below to complete the installation:
- In the recovery mode menu, select the Install option.
- Navigate to the folder where you have placed the Pixel Experience Custom ROM file.
- Select the ROM file and swipe to confirm the installation.
- Wait for the installation process to complete. This may take a few minutes.
- Once the installation is complete, go back to the main menu and select the Reboot option.
Congratulations! You have successfully installed the Pixel Experience Custom ROM on your Xiaomi Redmi Note 10. In the next section, we will complete the final steps and set up your device.
Completing the Installation
After installing the Pixel Experience Custom ROM, your Xiaomi Redmi Note 10 will reboot and start up with the new ROM. Follow the on-screen instructions to complete the initial setup process, including signing in with your Google account and configuring your device settings. Once the setup is complete, you can start exploring the features and customization options offered by the Pixel Experience ROM.
It’s worth mentioning that custom ROMs like Pixel Experience often provide additional features and optimizations compared to stock ROMs. Take some time to familiarize yourself with the new features and settings available on your Xiaomi Redmi Note 10. You can also visit the official Pixel Experience website or XDA Developers forum for more information and community support.
Initial Boot and Set Up
Once your Xiaomi Redmi Note 10 starts up with the Pixel Experience Custom ROM, you may notice a new animation logo and a clean, minimalistic user interface. This near-stock Android experience provides a smooth and responsive user interface, along with enhanced customization options. Take some time to explore the ROM and customize your device to your liking.
During the initial boot, you may experience a slightly longer boot time compared to the stock MIUI ROM. This is normal and should not cause any concern. The first boot after installing a custom ROM often involves optimizing the system and setting up the necessary configurations.
Troubleshooting
While installing the Pixel Experience Custom ROM on your Xiaomi Redmi Note 10 is generally a straightforward process, you may encounter some common issues along the way. Here are a few troubleshooting tips to help you resolve any potential problems:
- If your device is stuck in a boot loop or fails to boot into the new ROM, try wiping the cache partition from the recovery mode menu.
- If you encounter any compatibility issues or bugs after installing the ROM, consider checking the official Pixel Experience website or XDA Developers forum for the latest updates and bug fixes.
- If you decide to revert to the stock MIUI ROM or switch to a different custom ROM, make sure to follow the proper instructions provided by the respective ROM developers.
Remember, installing custom ROMs and making system-level changes can void your device’s warranty and carry certain risks. Proceed with caution and make sure to follow the instructions carefully.
Conclusion
Installing the Pixel Experience Custom ROM on your Xiaomi Redmi Note 10 can be a great way to enhance the performance and customization options of your device. By following the step-by-step instructions in this guide, you can enjoy a near-stock Android experience with added features and optimizations. Remember to backup your data before proceeding with any system-level changes, and always refer to official documentation and community support for the latest updates and troubleshooting assistance.
We hope this guide has been helpful in assisting you with the installation process. If you have any further questions or need additional assistance, feel free to reach out to the Pixel Experience community or consult the official documentation. Enjoy your new custom ROM experience on your Xiaomi Redmi Note 10!
Experiencing difficulties with your Device, check out our “How To” page on how to resolve some of these issues.