AIO coolers have gained popularity for their remarkable cooling capabilities, surpassing the performance of traditional air coolers. Although their installation might appear more intricate, this comprehensive guide will walk you through each step with precision and detail, ensuring a flawless installation process. Whether you’re a seasoned PC builder or a beginner, following these comprehensive instructions will result in a well-mounted AIO cooler that keeps your CPU temperatures in check.
Choosing the Right AIO Cooler
Selecting the appropriate AIO cooler is the first crucial step. Compatibility with your motherboard, case and CPU is paramount. Keep in mind that the tubes of AIO coolers can be somewhat inflexible, which can lead to alignment issues during installation. It’s advised to enlist assistance during this process to ensure optimal alignment and prevent potential mishaps.
Removing Necessary Panels
When embarking on any PC component installation, start by exposing the internal components by removing the necessary panels. While the left side panel is consistently removed, other panels might need to be taken off based on the specific configuration of your AIO cooler.
- Gently unscrew and slide out the left side panel to access the interior of the case.
- For front-mounted radiators, carefully remove the front panel. This can typically be accomplished by releasing pressure clips or unscrewing it, depending on your case’s design.
- In cases where top-mounted radiators are preferred and there’s a detachable dust filter, remove it as well.
- Refer to your PC case’s user manual for guidance if you encounter any difficulties during the panel removal process.
Installing the Motherboard and CPU
AIO coolers necessitate installation directly onto the PC case. Before proceeding with the cooler installation, make sure you’ve already installed the motherboard and CPU. If you’re unsure about the CPU installation process, refer to specific guides for Intel or AMD CPUs, depending on your motherboard’s chipset.
Determining Radiator Placement
Deciding where to position the radiator is pivotal to ensure effective cooling. Aligning the pump above the CPU and experimenting with various radiator placements will help you achieve optimal alignment and functionality.
- Attach the radiator to suitable fan slots, ensuring compatibility.
- Opt for a configuration that places the radiator above the pump. This prevents air bubbles from reaching the pump, which could disrupt heat exchange and potentially lead to CPU overheating.
- Minimize tube bending to avoid leaks and potential damage to other components, such as the GPU.
- Ensure that the AIO components do not obstruct other crucial PC components.
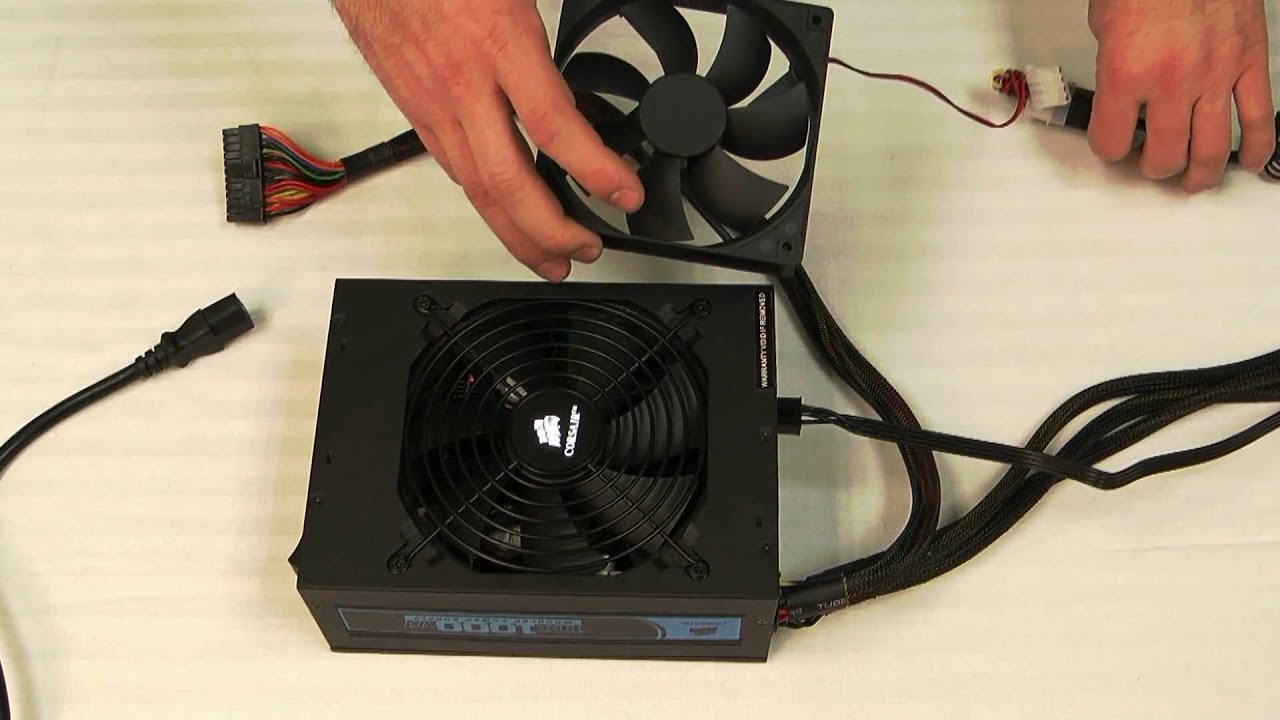
Mounting AIO Radiator and Fans
Mounting the radiator and fans properly is the next step. Secure alignment and use the provided screws and washers to ensure a secure installation. The number of screws provided will determine the optimal orientation for components.
- Align the AIO radiator along with the fans to the corresponding fan slots.
- Decide whether the radiator fans should function as intake or exhaust before proceeding. The orientation of the fans will differ based on this decision.
- Utilize the provided screws and washers to securely fasten the radiator and fans in place.
- Depending on the number of screws provided or compatible screws, you might need to adjust the orientation of the components. For example…
Installing Backplate and CPU Brackets
Preparing for the AIO pump installation involves attaching the CPU backplate and locking the pump in place using provided mounting brackets. The type of CPU socket you have will determine the required CPU brackets.
- Determine the type of CPU bracket required based on your motherboard’s CPU socket type(AMD or Intel).
- Consult the AIO cooler’s user manual to identify the correct bracket for your CPU socket.
- Securely attach the CPU backplate in it’s designated position, ensuring that the PC case is upright during installation to prevent it from falling off.
Mounting the AIO Pump
Mounting the AIO pump is a crucial step that requires attention to detail. Ensuring a clean application of thermal paste and proper alignment will lead to optimal thermal performance and prevent any mishaps.
- If you previously used another cooler and removed it, clean off any residual thermal paste from the CPU’s lid.
- Remove the cover from the AIO pump.
- If the AIO pump has pre-applied thermal paste, align and gently press it above the CPU. However, if the paste has dried, it should be removed and reapplied.
- In cases where the AIO pump doesn’t have pre-applied thermal paste or you’ve removed it, apply a fresh layer of thermal compound to the CPU’s surface. Various application patterns can be used based on preference.
- Cover the pump with the AIO bracket and secure it using cap nuts or hooks provided in the kit.
- For two-hole AIO brackets, insert hook screws from below and fasten them with cap nuts. Use these hooks in conjunction with the clips on the CPU brackets to secure the AIO pump and tighten the cap nut.
Connecting Cooler’s Cables
Connecting the necessary cables from the AIO cooler to the motherboard is essential to ensure proper operation.
- Connect the pump cable to the appropriate header, which is usually labeled AIO_PUMP or something similar. If such a header is absent on your motherboard, the CPU_FAN header can also be used.
- When your motherboard has separate PUMP/WP and CPU_FAN headers and the pump cable is connected to PUMP/WP, it’s recommended to connect the radiator fan cable to the CPU_FAN header. Alternatively, you can use CHA_FAN or SYS_FAN headers.
- If your AIO cooler kit includes a SATA connector cable, connect it to the SATA power cable from the PSU to power the cooler.
Reassembling the PC
With the AIO cooler and it’s components securely in place, it’s time to reassemble your PC and configure BIOS settings for optimal performance.
- Insert any other necessary PC components, including RAM, GPU and SSD, to make your computer fully functional.
- Carefully reattach the case panels by following the reverse order of the disassembly process.
- Power on your computer to ensure all components are functioning correctly.
- Access the BIOS settings to optimize AIO cooler performance by configuring fan settings for the header where the pump is connected:
- Set the Fan/Pump switch to W_PUMP or a similar setting.
- Adjust Fan Speed to Maximum for all temperature ranges.
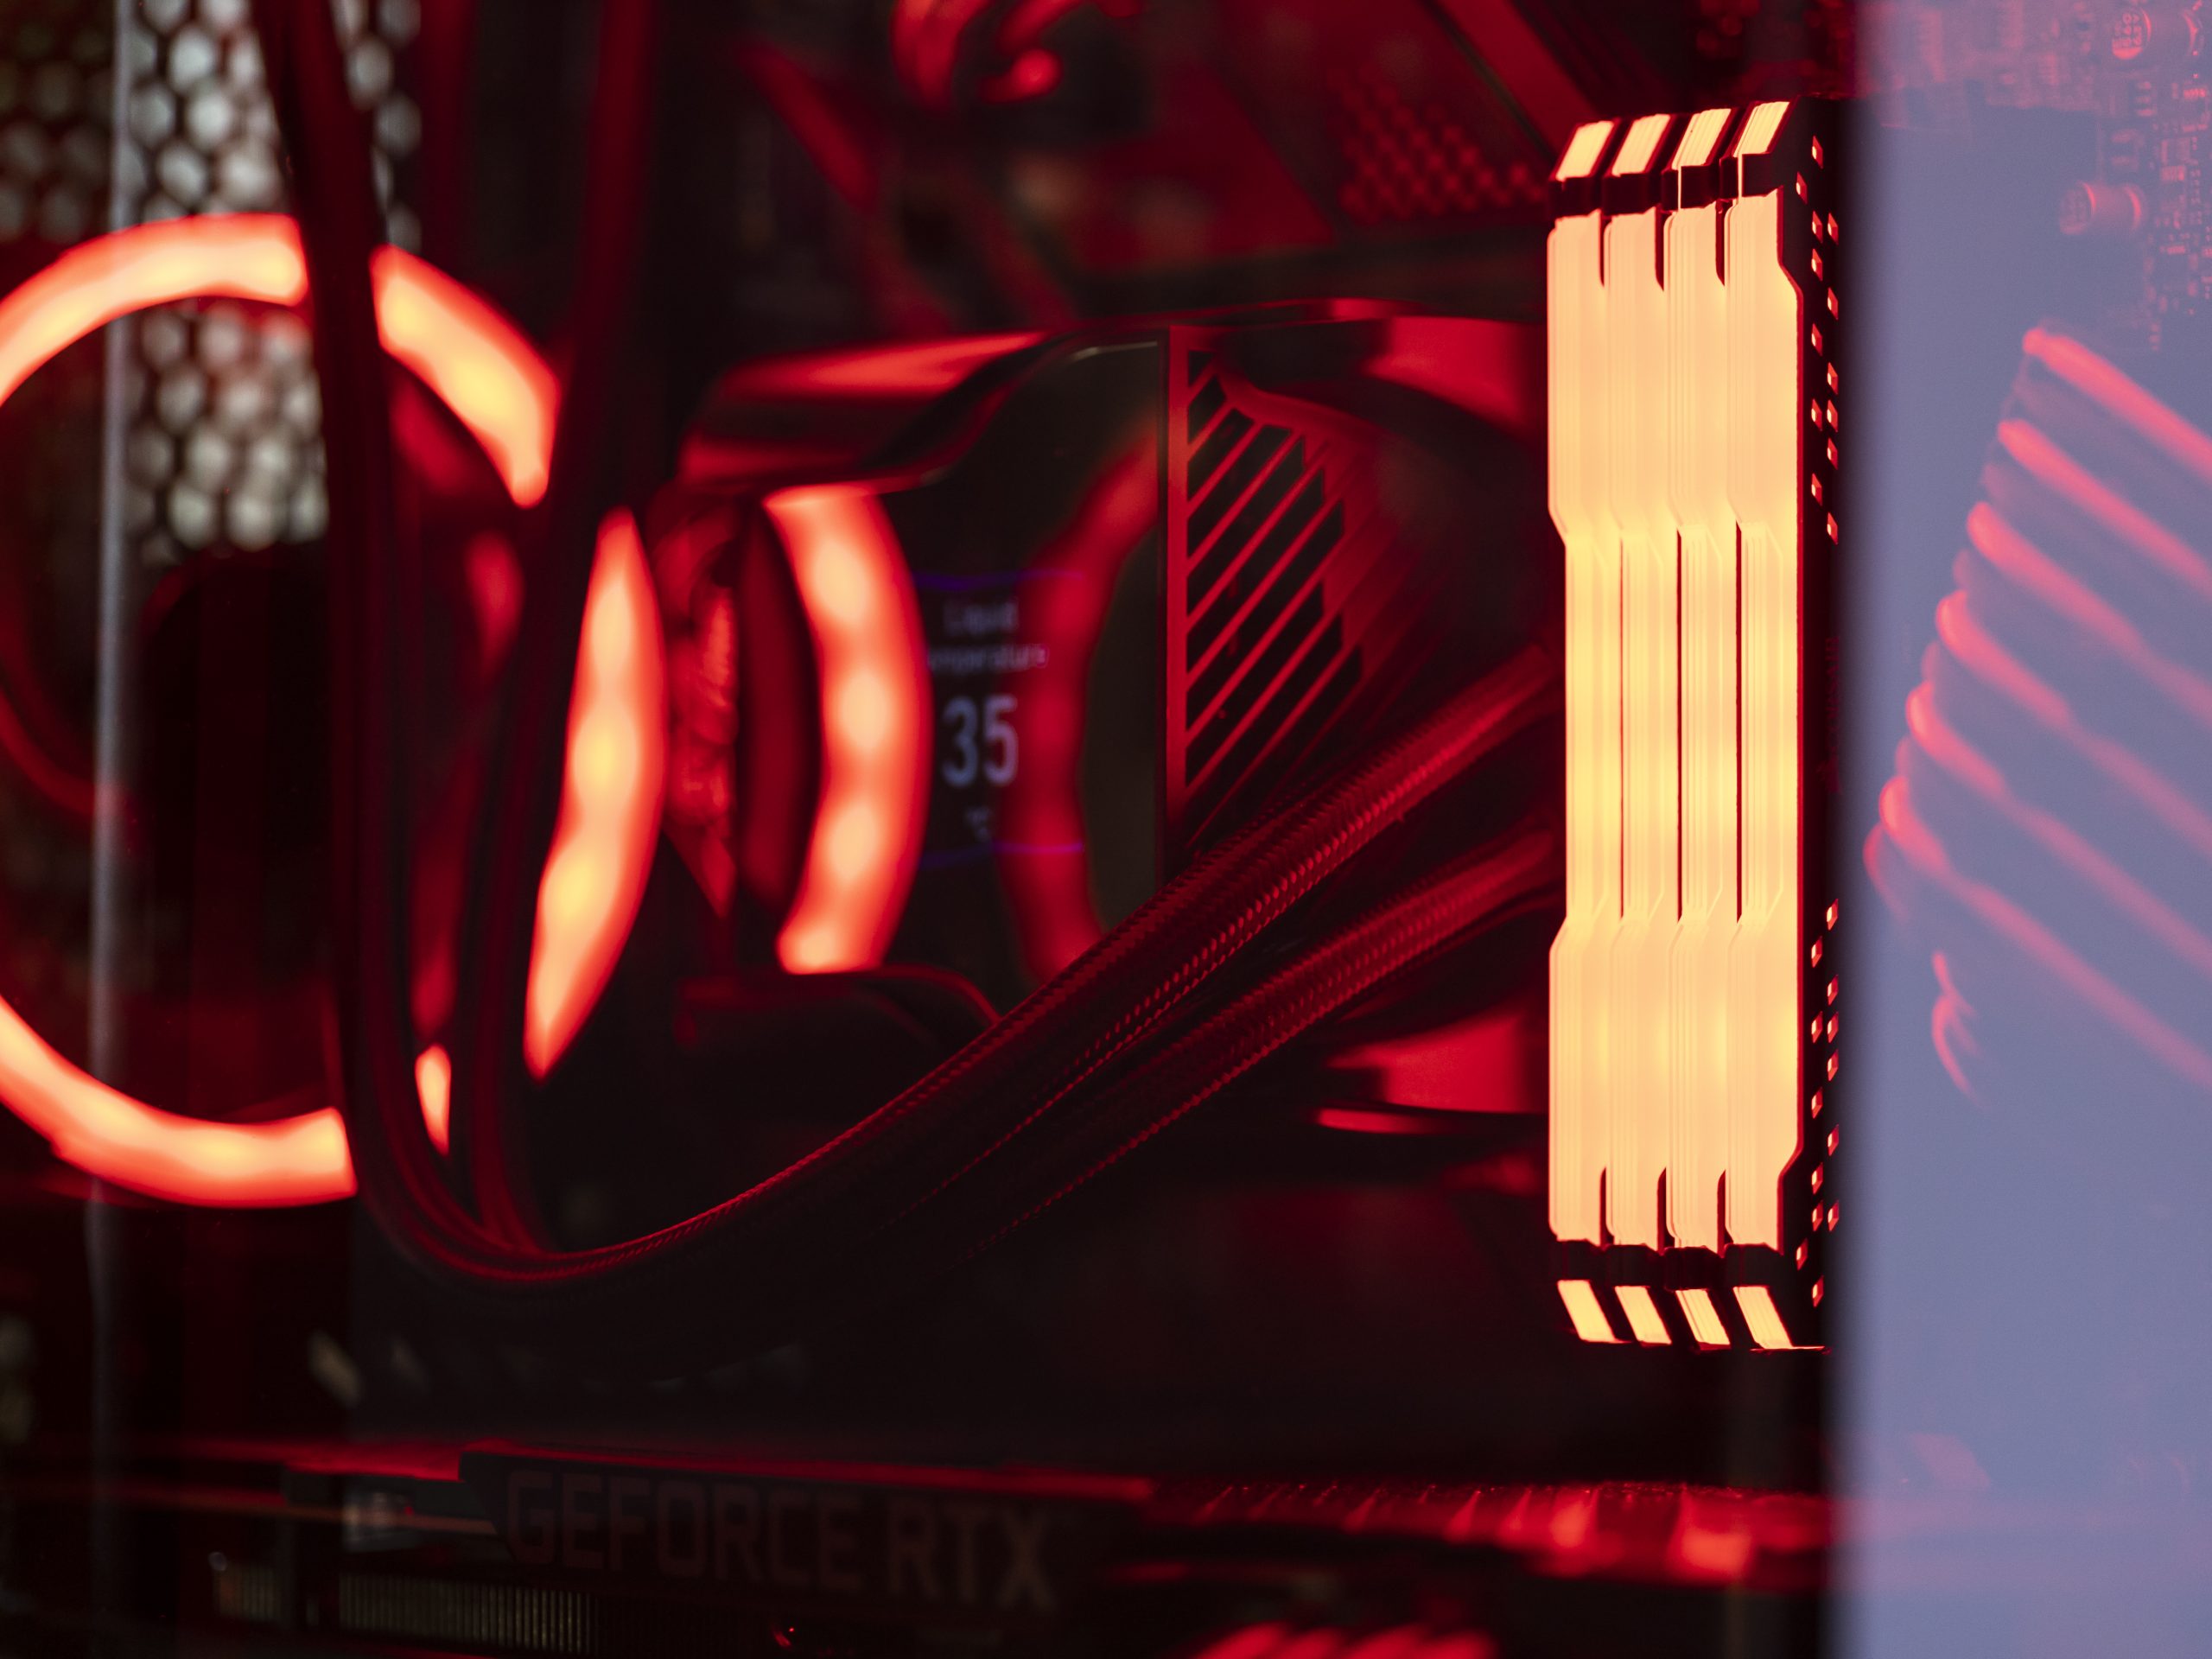
Monitoring and Testing
After successfully installing the AIO cooler and connecting it to your PC, it’s recommended to monitor your CPU temperature and assess it’s performance.
- Power on your computer and access an operating system if necessary.
- Utilize monitoring software to track CPU temperatures and verify that the AIO cooler is functioning optimally.
- Perform tasks that stress the CPU to observe how well the cooler handles temperature management.
- If needed, make minor adjustments to BIOS settings to fine-tune fan speeds and cooling performance.
Conclusion
By meticulously following this comprehensive guide, you’ll master the art of installing an AIO cooler. With careful consideration of radiator placement, secure mounting of components and precise cable connections, your CPU will enjoy efficient cooling even during intense computing tasks. As technology enthusiasts, embracing the installation
Experiencing difficulties with your Device, check out our “How To” page on how to resolve some of these issues.