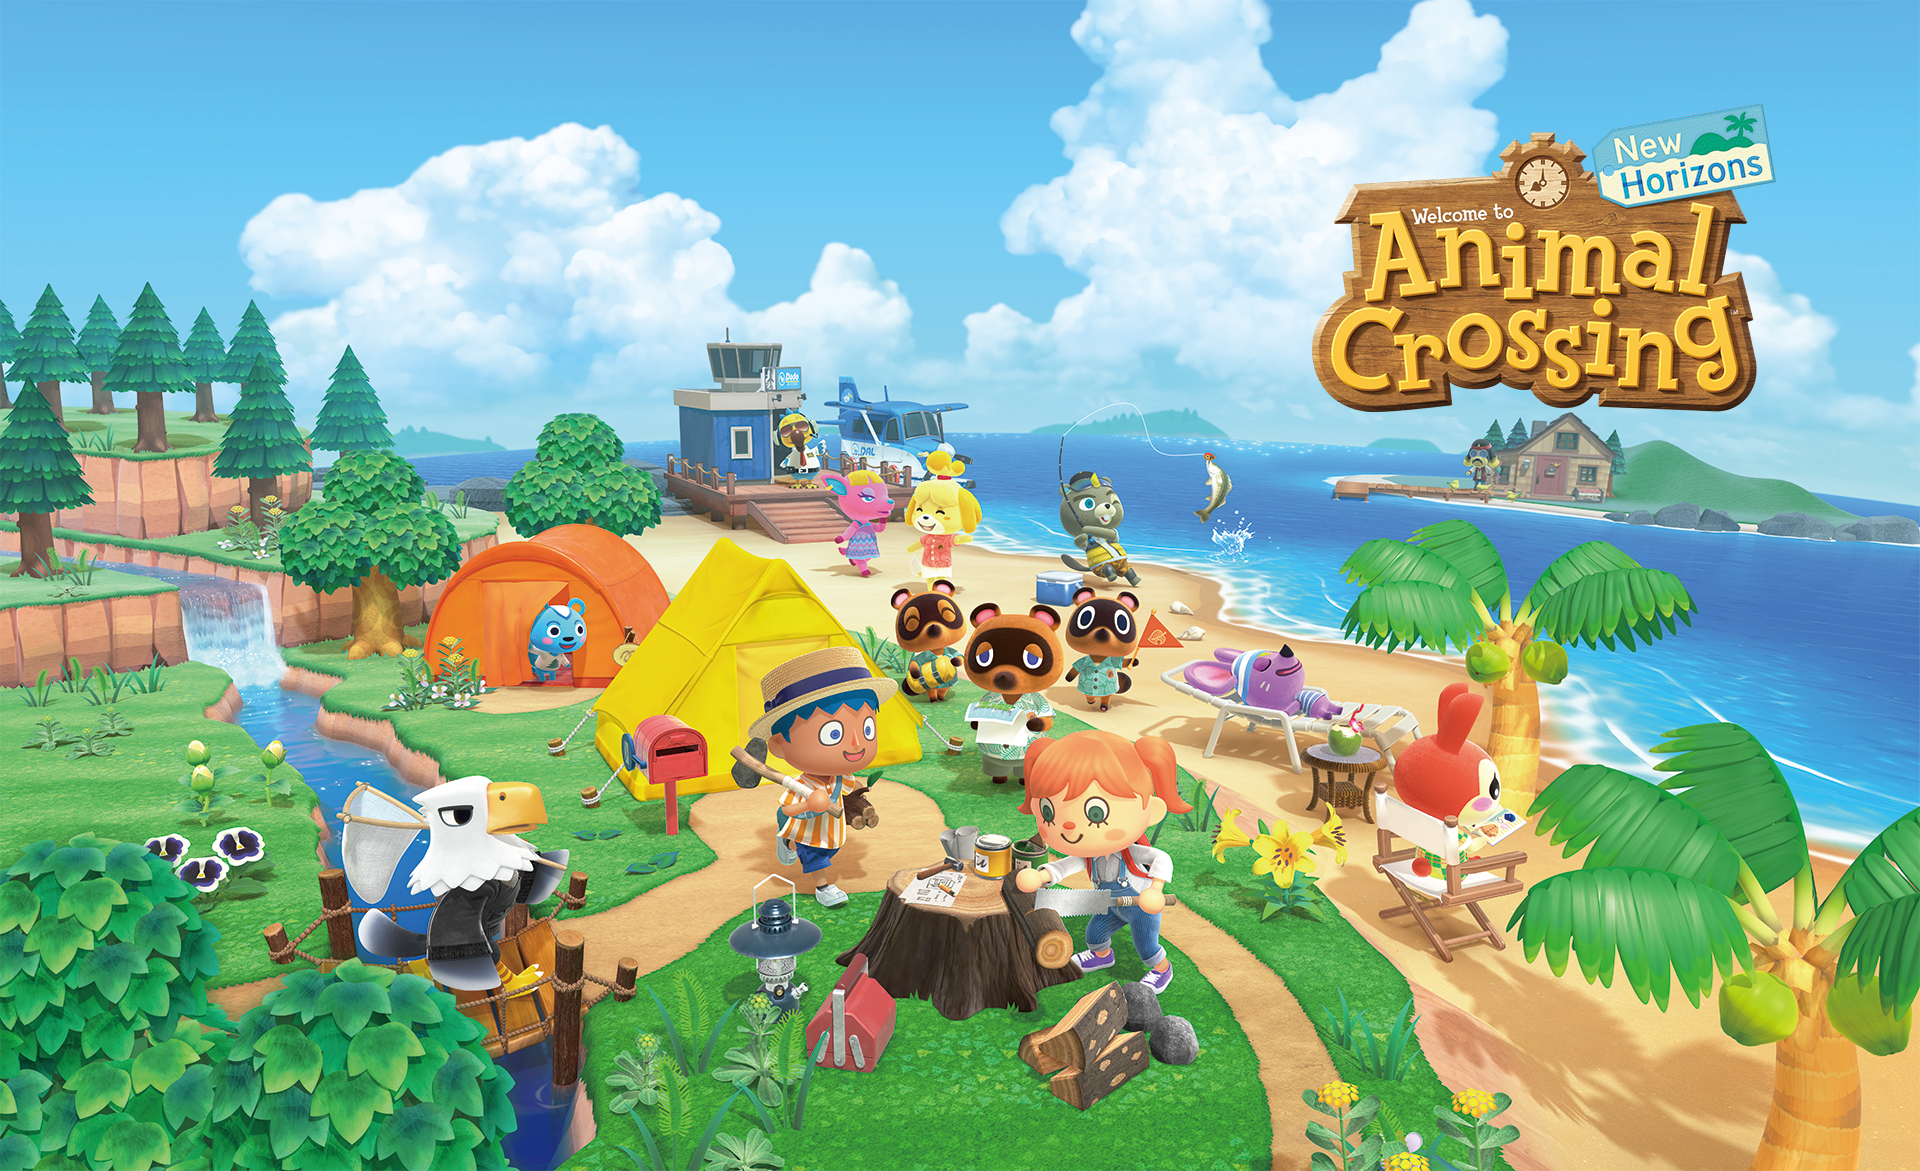
 Animal Crossing: New Horizons is a highly popular simulation game developed exclusively for the Nintendo Switch. However, many PC gamers have expressed a desire to play this game on their Windows computers. If you’re one of them, you’ll be pleased to know that there is a way to enjoy Animal Crossing on PC without a Switch. In this comprehensive guide, we will walk you through the steps to install and run the Ryujinx emulator on your Windows PC, allowing you to play Animal Crossing: New Horizons from the comfort of your own computer.
Understanding the Ryujinx Emulator
Before we dive into the installation process, let’s take a moment to understand what the Ryujinx emulator is. Simply put, an emulator is a software that enables one system (in this case, the Nintendo Switch) to run on another system (your PC). The Ryujinx emulator is specifically designed to emulate Nintendo Switch games on Windows computers. It is an open-source project that has gained significant traction within the gaming community.
Preparing Your PC for the Ryujinx Emulator
To begin, there are a few things you need to do to prepare your PC for the Ryujinx emulator. Follow these steps:
Step 1: Ensure You Have a Copy of Animal Crossing: New Horizons
Before proceeding with the installation process, you will need to have a copy of Animal Crossing: New Horizons installed on a Nintendo Switch console. This is necessary to obtain certain files that are required for the emulator to run smoothly.
Step 2: Download the OpenAL Client
Next, download the OpenAL client from the official website. OpenAL is an open-source audio library that provides support for multi-channel audio. It is needed to ensure proper audio functionality within the Ryujinx emulator.
Step 3: Download and Extract the Ryujinx Emulator
Now, download the latest version of the Ryujinx emulator from the official GitHub repository. Once downloaded, extract the contents of the zip file to a location of your choice on your PC. This will create a folder containing the necessary files for the emulator.
Step 4: Add the Prod.keys File
To successfully run the Ryujinx emulator, you need to add the Prod.keys file. This file contains copyright information that is required for certain games to run. To add the Prod.keys file, follow these steps:
- Open the newly extracted Ryujinx folder.
- Locate the “System” folder and open it.
- Drag and drop the Prod.keys file into the System folder.
Step 5: Install Firmware on the Emulator
Now that you have set up the basic requirements, it’s time to install the firmware on the Ryujinx emulator. The firmware is essentially the operating system of the Nintendo Switch. To install the firmware, follow these steps:
- Launch the Ryujinx emulator by double-clicking on the Ryujinx.exe file.
- Once the emulator is running, click on “File” in the top menu.
- Select “Open Ryujinx folder” to open the emulator’s directory.
- Within the Ryujinx folder, open the “System” folder.
- Drag and drop a Nintendo Switch game file (XCI or ZIP format) into the System folder.
- Go to “Options” > “Settings” in the top menu.
- In the Settings menu, select your timezone, system region, and language preferences.
- Click on “Tools” in the top menu.
- Select “Install Firmware” and choose “Install a firmware from an XCI or ZIP.”
- Browse for the game file you added earlier and click “Open.”
- A prompt will appear, indicating that a firmware update is required. Click “Yes” to proceed.
- The emulator will install the firmware, and any version above 5.1.0 should work fine.
Step 6: Add Your Game Directory
To ensure that the emulator recognizes your game files, you need to add your game directory to the Ryujinx emulator. Follow these steps:
- Click on “Options” in the top menu.
- Select “Settings.”
- In the Settings menu, click on the “General” tab.
- Under the “Game Directories” section, click on “Browse.”
- Navigate to the location where your Nintendo Switch game files are stored.
- Click “Save” to add the directory to the emulator.
- Close the emulator for the changes to take effect.
Launching Animal Crossing: New Horizons on PC
Now that you have completed the setup process, you are ready to launch Animal Crossing: New Horizons on your PC. Follow these steps:
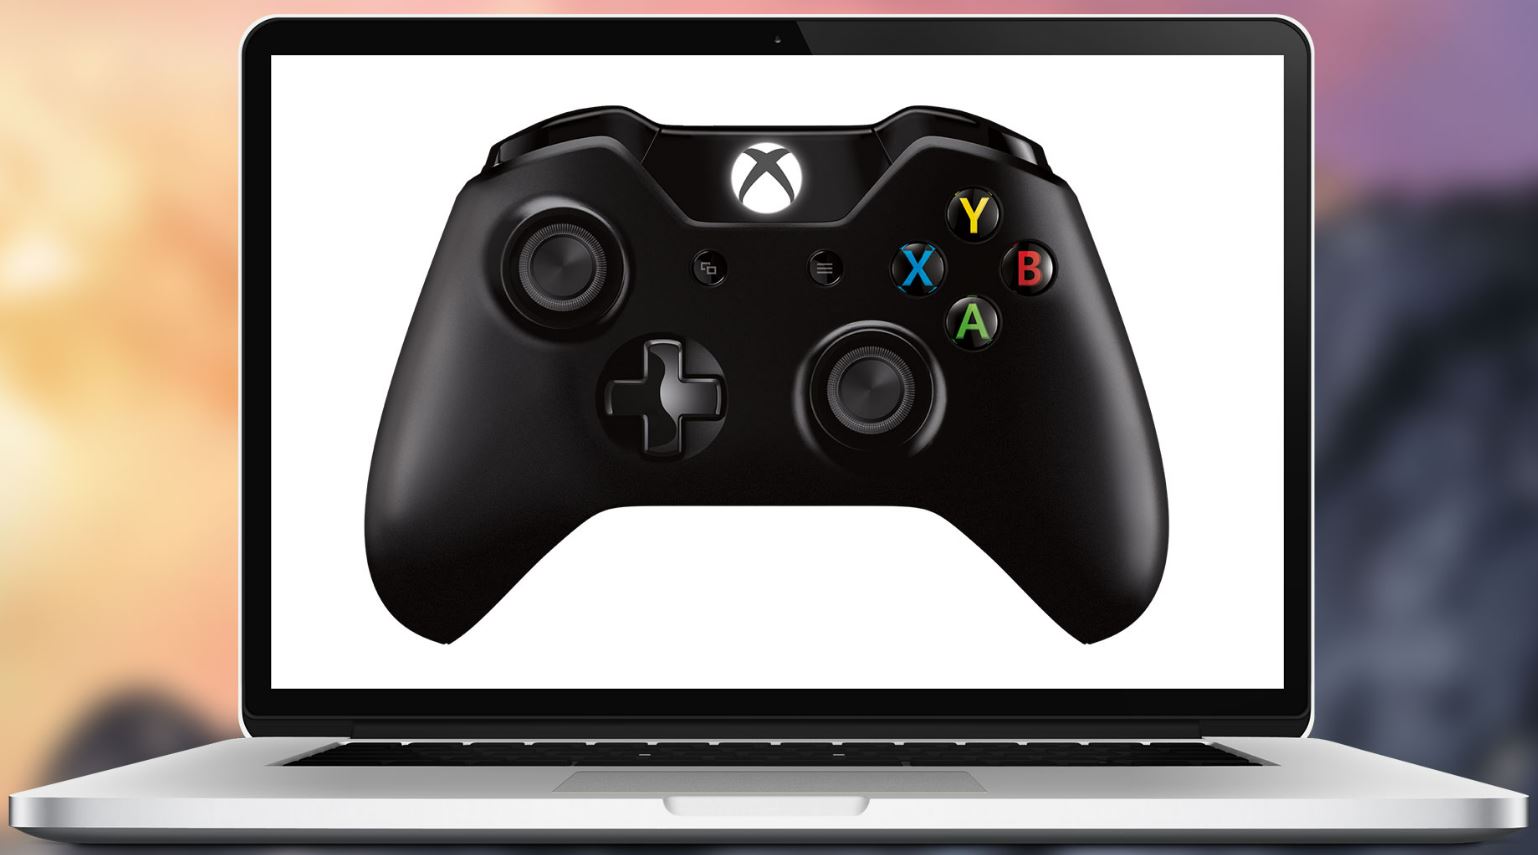
- Ensure that your game controller is connected to your PC.
- Double-click on the Animal Crossing: New Horizons icon in the Ryujinx emulator folder.
- The game will launch, and you can start playing!
Alternative Emulators for Playing Animal Crossing on PC
While the Ryujinx emulator is a popular choice for playing Animal Crossing: New Horizons on PC, there are alternative emulators available as well. One such emulator is Bluestacks, which allows you to run Android games on your PC. However, it’s important to note that Bluestacks may have compatibility issues with Animal Crossing: New Horizons, so it is recommended to use it as a backup option rather than the primary choice.
Another emulator worth exploring is RetroArch, which is a multi-platform emulator that supports various gaming consoles, including Nintendo systems. If you’re interested in exploring more emulator options, RetroArch is a great place to start.
Conclusion
Playing Animal Crossing: New Horizons on PC without a Switch is now possible thanks to the Ryujinx emulator. By following the steps outlined in this guide, you can enjoy the charm and relaxation of this beloved game on your Windows computer. Remember to have a copy of Animal Crossing: New Horizons installed on a Nintendo Switch console before proceeding with the installation process. Emulators like Ryujinx open up new possibilities for gamers, allowing them to experience their favorite games on different platforms. So, why wait? Start your virtual island adventure today!


