Whenever multiple devices are connected to the same Wi-Fi network, the internet bandwidth is shared among them. This can sometimes result in one device consuming a significant portion of the bandwidth, causing connectivity issues for other devices. To address this problem, it’s useful to prioritize certain devices on the Wi-Fi network, ensuring that they have uninterrupted access to the internet. This can be achieved through features like Quality of Service(QoS) or traffic control on routers. In this guide, we’ll explain how to prioritize devices on Wi-Fi and provide step-by-step instructions for implementing these settings.
Prioritizing Devices Using QoS or Traffic Control
Quality of Service(QoS) is a feature commonly found in routers that manages internet traffic on a network. It can be used to prioritize specific types of data traffic, such as streaming or file transfers. Additionally, QoS can also be utilized to prioritize certain devices connected to the network over others.
If your router does not have a QoS feature, you can use bandwidth limit or traffic control settings as an alternative. These settings allow you to manually impose limits on download and upload bandwidth for devices, although they may not be as optimized as QoS.
Step 1: Access Router Portal
To change the relevant settings, you’ll need to access the router portal. The gateway IP address of your router can usually be found on a sticker attached to the device. Alternatively, you can retrieve this information through command-line interfaces on your computer.
Once you have the gateway IP address, type it into the address bar of a web browser and press Enter. This will take you to the router’s login page. Enter the username and password for the portal, which are typically set to “admin” for both fields.
On Windows, follow these steps:
- Open the Command Prompt.
- Type the following command: WMIC NICConfig where IPEnabled=”True” get DefaultIPGateway.
- Look for the line that displays the default gateway IP address.
On Mac, follow these steps:
- Open the Terminal.
- Enter the command: netstat -rn | grep default | awk ‘{print $2}’.
- Look for the line that shows the default gateway IP address.
On Linux, follow these steps:
- Open the Terminal.
- Enter the command: ip route | awk ‘/default/ { print $3 }’.
- Look for the line that displays the default gateway IP address.
Step 2: Change QoS or Traffic Control Settings
Now, you can modify the necessary QoS configurations or traffic control settings to prioritize specific devices on your Wi-Fi network. The interface and steps may vary depending on your router model, so refer to the router’s help sections or official sources for more information if needed.
Note: Some routers may require you to specify the current download and upload bandwidth or their corresponding limits. You can use online speed testing websites like fast.com, speedtest.net, or speed.io to check your internet speeds.
Here are the steps for changing settings on specific router brands:
ASUS Router:
- Under the General section, select Adaptive QoS on the Router Portal.
- Enable QoS and check Bandwidth Limiter under QoS Type.
- Select the client device from the drop-down box under Target.
- Specify the download and upload bandwidth limits and click Add(+).
- Repeat this process for all devices you wish to prioritize, or you can skip setting limits for devices that you want to have unrestricted access.
Netgear Router:
- Go to the Advanced tab, select Setup and then QoS setup.
- Click Set Up QoS Rule next to the QoS Priority Rule list and then Add Priority Rule.
- Choose MAC Address under Priority Category.
- Select the device from the MAC Device List.
- Set the Priority level according to your preference and click Add.
- Repeat these steps to specify priority levels for other devices.
- Click Apply to save the changes.
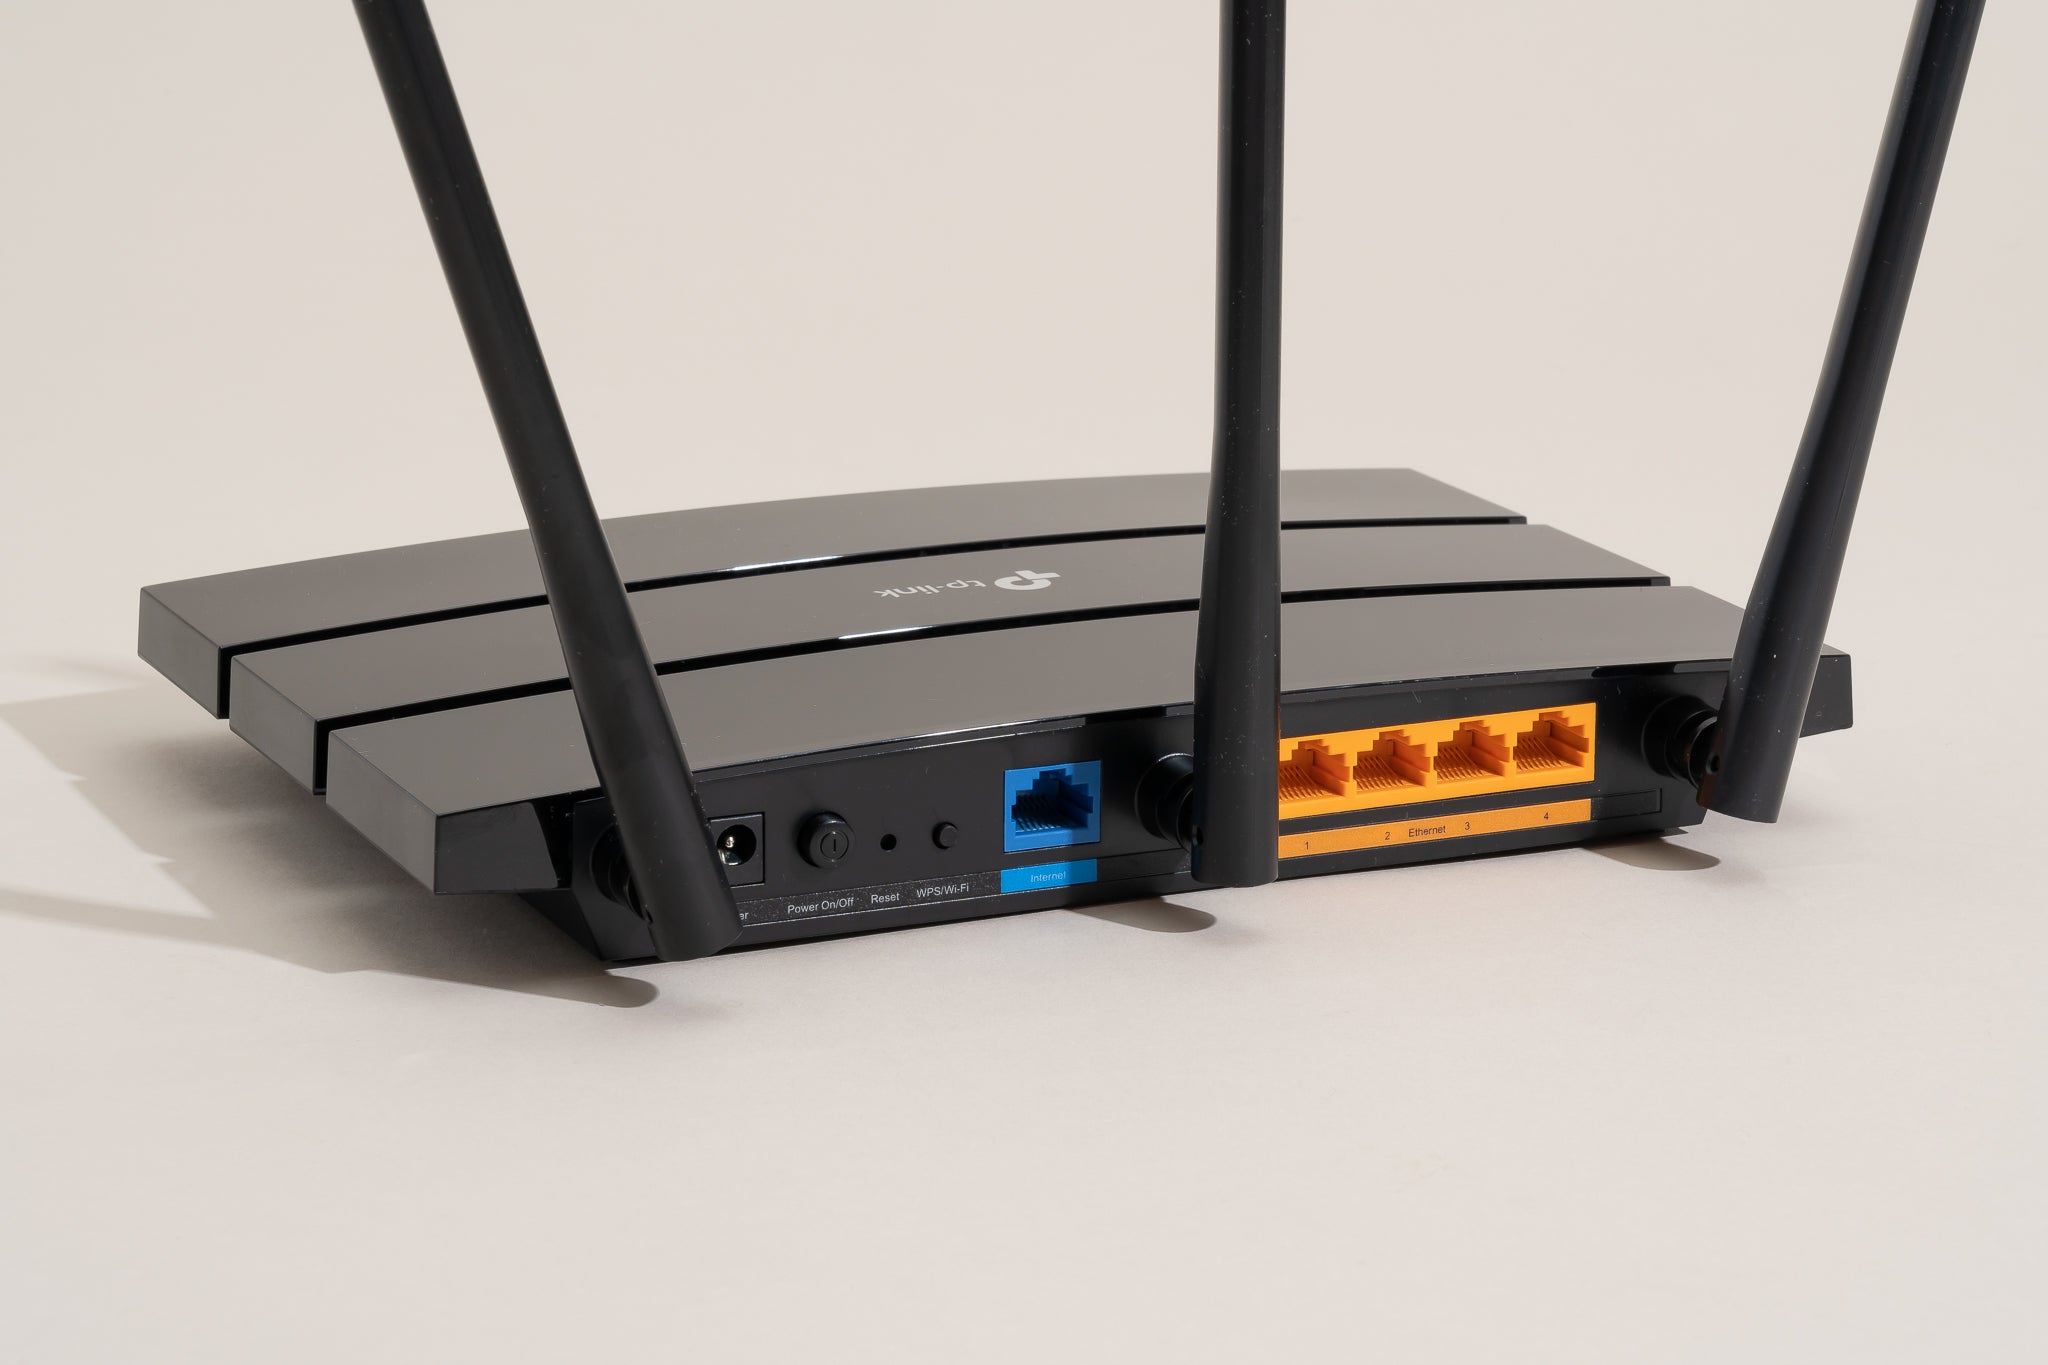
TP-Link Router:
- Access the Advanced tab on the router portal.
- Go to QoS, then Settings and enable QoS.
- Specify your actual upload and download bandwidth.
- Adjust the slides for High, Middle and Low Priority, ensuring the total values amount to 100 or less.
- Leave some percentage free(e.g., 5%) for future devices.
- Look for the QoS Rule List and click Add under High Priority.
- Select the device(s) you wish to prioritize and click Save.
- Repeat this process for other devices.
D-Link Router:
- Navigate to the Features section and select QoS Engine.
- Enable AI Traffic Optimizer if available.
- Set the Downlink and Uplink Speed as per your internet service.
- Click Save.
- Click on the connected devices under Connected Clients or click on the device’s information icon.
- Set the priority according to your preference and click Save.
Linksys:
- Go to the Device Prioritization tab.
- Toggle on Prioritization if necessary.
- Drag and drop devices between Normal Priority and High Priority to specify priority settings.
- Click OK to save.
Tenda:
- Access the Bandwidth Control tab.
- Set the Download Limit and Upload Limit for each device as needed.
- Click OK to save.
Step 3: Test Speed on All Devices
After making changes to your router’s configuration, it’s recommended to test the internet speed on all devices to ensure that the prioritization settings have been implemented successfully. You can use speed testing websites or applications to check the internet speed on each device.
Prioritizing Wi-Fi on Google Nest
For users of Google Nest Wifi Pro, Nest Wifi and Google Wifi devices, you can utilize the Google Home app to prioritize Wi-Fi access for specific devices temporarily.
- Open the Google Home app on your mobile phone.
- Go to Favorites and select the Wi-Fi icon.
- Tap Set priority device under Devices.
- Choose the device you want to prioritize Wi-Fi for.
- Set the desired time duration and select Save.
By following these steps, you can prioritize certain devices on your Wi-Fi network, ensuring uninterrupted access to the internet for your preferred devices.
Experiencing difficulties with your Device, check out our “How To” page on how to resolve some of these issues.