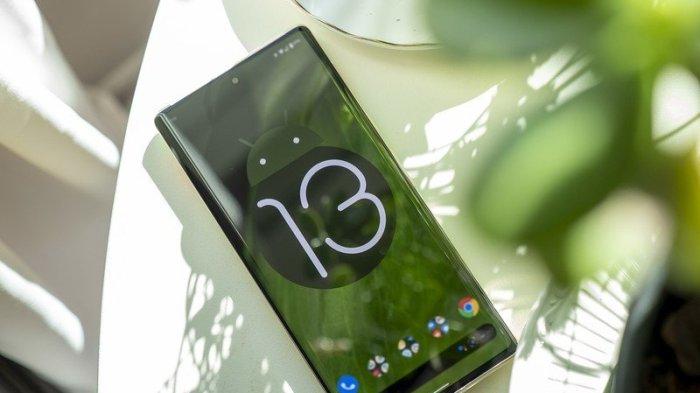
Are you a proud owner of a Google Pixel device running Android 13? Do you want to unlock the full potential of your device by gaining root access? Rooting your Pixel device allows you to customize it according to your preferences and install various mods and frameworks. In this comprehensive guide, we will walk you through the step-by-step process of rooting any Pixel device running Android 13 using Magisk. But before we dive into the process, let’s understand what rooting is and why it can be beneficial for you.
Rooting is the process of gaining privileged control (root access) over your Android device’s operating system. By rooting your Pixel device, you can overcome the limitations imposed by the manufacturer and customize various aspects of your device’s software and hardware. Here are some key benefits of rooting your Pixel device:
- Customization: Rooting allows you to install custom ROMs, themes, and mods, giving you complete control over the look and feel of your device.
- Performance Optimization: With root access, you can optimize your device’s performance by removing bloatware, tweaking system settings, and overclocking the CPU.
- Backup and Recovery: Rooting enables you to perform complete system backups, which can be a lifesaver in case of data loss or software issues.
- App and File Access: Rooting grants you access to system files and directories, allowing you to modify apps, remove pre-installed apps, and perform advanced file operations.
Now that we have a clear understanding of the benefits of rooting, let’s proceed with the step-by-step guide to root your Pixel device running Android 13 using Magisk.
Before You Start
Before you begin the rooting process, there are a few important things to consider:
- Backup Your Data: Rooting may involve modifying system files, which can potentially lead to data loss. It is crucial to back up all your important data, including photos, videos, contacts, and documents.
- Charge Your Device: Ensure that your Pixel device has at least 70% battery charge to avoid any interruptions during the rooting process.
- Enable USB Debugging and OEM Unlocking: To establish a connection between your Pixel device and your computer, you need to enable USB debugging and OEM unlocking. Here’s how:
- Go to Settings on your Pixel device.
- Scroll down and tap on About phone.
- Tap on Build Number seven times to enable Developer options.
- Go back to Settings and tap on System.
- Tap on Advanced and then Developer options.
- Enable USB debugging and OEM unlocking.
- Confirm any prompts that appear.
With these preparations in place, let’s move on to the step-by-step rooting process.
Step 1: Setup Procedure
Before we begin the rooting process, we need to set up the necessary tools and files on your computer. Here’s what you need to do:
- Download the Android SDK Platform Tools on your computer. These tools include ADB (Android Debug Bridge) and Fastboot, which are essential for interacting with your Pixel device.
- Download the Pixel Stock Firmware File for your specific Pixel device model. Make sure you download the firmware file that matches the version of Android currently installed on your device. To check your device’s Android version, go to Settings > About phone > Build Number.
- Download the latest version of the Magisk APK tool on your computer. Magisk is a popular tool that allows you to root your Android device and manage root permissions.
Once you have downloaded these files, extract the Android SDK Platform Tools and keep them in a convenient location on your computer. We are now ready to proceed with unlocking the bootloader.
Step 2: Unlock the Bootloader
The first step in the rooting process is to unlock the bootloader of your Pixel device. Unlocking the bootloader allows you to install custom firmware and gain root access. However, please note that unlocking the bootloader will erase all data on your device, so make sure you have backed up everything.
Follow these steps to unlock the bootloader:
- Connect your Pixel device to your computer using a USB cable.
- Open a command prompt or terminal window on your computer and navigate to the directory where you extracted the Android SDK Platform Tools.
- In the command prompt or terminal window, enter the following command to boot your device into fastboot mode:
adb reboot bootloader
- Once your device is in fastboot mode, enter the following command to check if your device is recognized by your computer:
fastboot devices
If your device is listed, you can proceed to the next step. If not, make sure you have installed the necessary USB drivers for your Pixel device.
- To unlock the bootloader, enter the following command:
fastboot flashing unlock
This command will initiate the bootloader unlocking process on your Pixel device.
- On your device’s screen, you will see a warning message. Use the volume keys to navigate to the Unlock bootloader option and press the power key to select it.
- Your device will now reboot, and the bootloader will be unlocked. This process will erase all data on your device, so make sure you have taken a backup before proceeding.
Congratulations! You have successfully unlocked the bootloader of your Pixel device. Now, let’s move on to the next step, which is configuring the boot image.
Step 3: Configure Boot Image
To root your Pixel device running Android 13, we need to configure the boot image. Follow these steps:
- Download the stock firmware for your specific Pixel device model from the official Google website or other trusted sources.
- Extract the downloaded firmware file to obtain the boot.img file.
- Transfer the boot.img file to your Pixel device’s internal storage.
- Download and install the Magisk APK tool on your Pixel device.
- Launch the Magisk app and click on the “Install” button.
- Select the “Select and Patch a File” option.
- Browse and select the boot.img file you transferred to your device.
- Magisk will patch the boot image and generate a patched boot image file.
- The patched boot image file will be saved in the Downloads folder of your Pixel device. Connect your device to your computer and transfer the patched boot image file to the platform-tools folder.
- Open a command prompt or terminal window on your computer and navigate to the platform-tools folder.
- Enter the following command to reboot your device into fastboot mode:
fastboot reboot bootloader
- Once your device is in fastboot mode, enter the following command to temporarily boot the patched boot image:
fastboot boot magisk_patched.img
This command will temporarily root your Pixel device running Android 13.
If your device boots up successfully after executing the above command, you can proceed to the final step of making the root access permanent.
Step 4: Root Android 13 via Direct Install
At this stage, your Pixel device is temporarily rooted. To make the root access permanent, follow these steps:
- Open the Magisk app on your Pixel device.
- Click on the “Install” button.
- Select the “Direct Install” option.
- Tap on the “Let’s Go” button to proceed with the installation.
- Once the installation is complete, reboot your device.
Congratulations! You have successfully rooted your Pixel device running Android 13 via Magisk. You now have full control over your device, allowing you to customize it according to your preferences and install various mods and frameworks.
Conclusion
Rooting your Pixel device running Android 13 can unlock a world of possibilities, enabling you to customize and optimize your device to its fullest potential. In this guide, we have provided a step-by-step process to root your Pixel device using Magisk. Remember to proceed with caution and take all necessary precautions, as rooting can void your device’s warranty and may lead to potential risks. However, if you follow the instructions carefully, you can enjoy the benefits of root access and unleash the true power of your Pixel device.
If you encounter any issues or have any questions during the rooting process, feel free to reach out to the XDA Developers community or consult official Pixel support channels. Happy rooting!
Experiencing difficulties with your Device, check out our “How To” page on how to resolve some of these issues.


1 comment