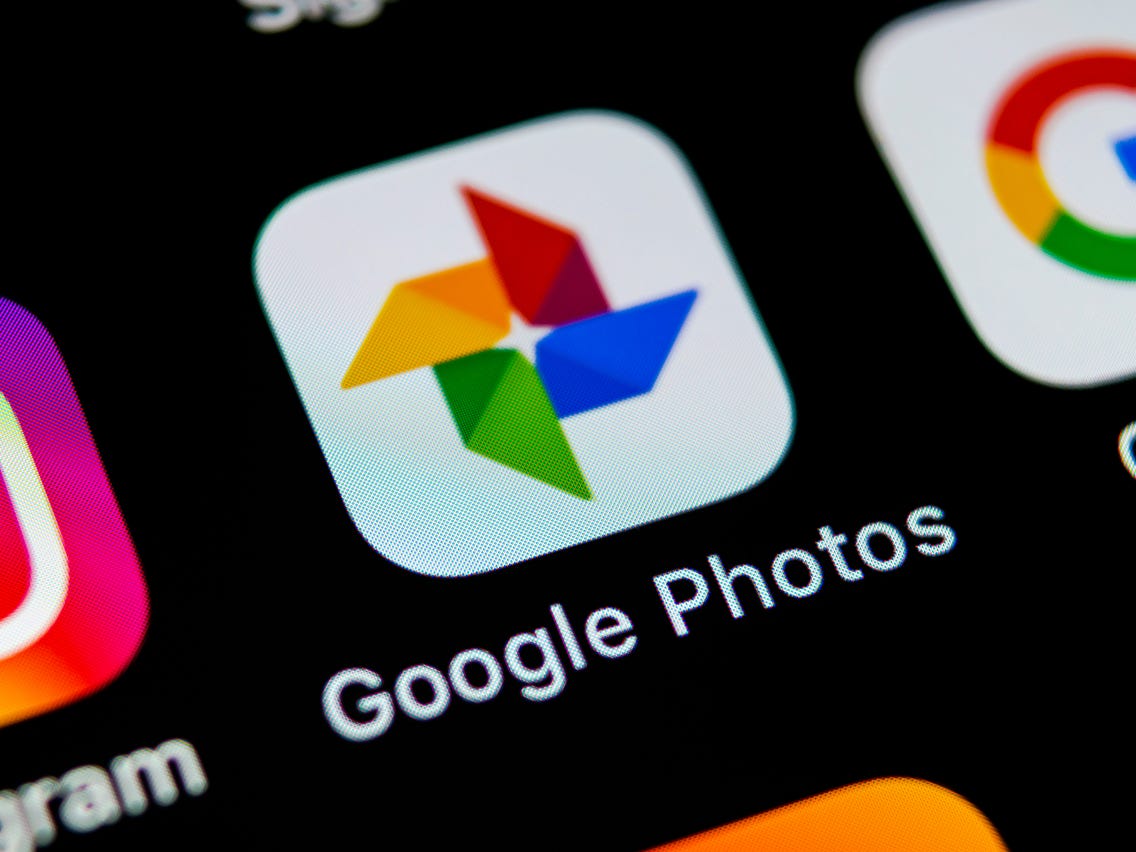
In today’s digital age, we capture countless precious moments through photos and videos. Facebook serves as a popular platform for sharing these memories with friends and family. However, as time goes by, you may find yourself wanting to back up your Facebook photos and videos to ensure their safekeeping. One excellent option for this is Google Photos, a cloud-based storage service that offers free and unlimited storage for high-quality images and videos. In this article, we will guide you through the process of storing your Facebook photos and videos on Google Photos, providing you with a reliable backup solution and easy access to your cherished memories.
Why Store Your Facebook Photos and Videos on Google Photos?
Before we dive into the steps of transferring your Facebook media to Google Photos, let’s take a moment to understand why this is a beneficial choice.
1. Safekeeping Your Memories
Facebook is a social media platform primarily designed for sharing content with others. While it provides a convenient way to store and display your photos and videos, relying solely on Facebook for storage may not be the safest option. By backing up your media to Google Photos, you ensure that your memories are securely stored in the cloud, protected from accidental deletion, device loss, or any unforeseen circumstances.
2. Easy Accessibility
Google Photos offers a user-friendly interface and robust search capabilities, making it effortless to locate specific photos or videos whenever you desire. Whether you’re looking for a particular memory from years ago or trying to locate a recent snapshot, Google Photos makes the search process quick and seamless.
3. Free and Unlimited Storage
One of the most significant advantages of using Google Photos is its storage policy. Google allows you to store an unlimited number of high-quality photos and videos on their platform for free. This eliminates any concerns about exceeding storage limits or having to pay for additional space.
4. Organization and Editing Features
Google Photos provides a range of tools to help you organize and enhance your media collection. From creating albums and collages to applying filters and making basic edits, you can easily transform your photos and videos into personalized works of art, all within the same platform.
Now that we understand the benefits, let’s explore the step-by-step process of storing your Facebook photos and videos on Google Photos.
Step 1: Download Your Facebook Data
To begin the transfer process, you’ll first need to download your Facebook data. This file will contain all your photos, videos, posts, and other content from your Facebook account. Here’s how to do it:
- Log in to your Facebook account and go to Settings.
- Click on Your Facebook Information in the left-hand menu.
- Select Download Your Information.
- In the Date Range section, choose the range of data you want to include in the download. If you want to download everything, select “All of my data.”
- Under Media Quality, choose the desired quality for your photos and videos. We recommend selecting the highest quality available.
- In the Format section, choose the format for your download file. We recommend using the default HTML format.
- Click on Create File. Facebook will notify you when your file is ready for download, which may take some time depending on the size of your data.
Once you receive the notification, proceed to the next step.
Step 2: Upload Your Facebook Data to Google Photos
Now that you have your Facebook data file, it’s time to upload it to Google Photos. Follow these instructions:
- Open a web browser and go to the Google Photos website.
- Sign in to your Google account or create one if you don’t have an account already.
- Once you’re signed in, click on the Upload button, which is represented by a cloud icon with an upward arrow.
- Select Computer from the drop-down menu.
- Locate and open the Facebook data file you downloaded in Step 1.
- Google Photos will begin uploading your photos and videos. You can monitor the progress in the upload status window.
Please note that the upload process may take some time, depending on the size of your Facebook data file and your internet connection speed. It’s best to ensure you have a stable internet connection and avoid interrupting the upload process.
Step 3: Organize and Manage Your Media on Google Photos
Once the upload is complete, you’ll find all your Facebook photos and videos in Google Photos. Now, let’s explore how to organize and manage your media within the platform.
1. Create Albums
Google Photos allows you to create albums to group related photos and videos together. This feature ensures easy access to specific memories. To create an album:
- Select the photos and videos you want to include in the album.
- Click on the “+” (plus) icon at the top of the screen.
- Choose Album from the drop-down menu.
- Enter a name for your album and click Create.
2. Edit and Enhance Your Media
Google Photos offers a range of editing tools to enhance your photos and videos. You can make adjustments to brightness, contrast, saturation, and more. To edit a photo or video:
- Open the media you want to edit.
- Click on the Edit icon (represented by a pencil).
- Use the available editing options to make adjustments.
- Click Save once you’re satisfied with the changes.
3. Search and Discover
Google Photos utilizes advanced image recognition technology, enabling you to search for specific photos or videos using keywords. You can search by people, places, objects, or even descriptive terms. Simply enter your search query in the search bar at the top of the screen, and Google Photos will display relevant results.
4. Share and Collaborate
Google Photos makes it easy to share your favorite memories with friends and family. You can create shared albums and invite others to contribute their photos and videos. Additionally, you can generate links to individual photos or videos and share them via email, messaging apps, or social media platforms.
Additional Tips for Managing Your Facebook Photos and Videos
Here are some additional tips to help you efficiently manage your Facebook photos and videos on Google Photos:
- Regularly back up new photos and videos: To ensure your media collection stays up to date, make it a habit to back up new photos and videos from your Facebook account to Google Photos regularly. You can follow the same steps mentioned earlier to download your updated Facebook data and upload it to Google Photos.
- Delete unwanted media from Facebook: Once you’ve successfully transferred your photos and videos to Google Photos, consider deleting them from your Facebook account to free up storage space and avoid duplication. However, exercise caution and make sure you have a reliable backup before deleting anything.
- Take advantage of Google Photos’ features: Google Photos offers various features to enhance your overall experience. Explore options like automatic backup, facial recognition, and the “Rediscover this day” feature, which presents you with a collection of past memories on a specific date.
- Ensure privacy and security: While Google Photos provides a secure platform for storing your media, it’s essential to review and adjust your privacy settings according to your preferences. Take the time to familiarize yourself with the available options and customize them to suit your needs.
Conclusion
In conclusion, storing your Facebook photos and videos on Google Photos is a reliable and convenient way to preserve your cherished memories. By following the steps outlined in this guide, you can ensure the safekeeping of your media and enjoy easy access to your favorite moments. So, don’t wait any longer – start the transfer process today and embrace the peace of mind that comes with knowing your memories are securely stored in the cloud. Happy storing!
Experiencing difficulties with your Device, check out our “How To” page on how to resolve some of these issues.