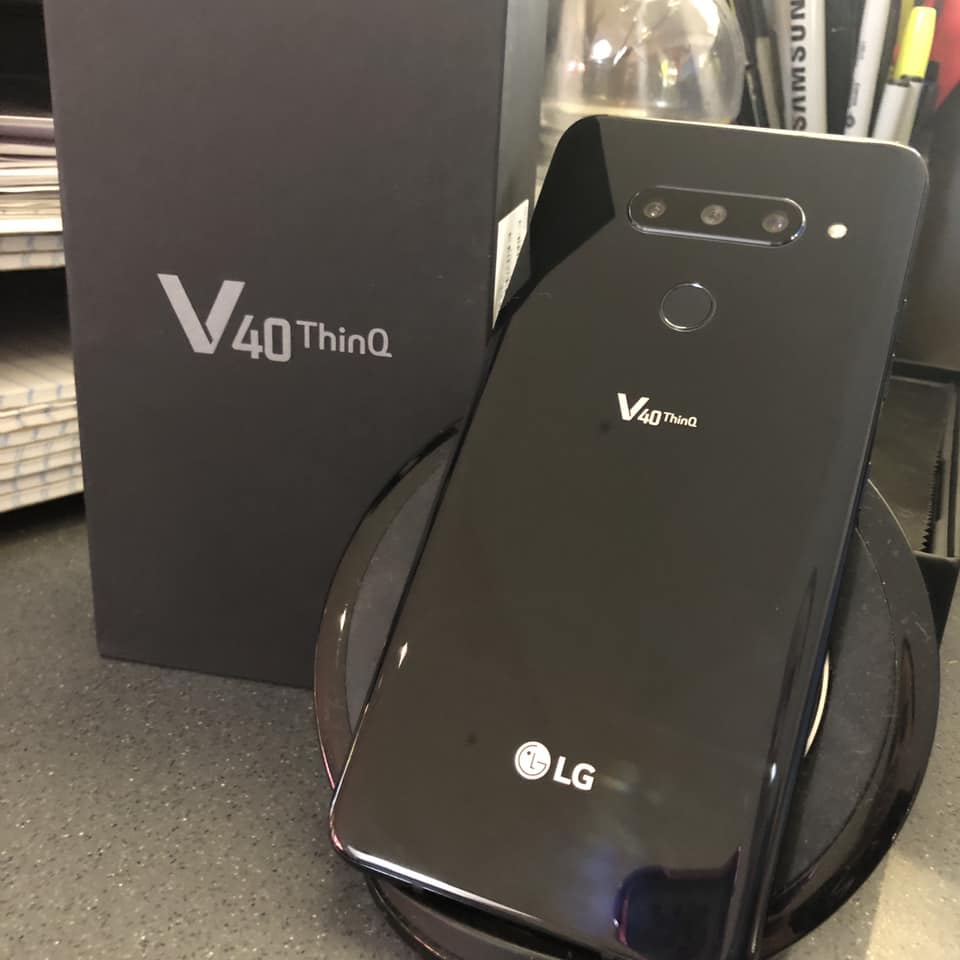
The LG V40 ThinQ smartphone commonly referred to as the LG V40, is an Android phablet manufactured by LG Electronics as part of the LG V series. It was announced on the date of October 3, 2018 and is the successor to the previous devices in the LG V series, namely the LG V30, LG V30S ThinQ, and LG V35 ThinQ. The LG V40 was released primarily in the United States on October 18, 2018.
The LG V40 ThinQ is the first smartphone to have five cameras on a single device to give you some more shooting options.
The LG V40 ThinQ smartphone is ready to capture everything that’s in front of you with its super-wide rear camera that has a 107-degree Field Of View. It’s not as dramatic as the 120 degree Field Of View on the original LG V10 smartphone, but that’s in order to reduce barrel distortion at the edges.
How To Wipe Cache Partition LG V40 ThinQ:
Ensure the device is powered off.
Press and hold the Volume Down button then press and hold the Power button. When the System recovery screen is displayed, release both buttons.
Press and Hold the Volume Down Button
From the System recovery screen, select Wipe Cache Partition.
Utilize the Volume buttons to highlight and the Power button to select.
Select Wipe Cache.
Select Yes to confirm.
Allow some minutes for the wipe cache process to complete.
Experiencing difficulties with your Android Device, check out our “How To” page on how to resolve some of these issues.
Other Android Technical Reviews:- Android