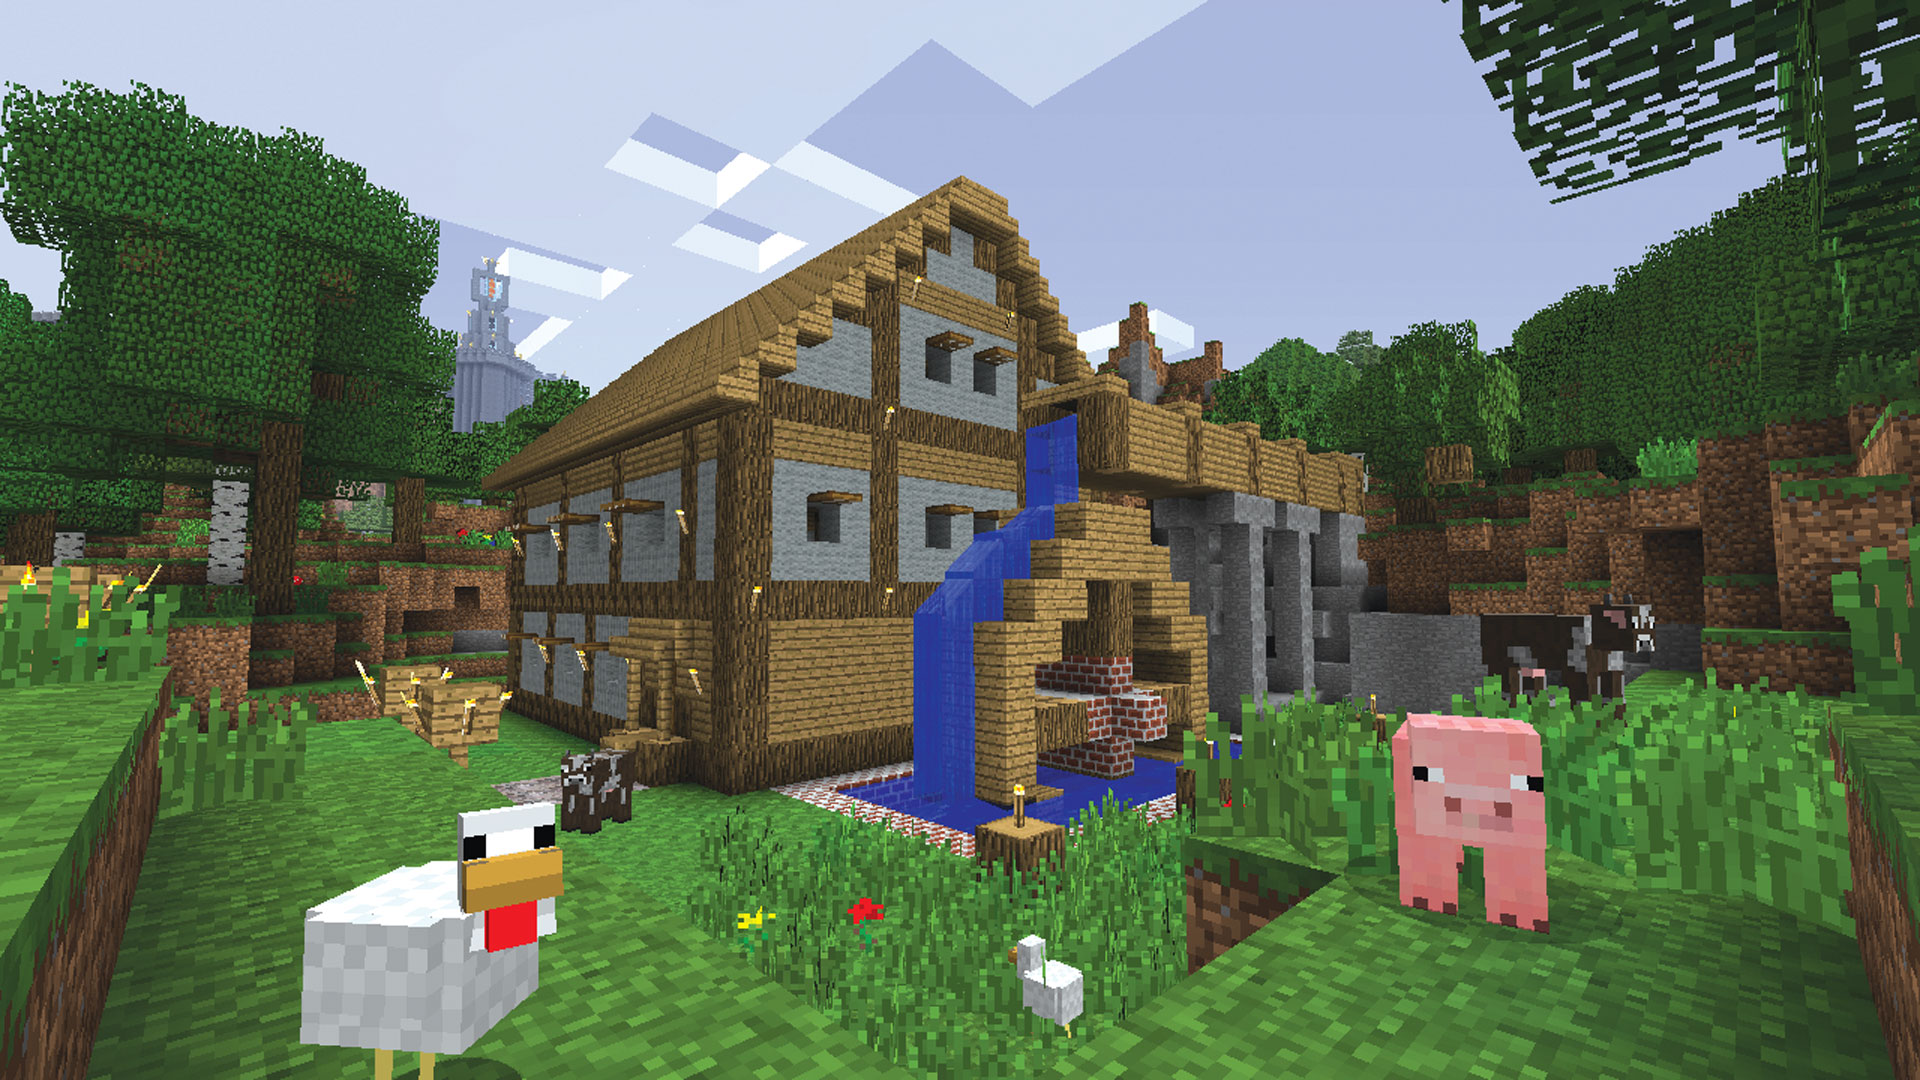
Minecraft, the iconic 3D sandbox simulation video game developed by Mojang Studios and Xbox Game Studios, has been captivating players’ imaginations for over a decade. With its limitless creative potential and immersive gameplay, Minecraft has gained a massive following. However, even a well-established game like Minecraft isn’t immune to technical hiccups. One common issue that plagues Minecraft enthusiasts is the dreaded GLFW Error 65542, signaling that the driver does not support OpenGL.
In this comprehensive guide, we’ll explore the intricacies of the Minecraft GLFW Error 65542 and provide you with a step-by-step solution to get you back to crafting, building, and exploring in the pixelated world of Minecraft.
Understanding the Minecraft GLFW Error 65542
Before we dive into the solutions, let’s gain a deeper understanding of what the GLFW Error 65542 actually means. This error message, often presented as “GLFW Error 65542: WGL: The driver does not appear to support OpenGL. Please make sure you have up-to-date drivers (see aka.ms/mcdriver for instructions),” can be particularly frustrating for players as it prevents the game from launching smoothly.
Essentially, this error points to an OpenGL compatibility issue with your system’s graphics driver. OpenGL is a critical component for rendering 2D and 3D graphics in Minecraft. If your driver doesn’t support OpenGL or if there are conflicts and compatibility issues, you’ll encounter this error.
Now that we have a clear grasp of the problem, let’s explore the various troubleshooting steps to resolve the Minecraft GLFW Error 65542.
Troubleshooting Steps to Fix Minecraft GLFW Error 65542
Restart Your PC
Sometimes, the simplest solutions can be the most effective. Begin your troubleshooting journey by restarting your computer after closing Minecraft. This basic step can help clear temporary glitches or cache data that may be causing the error. While it may not work for everyone, many PC gamers have found this trick to be useful.
Restart the Minecraft Launcher
Another quick fix to try is closing the Minecraft Launcher and then restarting it. Doing so can ensure that no residual tasks are running in the background, potentially interfering with the game. Follow these steps:
- Press Ctrl+Shift+Esc to open the Task Manager.
- Navigate to the “Processes” tab and select the minecraftlauncher.exe or javaw.exe task.
- Click “End Task” to close it.
- Finally, reopen the Minecraft launcher and check if the issue persists.
Check System Requirements
Before diving deeper into troubleshooting, it’s essential to verify whether your computer meets Minecraft’s minimum system requirements. Sometimes, an outdated graphics driver or an incompatible graphics card can trigger the GLFW Error 65542. Here are the minimum and recommended specifications:
Minimum Requirements:
- CPU: Intel Core i3-4150 or Intel Celeron N4100 / AMD A8-6600K
- RAM: 2 GB
- GPU: Integrated – Intel HD Graphics 4400 or AMD Radeon R5 series with OpenGL 4.4
Recommended Specifications:
- CPU: Intel Core i7-6500U / AMD FX-4100
- RAM: 8 GB
- GPU: Discrete – Nvidia GeForce 940M or Radeon HD 7750
Checking your system against these requirements can help identify potential compatibility issues.
Update Windows
Outdated system builds can be the root cause of various issues, including the GLFW Error 65542. It’s advisable to check for system updates on your Windows PC before proceeding with other troubleshooting methods. Here’s how to do it:
- Press Win+I keys to open Windows Settings.
- Click on “Update & Security.”
- Select “Check for updates” under Windows Update.
- If a feature update is available, select “Download and Install.”
- Wait for the software update to complete.
- Once done, restart your computer to apply the changes.
Check for Optional Updates
In addition to essential updates, it’s a good practice to check for optional updates. These updates may include driver updates or security patches that can address a variety of issues. Here’s how to do it:
- Press the Win+I keys to open Settings.
- Click on “Windows Update” and then select “Advanced Options.”
- Scroll down to locate “Additional options.”
- Click on “Optional updates,” and if any updates are available, select them.
- Click “Download & Install” and wait for the update process to finish.
- Finally, manually reboot the system.
Update Graphics Drivers
One of the most common culprits behind graphics-related issues, such as the GLFW Error 65542, is outdated or corrupted graphics drivers. We recommend checking for the latest graphics driver updates and installing them.
Automatic Update:
- Right-click on the Start Menu and select “Device Manager.”
- Double-click on “Display Adapters.”
- Right-click on your dedicated graphics card and select “Update Driver.”
- Choose “Search automatically for drivers,” and if an update is available, it will be downloaded and installed automatically.
- Once done, restart your computer to apply the changes.
Manual Update:
- If no updates are found through automatic search, visit the official website of your graphics card manufacturer (Nvidia, AMD, or Intel).
- Manually search for the latest driver version specific to your model and download it.
- Install the downloaded driver on your PC according to the manufacturer’s instructions.
Get the Latest Java Edition
Java plays a crucial role in Minecraft’s operation, and updating or installing the latest Java version can resolve issues related to graphics drivers and OpenGL. Follow these steps:
- Download the standard Java 21 version from the official source and run it as an administrator.
- From the Java Setup wizard window, click “Next” and then “Next” again.
- Once done, click “Close” to exit the window.
With the latest Java version installed, you should be able to open the Minecraft server without encountering the error. If this method doesn’t work, continue to the next step.
Replace the ‘opengl32.dll’ File
The ‘OpenGL32.dll’ file is a crucial component for rendering 2D and 3D graphics. In some cases, this file may become corrupted, leading to the GLFW Error 65542. To resolve this issue, you can download a fresh copy of the ‘OpenGL32.dll’ file and replace the existing one. Here’s how:
- Download the DLL file manually from this [link](insert link here).
- After downloading, navigate to your Downloads folder.
- Right-click on the ZIP folder and select “Extract to Opengl32.dll.”
- Once extracted, locate the specific folder containing the ‘OpenGL32.dll’ file.
- Press Ctrl+C to copy the ‘OpenGL32.dll’ file.
- Navigate to the ‘C:\Program Files\Java\jdk-16.0.2\bin’ directory.
- Press Ctrl+V to paste the copied file.
- Click “Continue” if prompted.
- Launch Minecraft and check if the error persists.
Update Minecraft
Keeping your Minecraft game up to date is crucial to ensure optimal performance and compatibility. To check for updates, follow these steps:
- Open the Microsoft Store App and navigate to “Library.”
- Click “Get Updates” to install any available app updates.
- Wait for the update process to complete.
- Ensure you have a working internet connection.
- Once done, reboot your PC to apply the changes.
Reinstall the Graphics Driver
For a more thorough graphics driver update, consider manually downloading the latest version from the official website of your graphics card manufacturer. Nvidia users can update the GeForce Experience app via Nvidia’s official site, while AMD users can visit the AMD website. Follow these steps:
- Right-click on the Start Menu and open “Device Manager.”
- Double-click on “Display Adapters.”
- Right-click on your dedicated graphics card and select “Uninstall device.”
- Confirm the task by clicking “Uninstall” if prompted.
- Wait for the uninstallation process to complete.
- Restart your PC to apply the changes.
- Finally, locate the downloaded graphics driver file and install it manually.
Reinstall Minecraft
If none of the previous steps yield results, it’s time to consider uninstalling and reinstalling Minecraft on your Windows system. Follow these steps:
- Press Win+R to open the Run dialogue box.
- Type “%appdata%” and hit Enter to access the AppData folder.
- Navigate to the Minecraft folder, create a backup, and then delete all its contents.
- Delete temporary files by typing “%temp%” in the Run dialog.
- Open the Control Panel from the Start menu and click “Uninstall a program.”
- Locate Minecraft and select “Uninstall.”
- Follow the on-screen instructions to complete the uninstallation process.
- Restart your PC to apply the changes.
- Download and reinstall Minecraft from the official Mojang website.
- Launch Minecraft once again to check if the error persists.
Try Installing a Different Version of Minecraft
As a final resort, consider installing a different version of Minecraft. Sometimes, switching to a previous Minecraft version can help alleviate the OpenGL error. Here’s how:
- Use the TL Launcher to select a previous Minecraft version, ideally one that’s older than the version you’ve been using.
- Click “Install” and wait for the installation to complete.
- Run the game to see if the error is resolved.
Conclusion
By following these comprehensive troubleshooting steps, you should be well-equipped to tackle and overcome the Minecraft GLFW Error 65542. Whether it’s a minor glitch, outdated drivers, or compatibility issues, this guide covers a wide range of potential solutions to ensure you can enjoy a seamless Minecraft gaming experience.
If you encounter any issues or have further questions, don’t hesitate to seek assistance in the comments below. Remember, the world of Minecraft awaits your creativity and exploration, and with these solutions at your disposal, you’ll be back to building, crafting, and surviving in no time.


