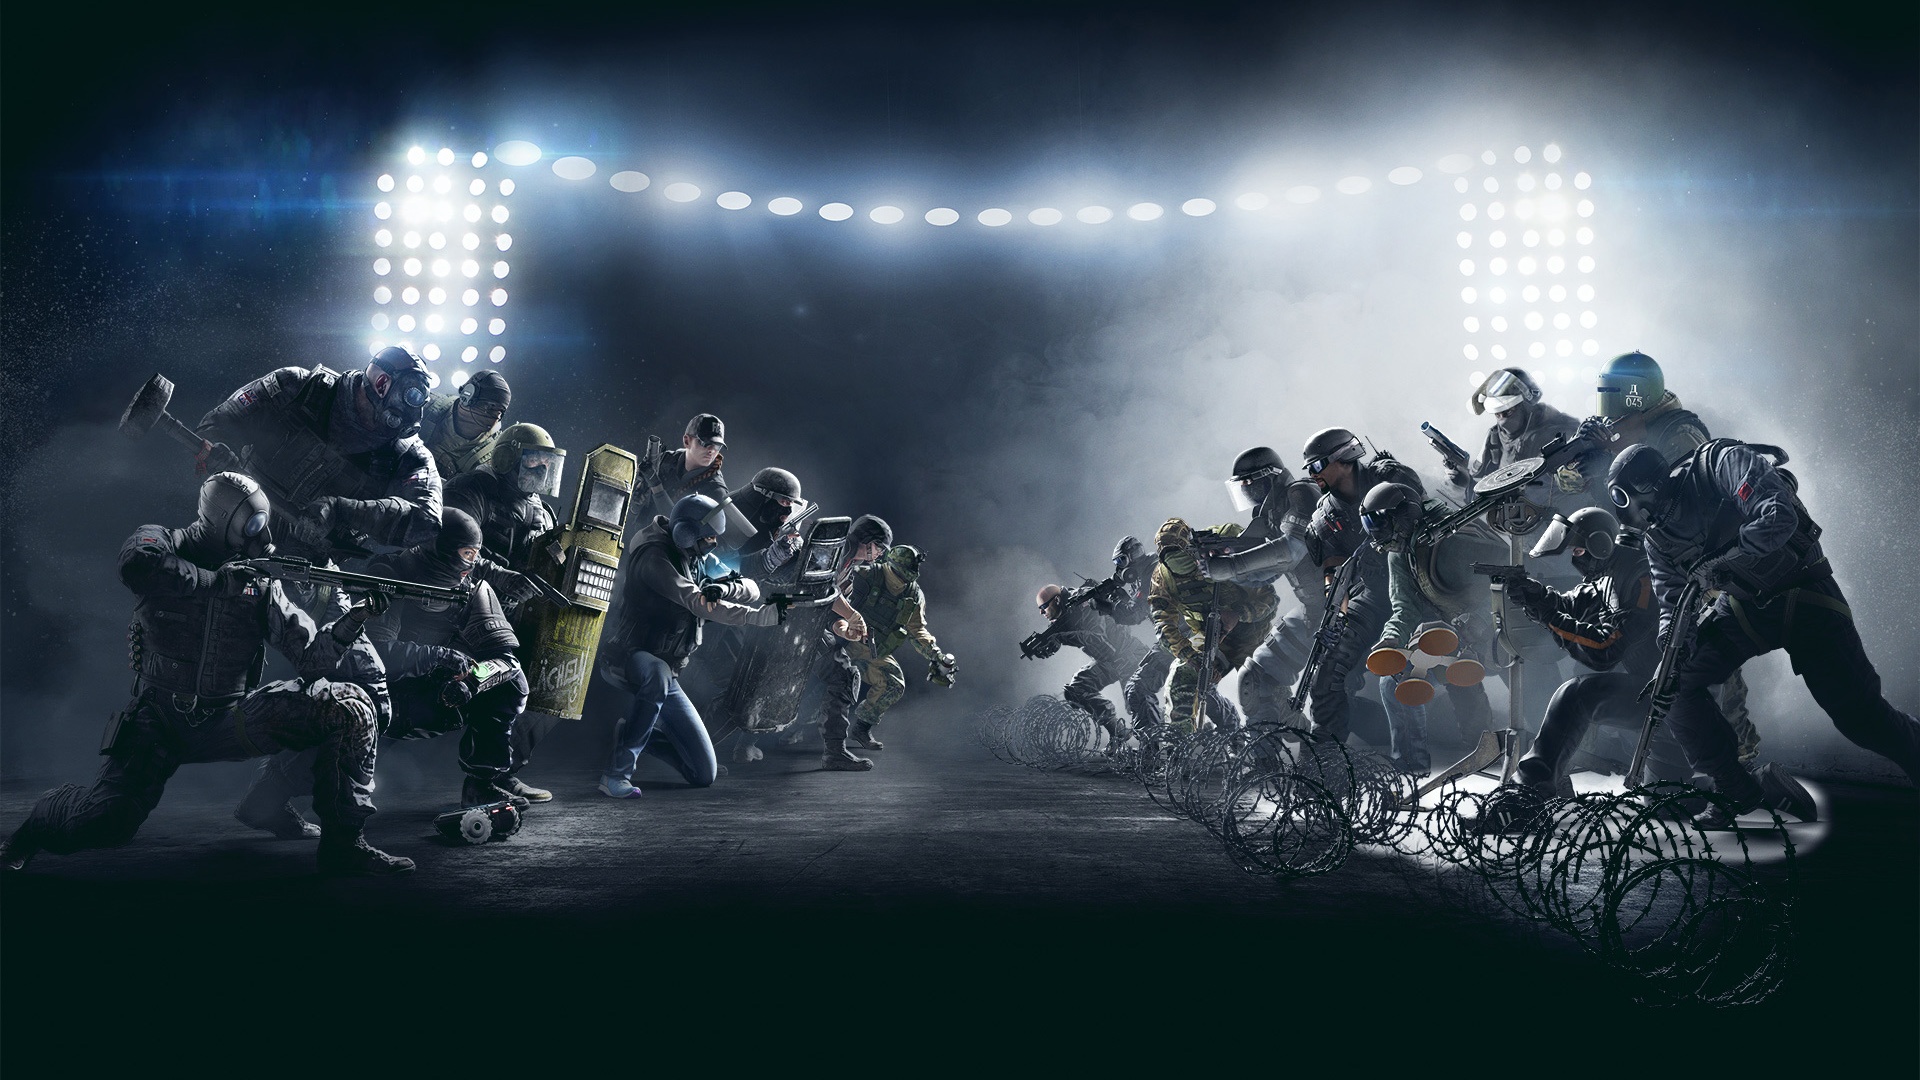
Rainbow Six Siege is a popular tactical team-based first-person shooter game that offers intense gameplay and exciting challenges. However, many players with low-end PCs often struggle with low FPS and experience lag and stutters, which can significantly impact their gaming experience. If you’re facing these issues, don’t worry! In this comprehensive guide, we will provide you with expert tips and tricks to optimize your game settings and hardware, allowing you to enjoy smooth and seamless gameplay on your low-end PC.
Understanding the Challenges of Low-End PCs
Before we dive into the best settings for Rainbow Six Siege, let’s understand why low-end PCs face performance issues in the first place. Low-end PCs typically have hardware limitations, such as underpowered processors, graphics cards, insufficient memory, low storage space, and poor CPU cooling. These limitations can negatively impact your gaming experience, leading to lags, stutters, and low FPS.
Additionally, outdated Windows operating systems or incompatible build versions can also contribute to in-game performance issues. While low-end PCs may struggle to upgrade to the latest operating system, it’s worth noting that Rainbow Six Siege supports Windows 7 and higher, providing some flexibility for players with older PCs.
Optimizing Rainbow Six Siege Settings for Low-End PCs
To improve your gaming experience on a low-end PC, it’s crucial to optimize your Rainbow Six Siege settings. By making a few adjustments, you can significantly boost your FPS and reduce lag. Let’s explore the best settings for each aspect of the game.
Display Settings
The first step is to optimize your Rainbow Six Siege display settings. These changes can have a significant impact on performance for low to mid-end systems. Follow these steps to adjust your display settings:
- Open the game and go to the Options menu.
- Navigate to the Display tab and enable the Display Game Info option. This will show your current framerate, latency, and Rainbow Six Siege version in the lower-left corner of the screen, allowing you to monitor the impact of the changes you make.
- Set the resolution to your native monitor resolution. If using an abnormal screen resolution, set it to 1920 x 1080, as this will save resources. If needed, you can lower the resolution further, but keep in mind that visual quality will be compromised.
- Set the Display Mode to fullscreen for optimal performance.
- Disable V-sync to allocate more resources to playing Rainbow Six Siege and improve your potential frame rate.
- Close any unnecessary programs running in the background to reduce CPU utilization and free up resources for the game.
NVIDIA Control Panel Settings
If you have an NVIDIA graphics card, optimizing the control panel settings can further enhance your Rainbow Six Siege performance. Here’s how you can make the necessary adjustments:
- Right-click on your desktop and select NVIDIA Control Panel.
- Navigate to Manage 3D Settings > Program Settings.
- If Rainbow Six Siege is not listed, click on Add and locate the game in your file explorer.
- Set the CUDA setting to your primary GPU.
- Set the Power management mode to Prefer maximum performance.
- Set the texture filtering quality to Performance.
Graphics Preferences in Windows
Windows 10 provides additional graphics settings that can be leveraged to optimize your gaming experience. Follow these steps to change your graphics settings:
- Enter Graphics Settings in your taskbar search to open the native settings.
- Click on Browse and navigate to the drive and path where Rainbow Six Siege is saved.
- Add the game to your graphics settings list.
- Choose the High-Performance option for the most system performance.
Best Graphics Settings for Rainbow Six Siege
Now that we’ve covered the general settings, let’s explore the best graphics settings for Rainbow Six Siege on low-end PCs. These settings will help improve your FPS and overall performance:
Launch Rainbow Six Siege and go to Options. Then, head over to the Display settings and set the following options:
DISPLAY:
- Monitor: Native Display Monitor
- Resolution: 1920×1080
- Display Mode: Windowed
- Refresh Rate: Native Refresh Rate of the Monitor
- Aspect Ratio: Auto
- VSync: Off
- Widescreen Letterbox: Off
- Field of View: 40-50
GRAPHICS:
- Shadow Quality: Low
- Reflection Quality: Low
- Ambient Occlusion: Off
- Lens Effects: Bloom + Lens Flare
- Zoom-In Depth of Field: On
- Anti-Aliasing: T-AA
- Render Scaling: 50
- T-AA Sharpness: 30-40
Once you have configured all these options, make sure to save the changes by pressing the Apply button. Now, launch the game and check for the performance boost.
Additional Tips to Enhance Performance
In addition to the settings mentioned above, here are a few extra tips to further enhance your Rainbow Six Siege performance on a low-end PC:
- Update your graphics drivers regularly to ensure compatibility and take advantage of performance improvements.
- Close any unnecessary background applications and processes to free up system resources.
- Disable any unnecessary overlays or recording software that may consume CPU and GPU resources.
- Consider upgrading your hardware if your budget allows. Upgrading your processor, graphics card, or increasing your RAM can significantly improve your gaming experience.
Conclusion
By following the expert tips and tricks outlined in this guide, you can optimize your Rainbow Six Siege settings and enhance your gaming experience on a low-end PC. Adjusting your display settings, optimizing the NVIDIA control panel, and leveraging Windows graphics preferences will significantly boost your FPS and reduce lag. Additionally, implementing additional tips like updating drivers and closing unnecessary background applications can further enhance your performance. So, gear up, implement these settings, and enjoy a smooth and seamless Rainbow Six Siege gaming experience on your low-end PC.


