
If you’re an avid gamer and recently got your hands on Microsoft’s Xbox gaming console, you may be wondering about the various buttons and controls on the Xbox controller. One common question that arises is, “What are the R1 and L1 buttons on my Xbox controller?” In this comprehensive guide, we’ll explore the functions and features of these buttons, as well as provide an overview of the Xbox controller layout and other essential buttons.
Understanding the Xbox Controller Layout
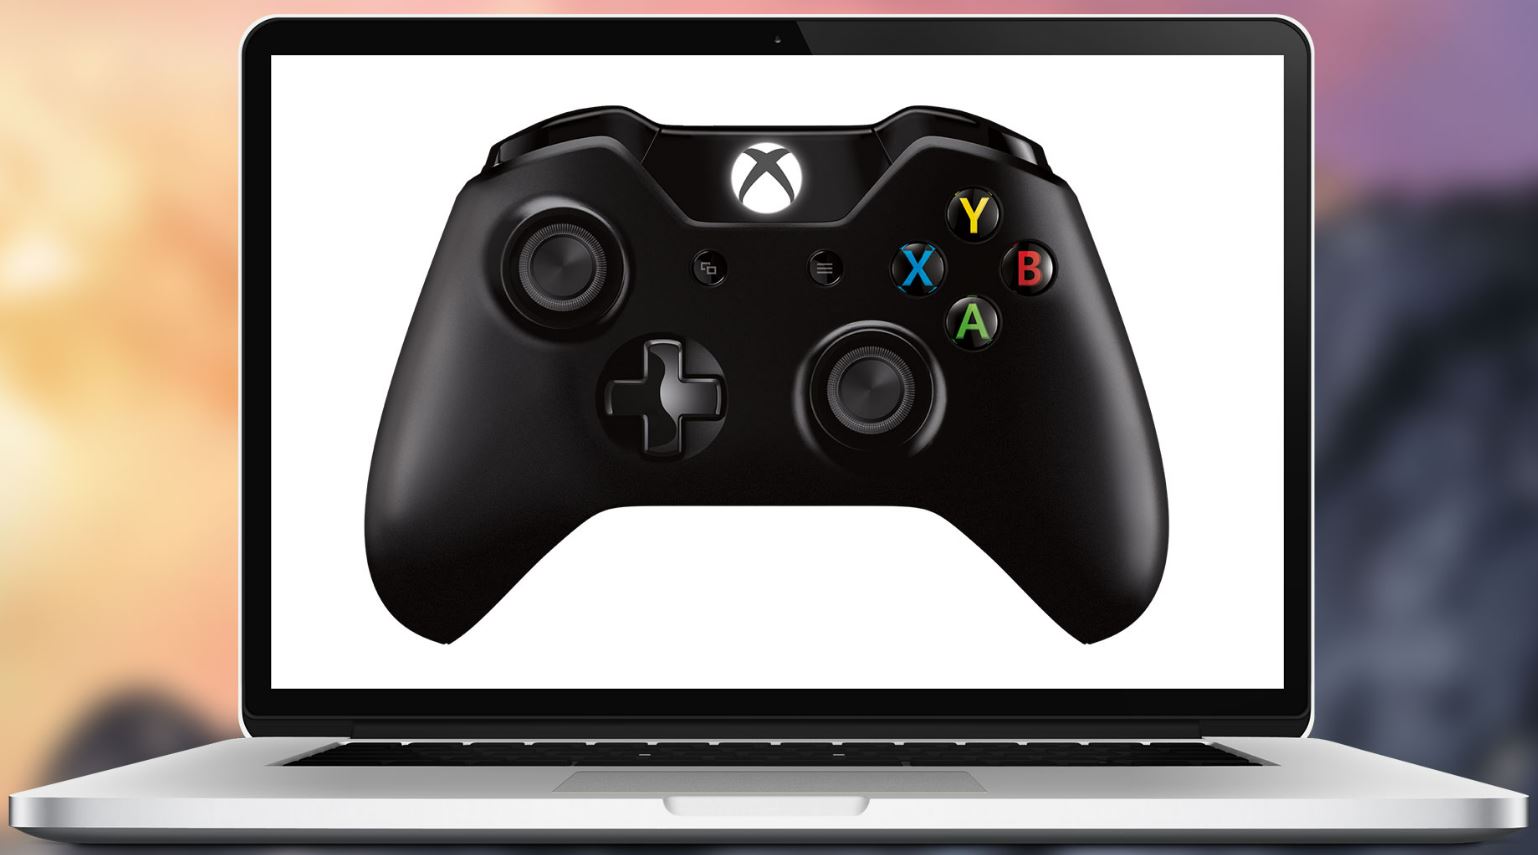
Before we dive into the specifics of the R1 and L1 buttons, let’s start by understanding the overall layout of the Xbox controller. The Xbox controller is designed to offer an immersive gaming experience with its ergonomic design, textured grip, and precise controls. It features analog sticks, shoulder buttons, triggers, and rumble motors that provide haptic feedback, enhancing the gameplay experience.
The primary face buttons on the Xbox controller include A, B, X, and Y, which allow you to interact with games, apps, and the console interface. Additionally, there are two shoulder bumpers, known as R1 and L1, two analog triggers (R2 and L2), two analog sticks for precise movement, and a directional pad for navigating directions. The controller also includes an array of other buttons, such as the Xbox button, menu button, and view button, each serving various functions.
What is R1 on Your Xbox Controller?
The R1 button on your Xbox controller refers to the right bumper, which is located on the right side of the controller’s shoulder. The right bumper plays a crucial role in executing actions and making selections in games and the user interface. By pressing the R1 button, you can perform various actions based on the game type and navigate between different sections on the Xbox console.
What is L1 on Your Xbox Controller?
On the other hand, the L1 button on your Xbox controller corresponds to the left bumper, situated on the left side of the controller’s shoulder. Similar to the R1 button, the left bumper allows you to interact with games, apps, and the Xbox console. By pressing the L1 button, you can execute actions, make selections, and navigate through different sections of the user interface.
To provide a comprehensive understanding of the Xbox controller, let’s take a closer look at the functions of other essential buttons:
1. Left Stick
The left stick is a mini-joystick located on the bottom left of the controller. It enables you to navigate games, apps, and the Xbox console by controlling the movement of your character or cursor.
2. Left Bumper
The left bumper is an oblong-shaped button positioned on the top left of the controller. It serves as an additional input for interacting with games, apps, and the Xbox console, providing a seamless gaming experience.
Placed at the lower left of the Xbox button, the view button’s functionality varies depending on the specific app or game you’re using. It allows you to access different views, options, or menus within the app or game.
4. USB Charge Port
Located on the top edge of the controller, above the Xbox button, the USB charge port enables you to connect your wireless controller to the console using a mini-USB cable. This allows you to charge your controller while playing or connect it to other devices for enhanced functionality.
The Xbox button, positioned at the top front end of the controller, is a round-shaped button that supports multiple actions. By pressing the Xbox button, you can turn on the controller, navigate the Xbox dashboard, access the guide, or turn off the console.
Placed on the lower right of the Xbox button, the menu button grants you quick access to the game and app menu, allowing you to pause, resume, or navigate through various options within the game or app.
7. Right Bumper
Similar to the left bumper, the right bumper is an oblong-shaped button located on the top right of the controller. It serves as an additional input for interacting with games, apps, and the Xbox console, offering enhanced control and functionality.
8. Directional Pad
The directional pad, shaped like a plus sign, helps you navigate different directions within games, apps, and the Xbox console. It provides a precise and intuitive way to navigate menus and make selections.
9. Expansion Port
Positioned on the bottom-side edge of the controller, the expansion port is an open port that allows you to connect various accessories, such as chat headsets, stereo headsets, or other peripherals, to enhance your gaming experience.
10. Right Stick
The right stick, similar to the left stick, is a mini-joystick located on the bottom right of the controller. It enables you to navigate games, apps, and the Xbox console by controlling the movement of your character or cursor.
11. 3.5mm Port
Next to the expansion port on the bottom side of the controller, you’ll find the 3.5mm port. This port allows you to connect compatible 3.5mm audio devices, such as headphones or headsets, to enjoy immersive audio while gaming.
The A, B, X, and Y buttons are positioned on the right side of the controller, below the right stick. These buttons serve as primary inputs for interacting with games, apps, and the console interface, offering a versatile control scheme.
Conclusion
In conclusion, the R1 and L1 buttons on your Xbox controller, also known as the right and left bumpers, play a crucial role in executing actions, making selections, and navigating through games, apps, and the Xbox console. Alongside other essential buttons, such as the analog sticks, triggers, and face buttons, the Xbox controller provides a seamless gaming experience with its ergonomic design and precise controls. By familiarizing yourself with the functions of each button, you can maximize your gaming potential and enjoy a truly immersive gameplay experience.
If you have any further queries or need assistance with Xbox controllers or the gaming console, feel free to leave a message in the comments section below. Happy gaming!